How to Make a Pom Pom with Free Printable Template Video Tutorial
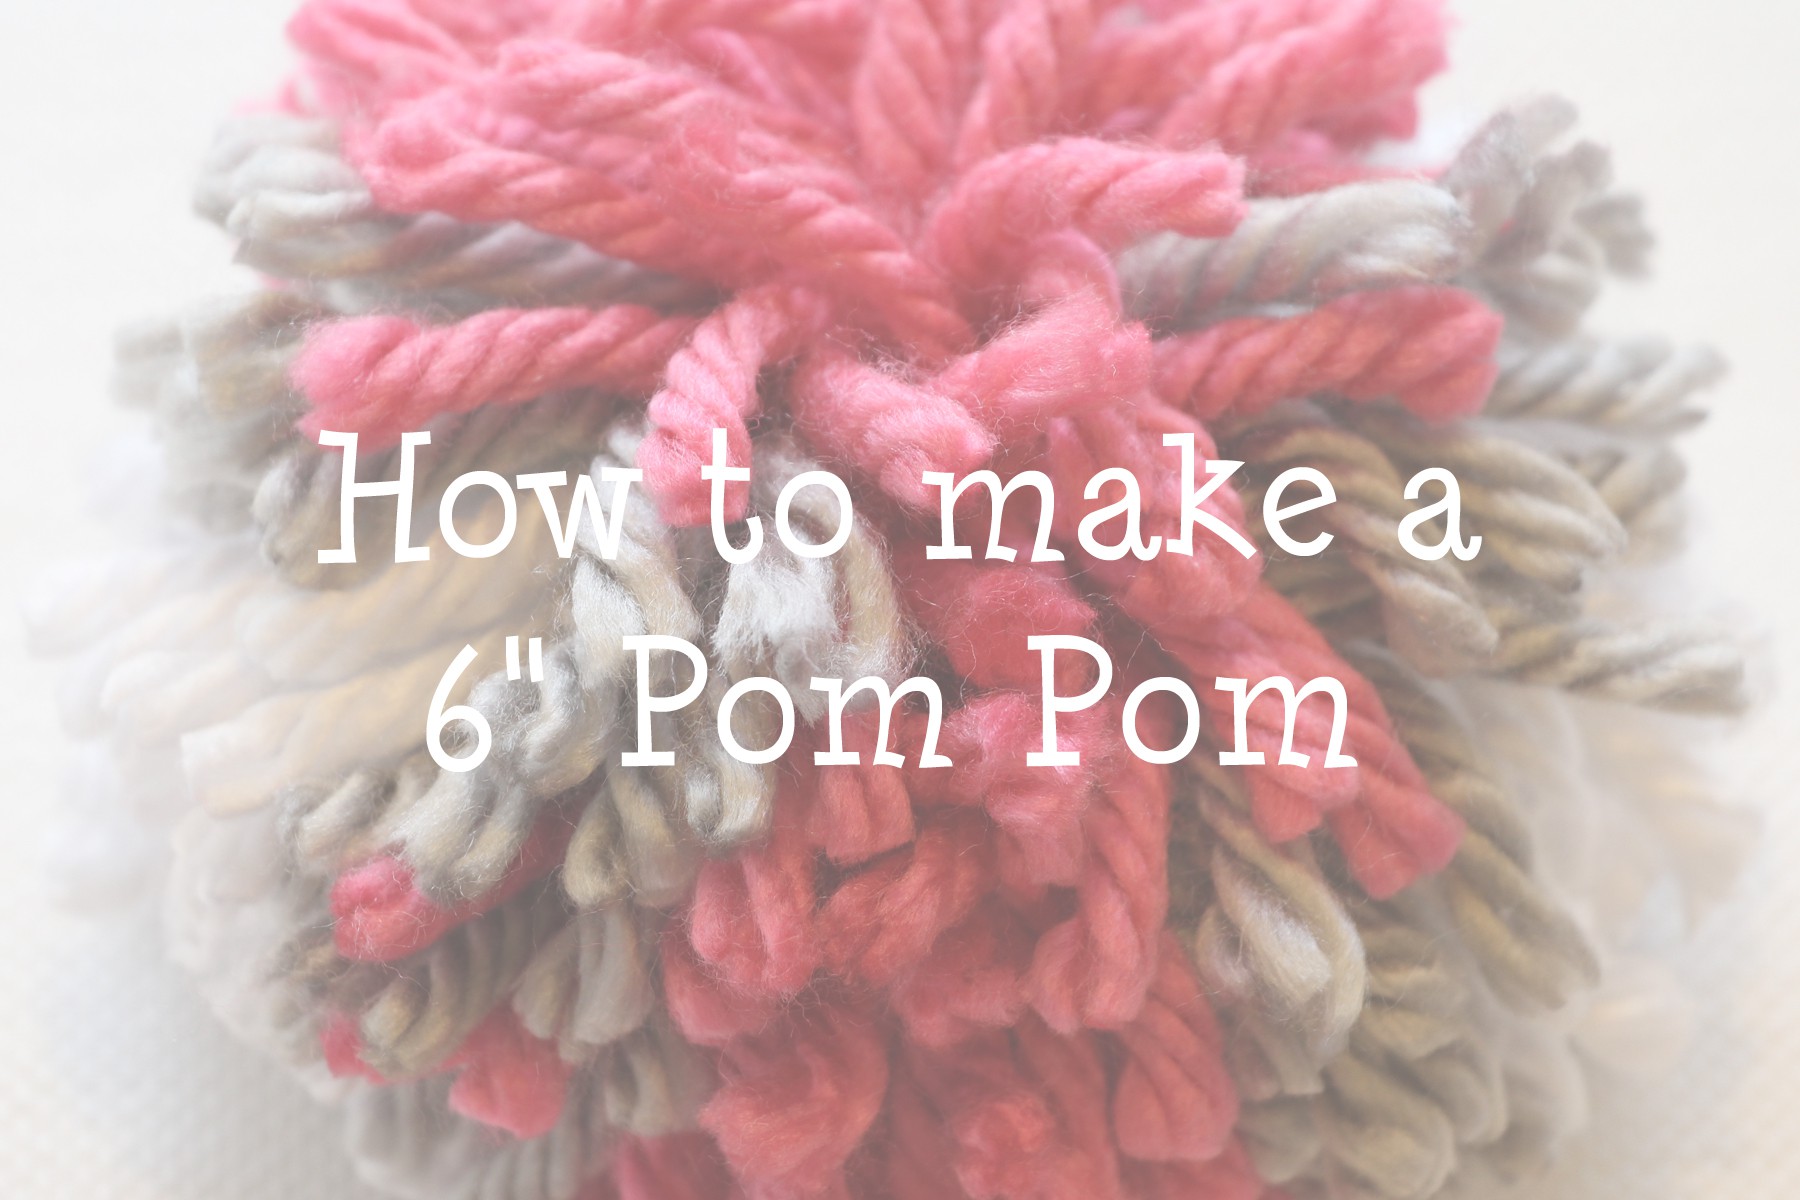
As you can imagine, I have tons of left-over yarn, so I decided to make some pom-poms to use up some of my leftover yarn. I’m going to use these to decorate gifts! (I’ll post some pics soon!)
Step One
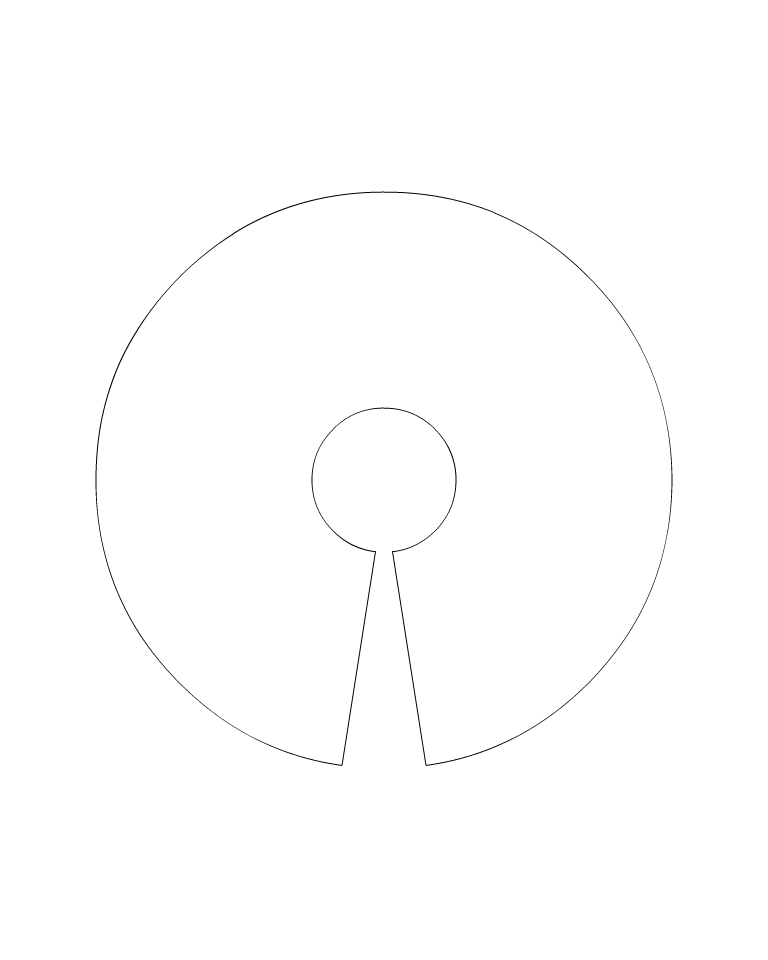
- Follow these instructions to print the pom pom template.
- Make sure your printer is on and working. :)
- Right click on the image below and choose “Open in a New Tab”
- {This makes the image full size.}
- In the New Tab, with the circle image, right click again and choose “Print”
Step Two
- Cut along the lines.
- Easy right? :)
Step Three
- Trace onto 2 pieces of cardboard.
- {I used white hard board. Poster board might work too. Use whatever semi-stiff material is handy.}
Step Four
- Cut out of card board.
Step Five
- Cut a 18″ piece of yarn.
- {This will ensure that you have enough to attach it to your hat or gift.}
- I recommend using the same color of yarn as the first color you use on the pom pom, in my case I should of used pink.
- I’m taking notes and learnin’ from my mistakes. :)
Step Six
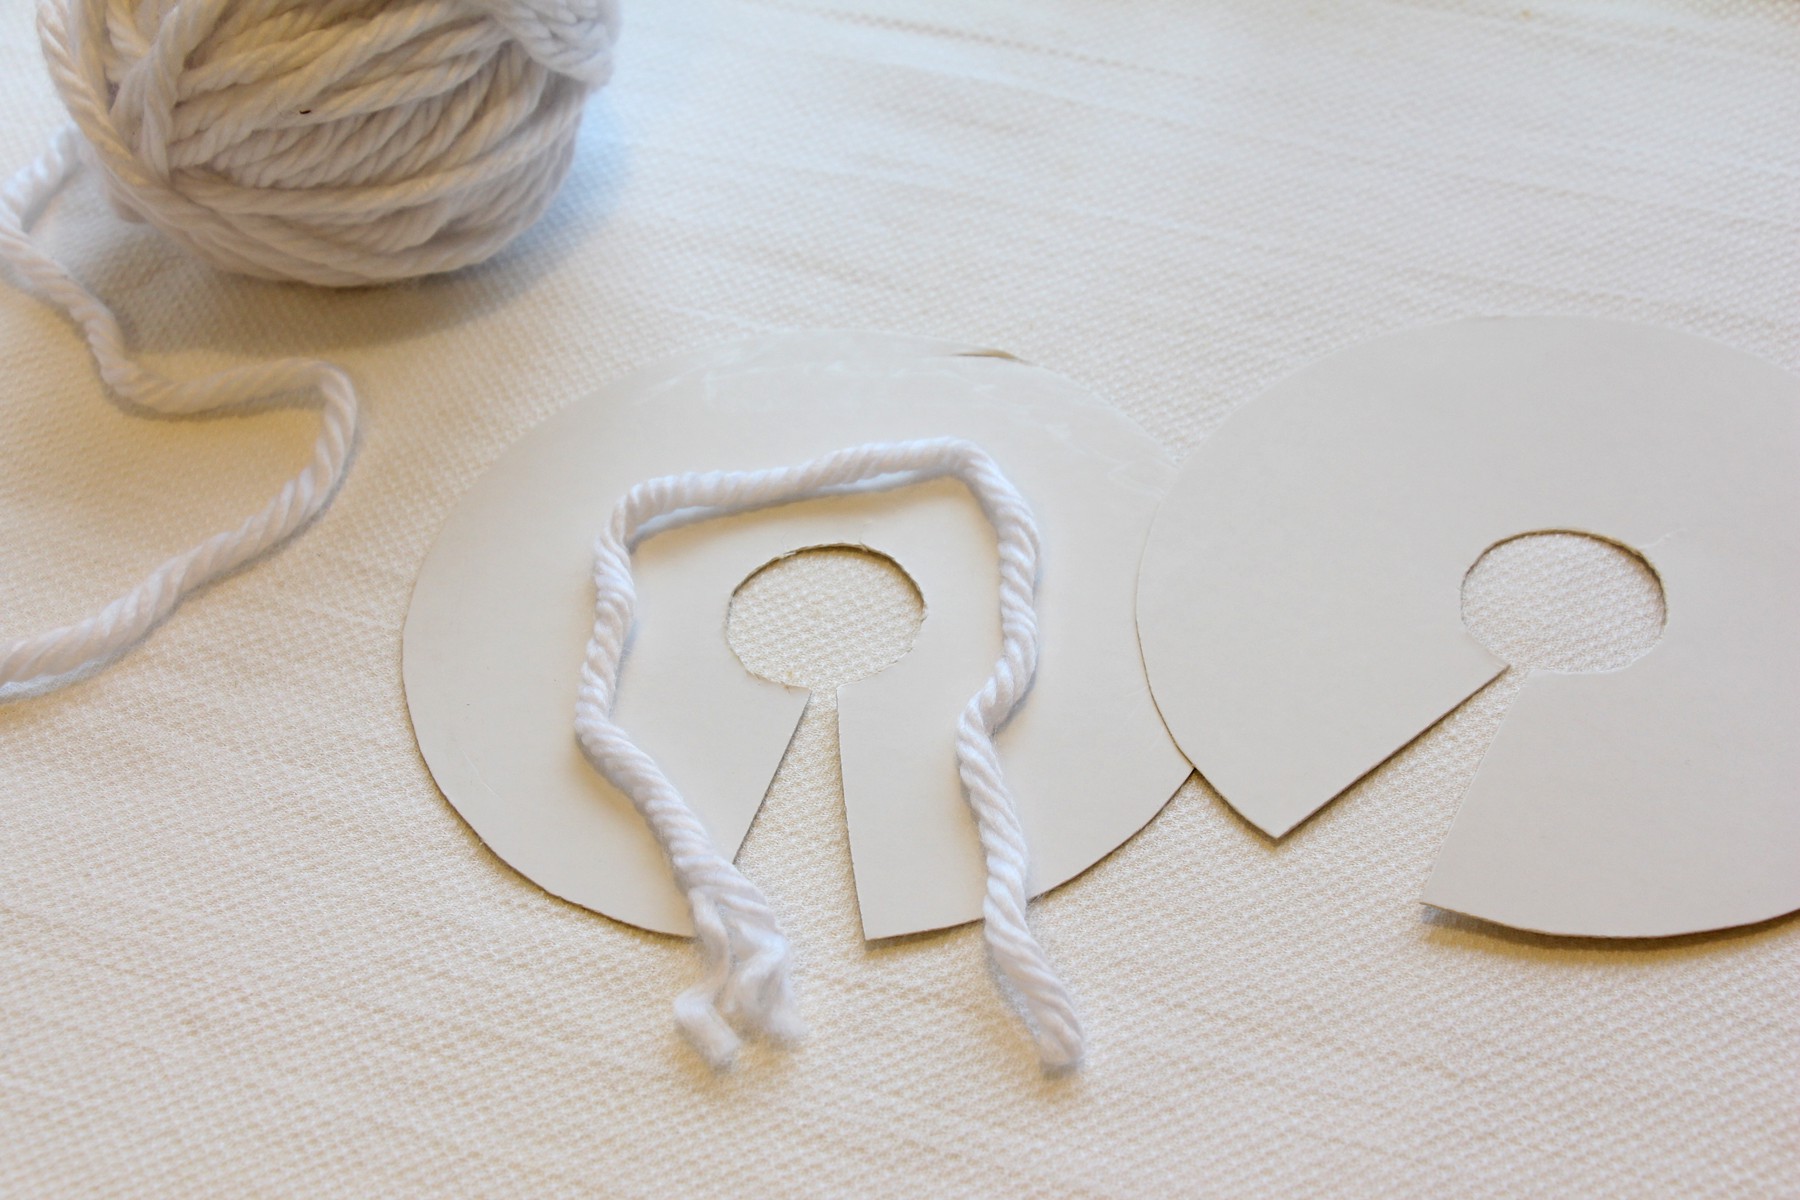
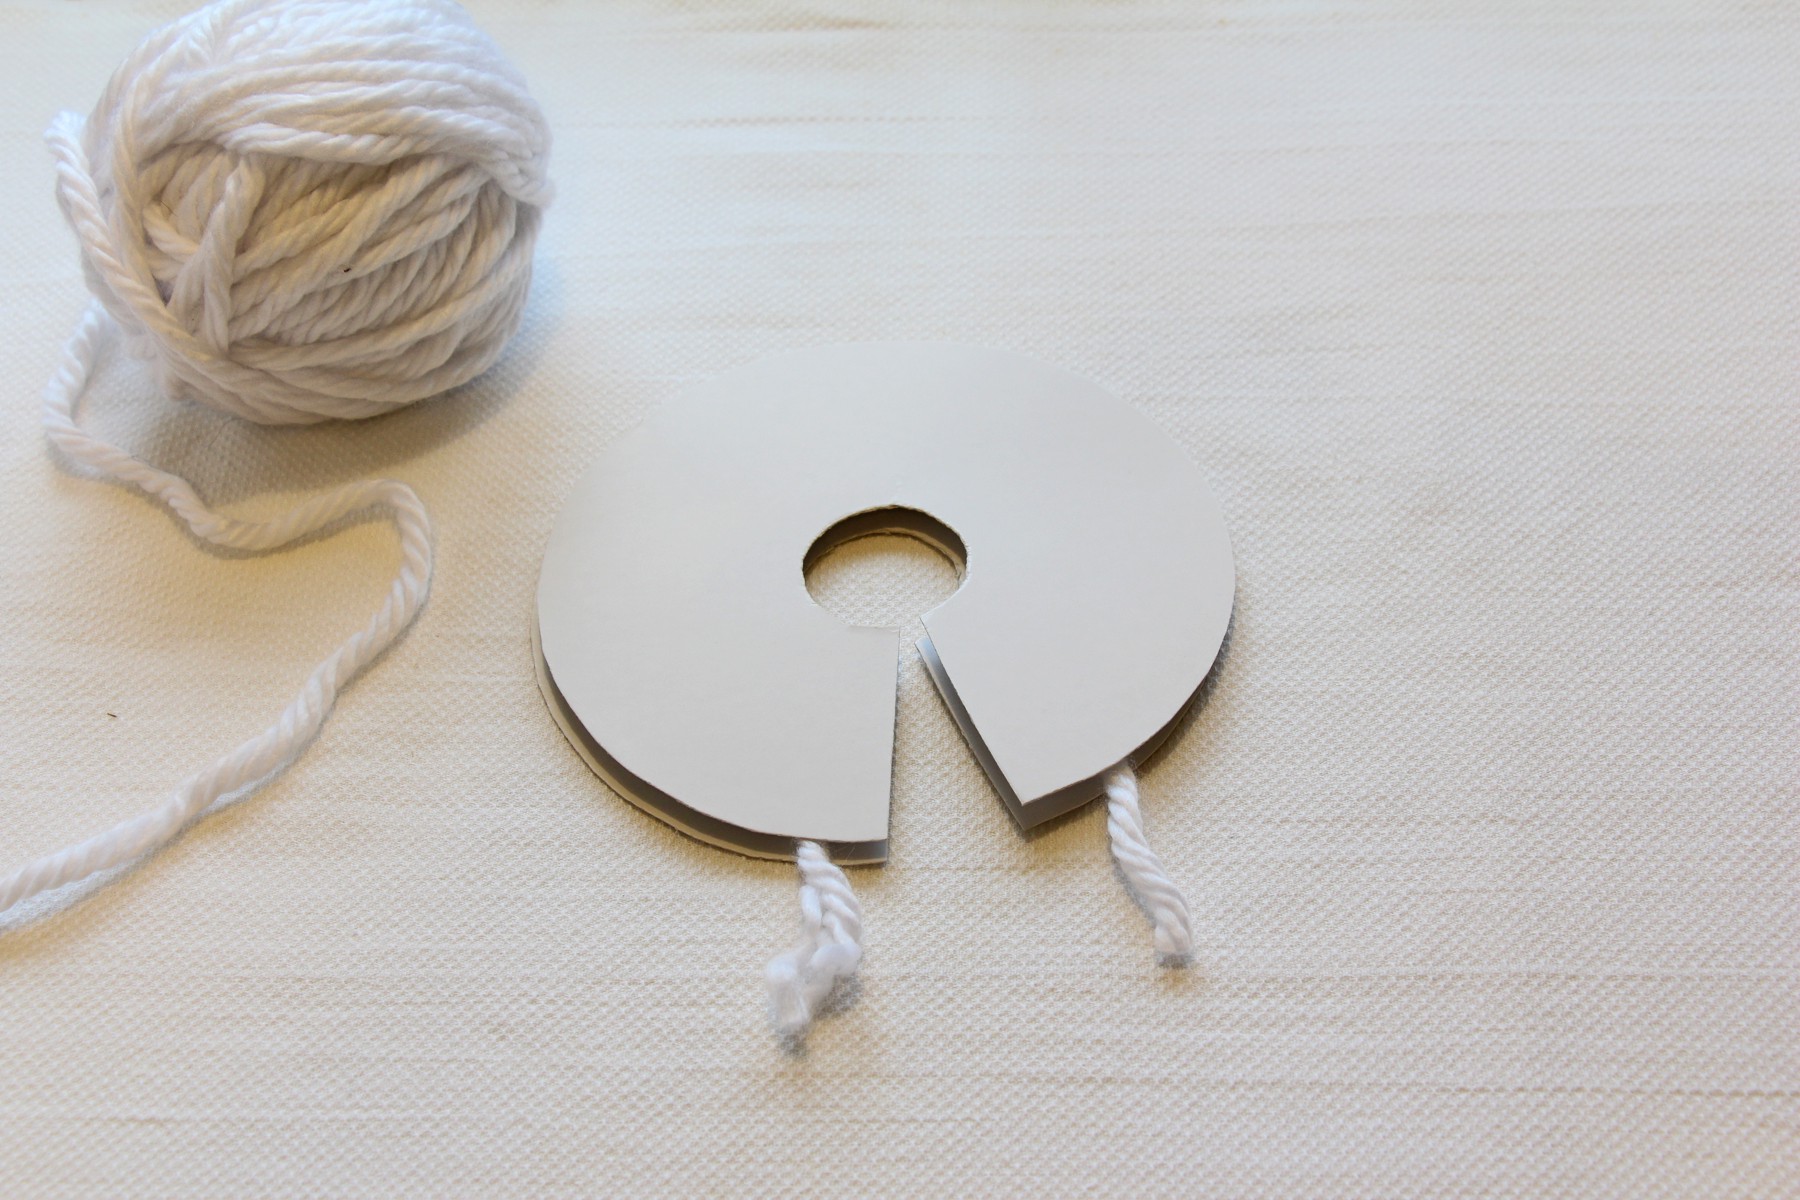
- Put the 18″ piece of yarn in-between the two pieces of cardboard with the tails hanging on either side of the gap.
- Place the two pieces of cardboard together.
Save this for later!
No spam, ever. Unsubscribe at any time.
Step Seven
- Wrap the yarn around the semi circle.
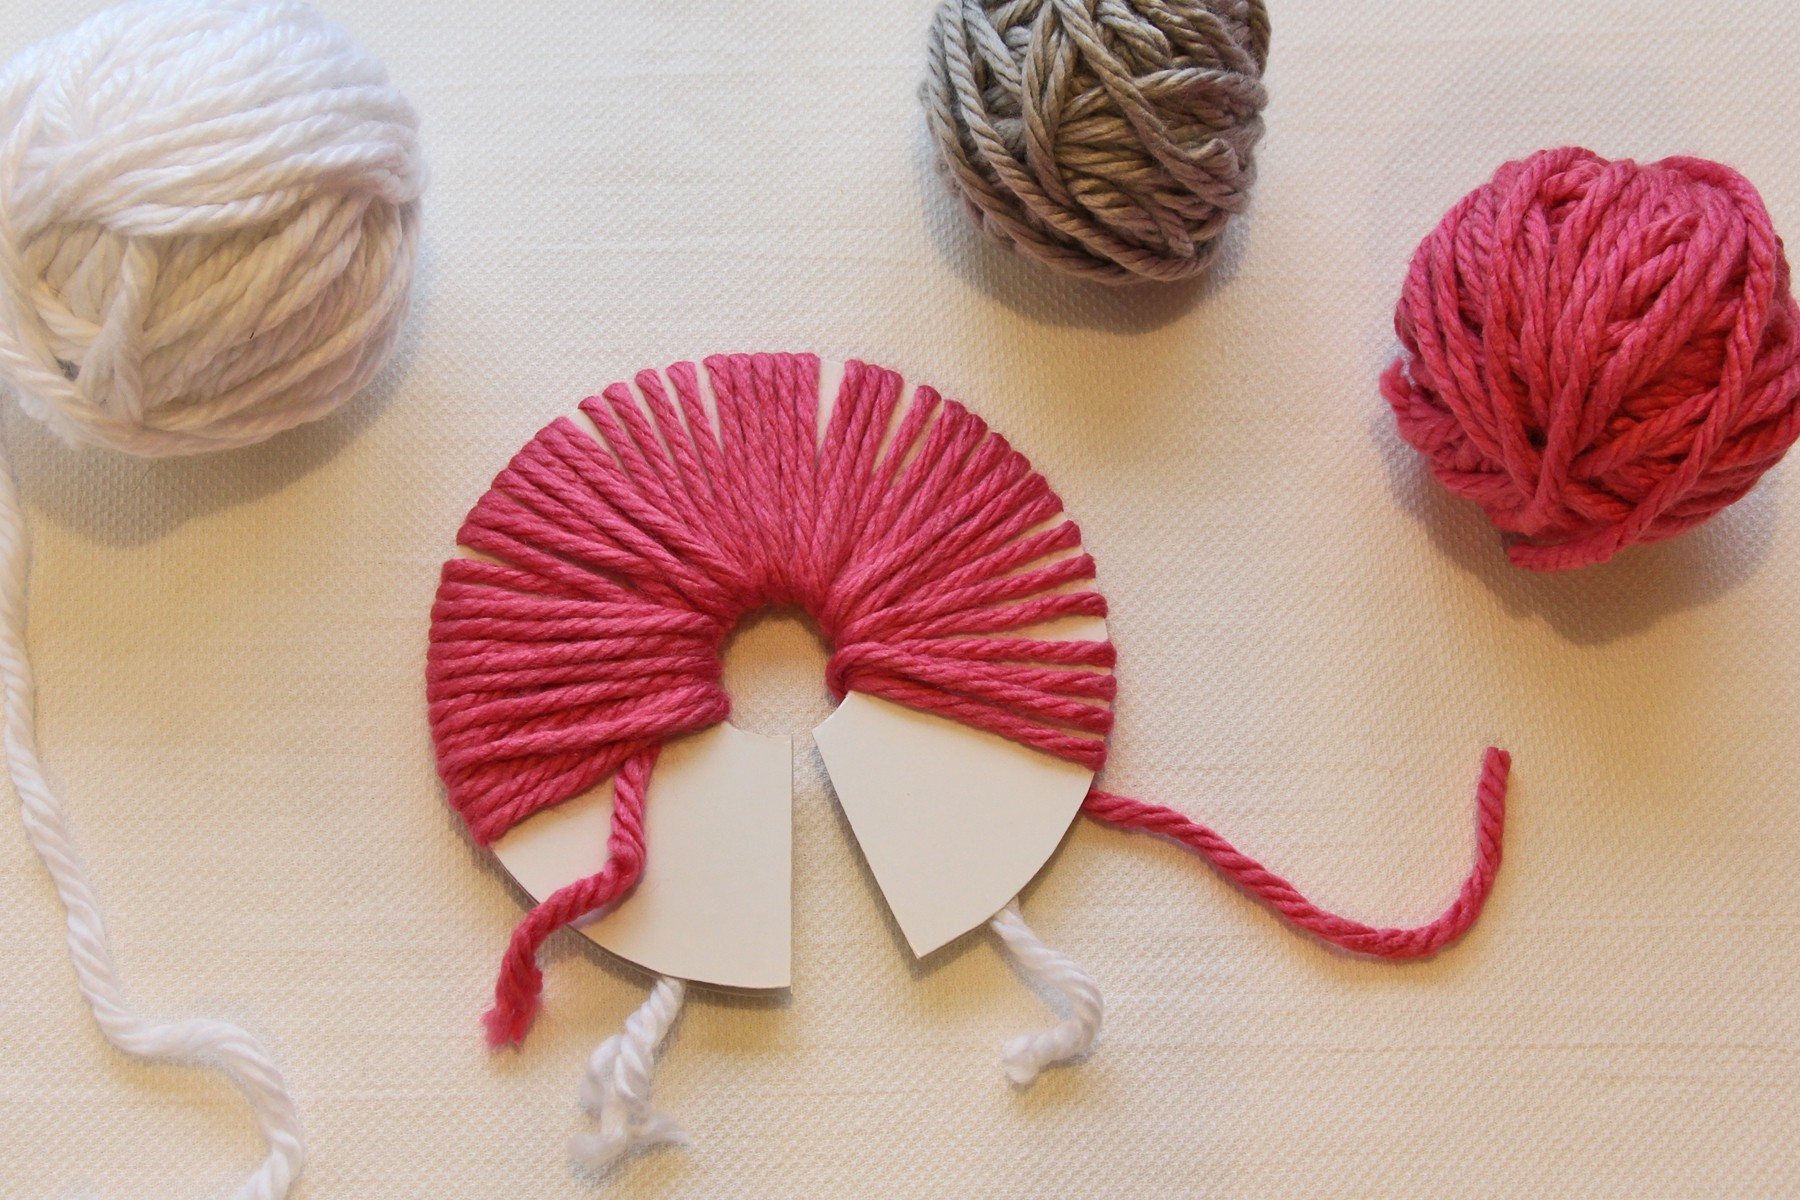
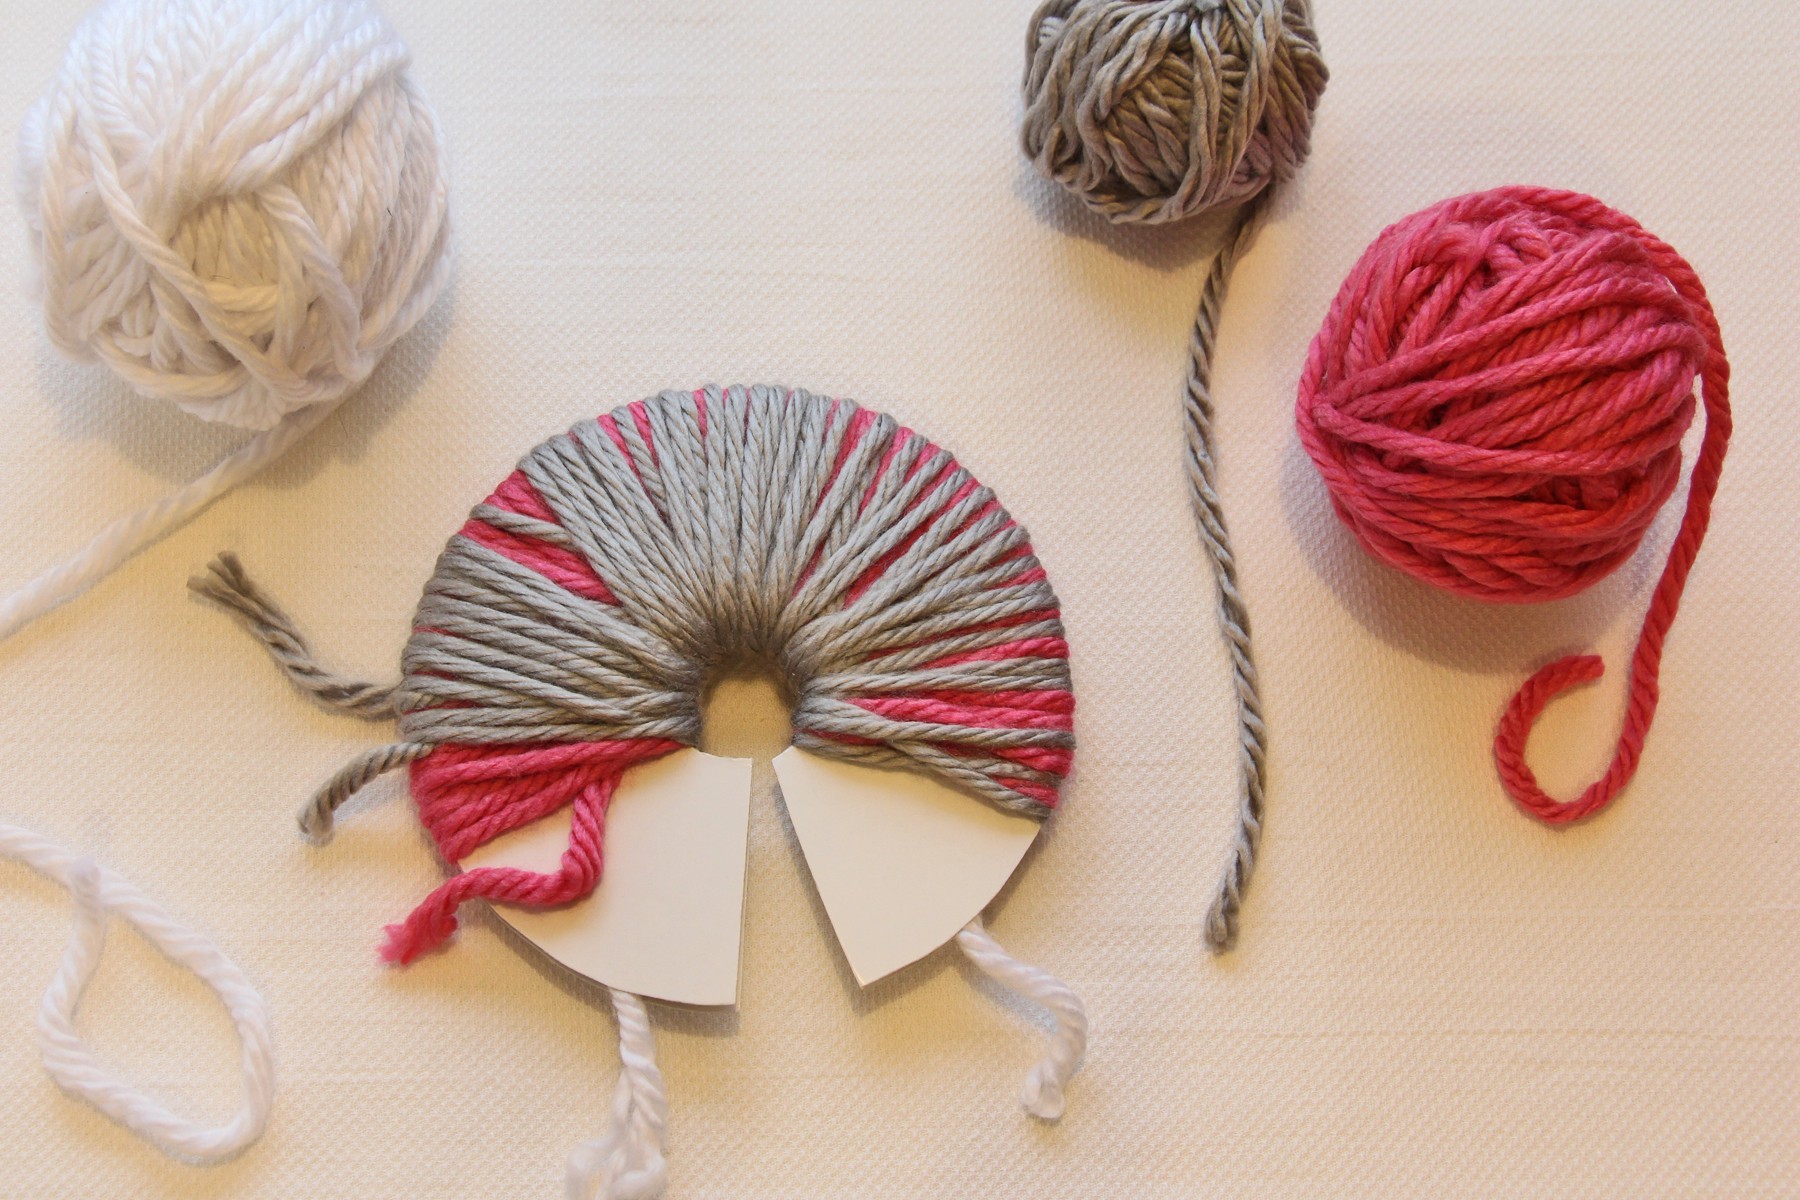
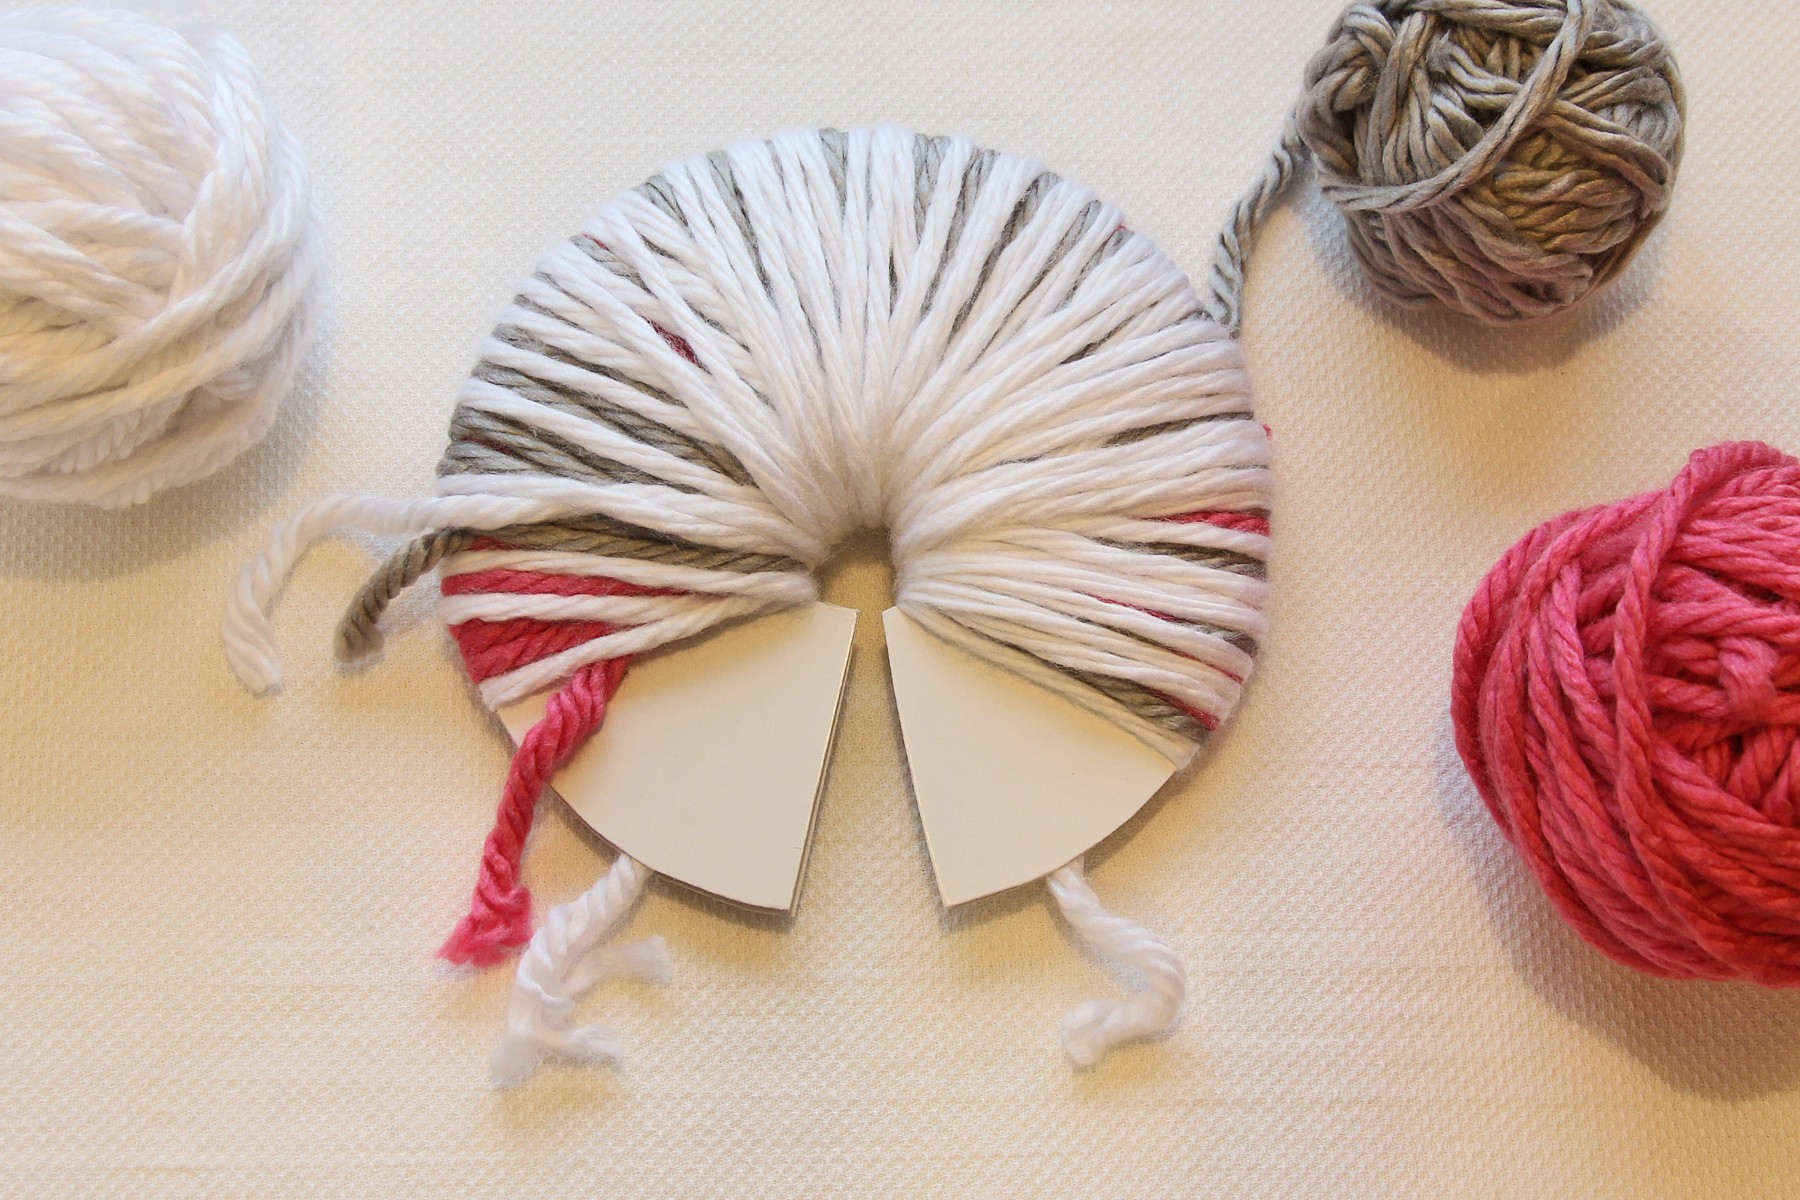
Wrap 150 times. (I wrapped each color 50 times, making 150).
Step Eight
- Loosely tie the 18″ piece, you’ll tighten it later and make it a knot (no knot yet).
Step Nine
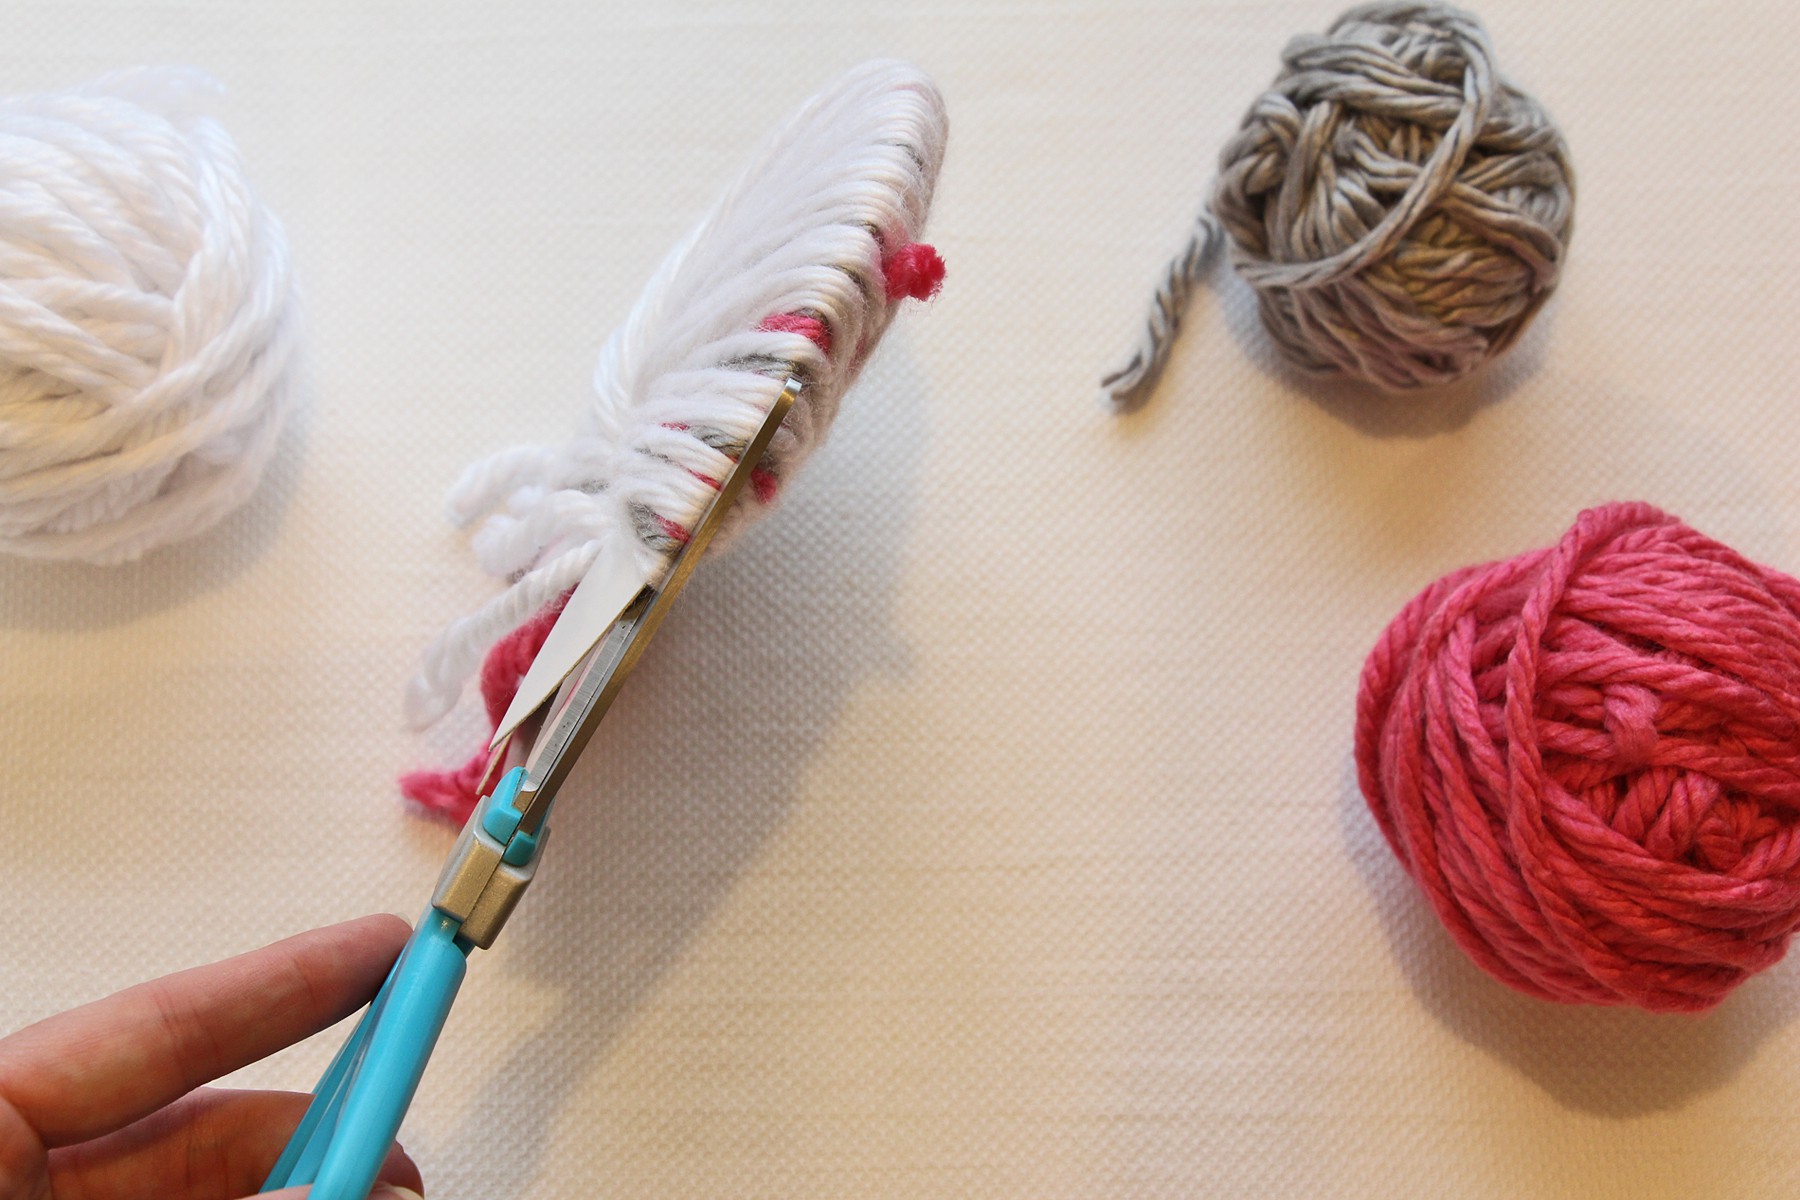
- Place your thumb in the center and cut starting at one end of the semi circle between the two pieces of cardboard all the way around the semi-circle.
Step Ten
- Now you’ll want to tighten the tie and make a knot, as tight as you can so the yarn doesn’t pull out.
Step Eleven
- Shape your Pom Pom and snip some of the longer pieces, but leave the 18″ long strands you used to tie the knot. Use those to attach your Pom Pom to your hat or gift.
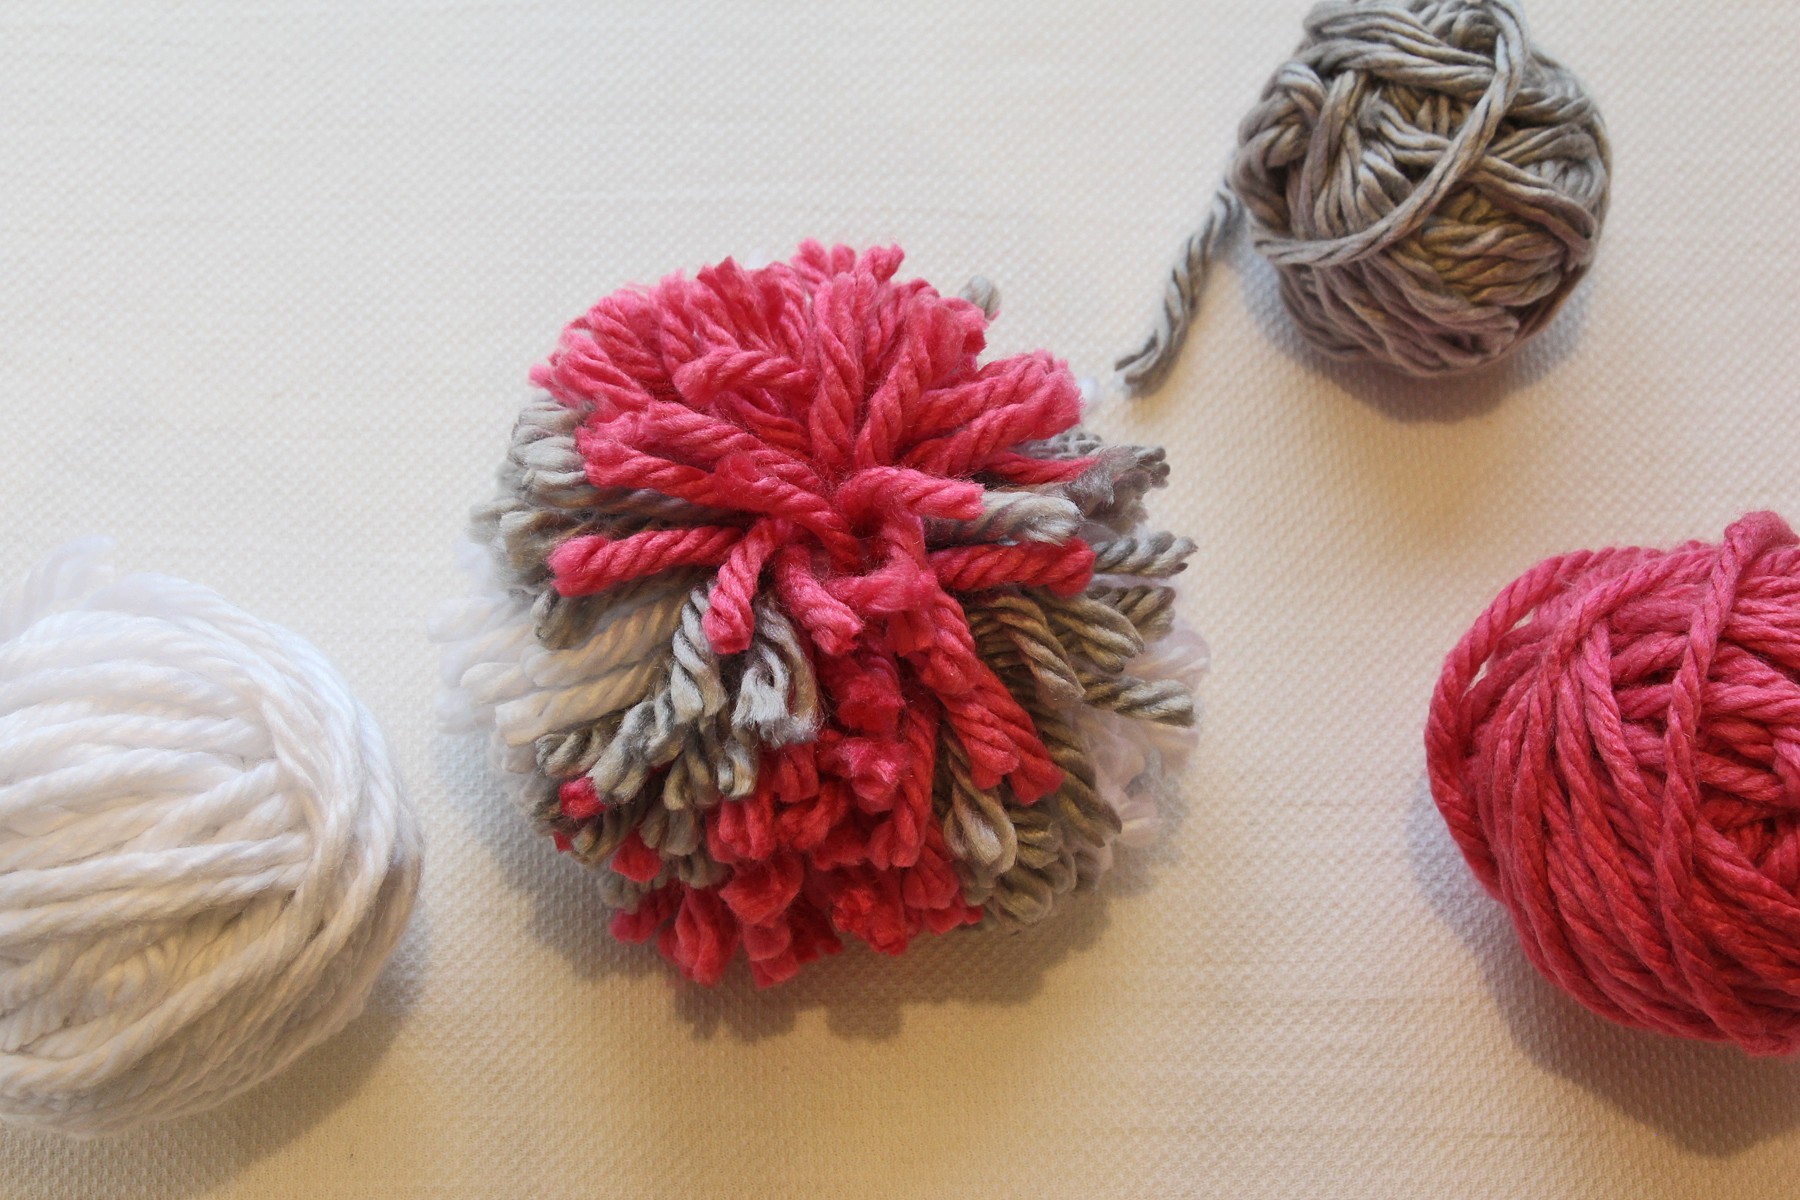
I love Pom Pom’s!

