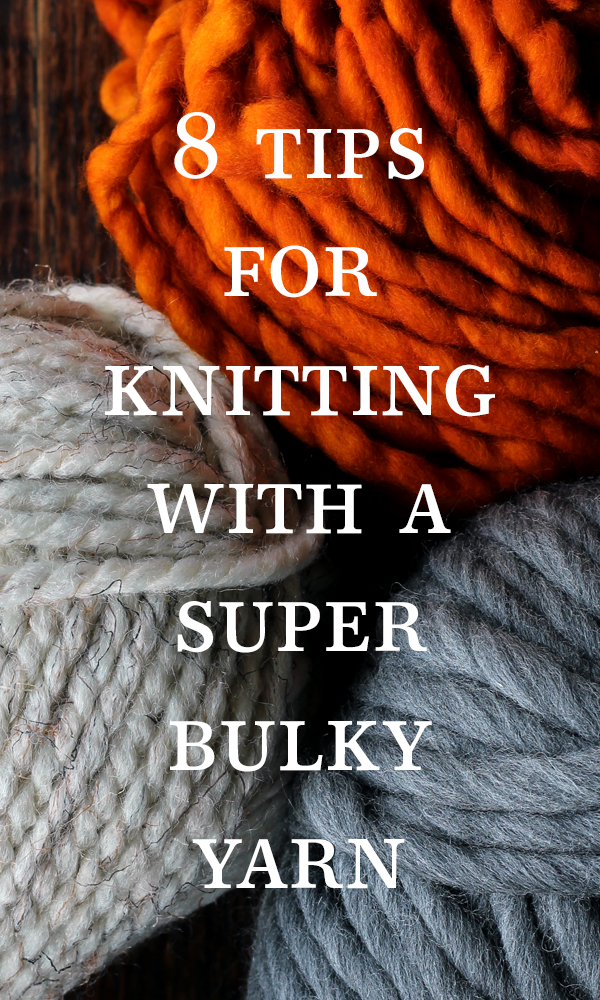
8 Tips for Knitting with a Super Bulky Yarn
This post may contain affiliate links. Please read my disclosure policy.
Today I’m going to give away my tricks and tips when knitting with a super bulky yarn.
I created a video for those of you who like to watch tutorials and I wrote a blog post for those of you who like to read…
Knitting with a super bulky yarn is different than knitting with a thinner yarn and I didn’t realize it until I started getting questions from some customers about how I obtained my gauge. I completely get the frustration when trying to knit a pattern and it just doesn’t work out.
I want everyone to be able to replicate one of my patterns. So, I started studying the way other people knit and how I knit and came up with a list of all the things I do to obtain my gauge along with some helpful tips when knitting with a super bulky yarn.
Let’s dive right in:
Tip 1: Test your pattern with a less expensive yarn.
I like to use Lion Brand Wool Ease Thick & Quick… it’s relatively inexpensive.
It makes for a great test yarn so that whenever I step it up to use a high quality merino wool I know that I’m going to get my pattern right, for the most part.
In other words, I test my pattern, tension and gauge with the inexpensive yarn so that I’m pretty confident that my pattern is going to turn out the way I want it to. It’s not fool proof, but it helps. {It just about kills me to frog an expensive project}
This is important to me because I’m spending triple the amount, or more, on a high quality yarn.
This way I don’t have as much money invested if the pattern doesn’t work out.
Tip 2: Use metal needles, they allow the stitches to slide easily with no resistance.
I LOVE my metal needles. I use HiyaHiya interchangeable needles, so all I have to do is switch out my needles to get the right tension. This is very handy! {The HiyaHiya brand is extremely sturdy.}
The other thing that I like about using the metal vs. wood needles is that the stitches slide very easily on the metal needles and that helps me keep my tension loose and uniform.
If it grips even a little bit, my tension seems to get tighter and tighter. A tighter stitch makes the project feel stiff and itchy and that’s not something I want up against my skin. Just sayin’
Tip 3: Use cable needles.
I like knitting with cable needles vs knitting with regular straight knitting needles.
The yarn is super bulky, meaning its going to be a bit heavy. After knitting only 10-15 rows the project is already pretty heavy and so using the cable makes it so much lighter.
To me, it just seems like there’s more resistance when I knit with straight needles rather than the cable needles.
The other perk of cable needles is that when I drop one of my needles, which for some reason I seem to do frequently, I know that I’m not going to lose it and it won’t roll across the room or something embarrassing like that.
Tip 4: Use the right needle size to obtain the right gauge.
A lot of people ask me how I get my gauge on my patterns and after studying myself and other peoples knitting videos, I noticed that the biggest difference in my knitting style is that I use hardly any tension.
Having the right sized needles, with the right tension, is key.
Different needle sizes do give me a different out come. So having the right needle size for the right tension for the right project is very important.
For example:
When I knit my boot cuffs I usually use a size US 11 because I want a tighter stitch, I want them a little stiffer, I don’t need a lot of stretch and I don’t usually wear them up against my skin.
For cowls I usually use a size US 13 because I want a little bit of slouch. That little bit of slouch makes the wool less itchy and a lot more squishy and cozy.
Save this pattern for later!
With blankets I like to use a size US 15 because that’s even more cozy and slouchy making it super squishy and cozy!
I have found that these needle sizes work best for me. I do recommend trying different sizes for yourself to see what works best for the size, style and tension to get the results you’re looking for. Really, that is the key to knitting. I have found that I can’t just pick up a pattern, even using the exact same yarn and get the exact same result, it’s about trial and error, frogging and doing it over until I get it perfect… for me.
Tip 5: Use the right needle size for the stitch.
Keep in mind that depending on what stitches you’re knitting you’ll need to adjust your needles size because some stitches, like, cable stitches can become too tight when using a needle that’s too small.
Or if you’re knitting a seed stitch and knitting and purling each stitch every other row the stitches will be tighter than if you’re just knitting knit stitches, so you may want to bump the needle size up here too.
Tip 6: Keep your hands dry.
You want your yarn to slide smoothly through your hands and onto your needles, so having your hands dry is essential.
I’ve noticed that if I’m nervous or hot or if it’s just humid outside and my hands are a little bit sweaty/sticky it makes it hard to knit and it tightens my tension. So, I’m constantly drying my hands.
To help with this, I put a dab of baby powder or corn starch on my hands and it helps soak up the moisture and then I wipe my hands on a towel to remove any residue.
Keep in mind that the baby powder fragrance will get on your knitted project, if you’re okay with that then great, if not, you may want to stick to corn starch. Plus, I don’t have any baby’s so baby powder isn’t handy, but I do a lot of cooking, so corn starch is usually in my kitchen cupboard.
FYI – taking a drink when there’s condensation on your glass is counterproductive to keeping your hands dry, so a cozy is helpful or you can try drinking with your left hand, which was weird for me, so I stick to using a cozy.
Tip 7: Use a band-aid to protect your index finger.
I recommend using a band-aid, at least until you build up a callus. Even after all my years of knitting, if I sit down to binge watch movies a band-aid is a must-have for me. I use my index finger a lot when I knit.
At first, it was a little awkward, but my finger felt so much better. It’s totally worth the awkwardness. After a few days it felt “normal.”
I use the small band-aids and I recommend using the name brand. The generic brand just doesn’t cut it.
Tip 8: Keep your yarn loose.
Make sure to pull your yarn from the skein/ball/cake/etc before you knit, so it’s loose. You’ll need to keep doing this as you knit and run out of loose yarn.
Knitting it directly off the skein/ball/cake/etc creates tension all on it’s own.
I want to keep my yarn up off the floor, so I use a vintage battery jar to hold my yarn. I like that the sides are tall, which keeps the yarn from hopping out when I tug on it. A large plastic tub works great too! You can get creative here and use a large vase, pottery or wood crate. :)
Tip 9: Tension. Period. {Actually, there are 9 tips!}
I think I’ve mentioned tension in each of my tips above. In my opinion, the biggest difference I’ve noticed is the tension variance when knitting with a super chunky yarn vs a thinner yarn.
I use very little tension. I just wrap it around my index finger once and that’s it for tension… very little tension.
I like my stitches very loose and just let them flow so I’m not fighting it at all.
So, let your stitches flow! ;)
I hope you found these tips to be helpful and they give you a good foundation when you start knitting with a super bulky yarn.
If you need more details, please watch the video, I show you exactly how I knit along with all the tips above. ;)