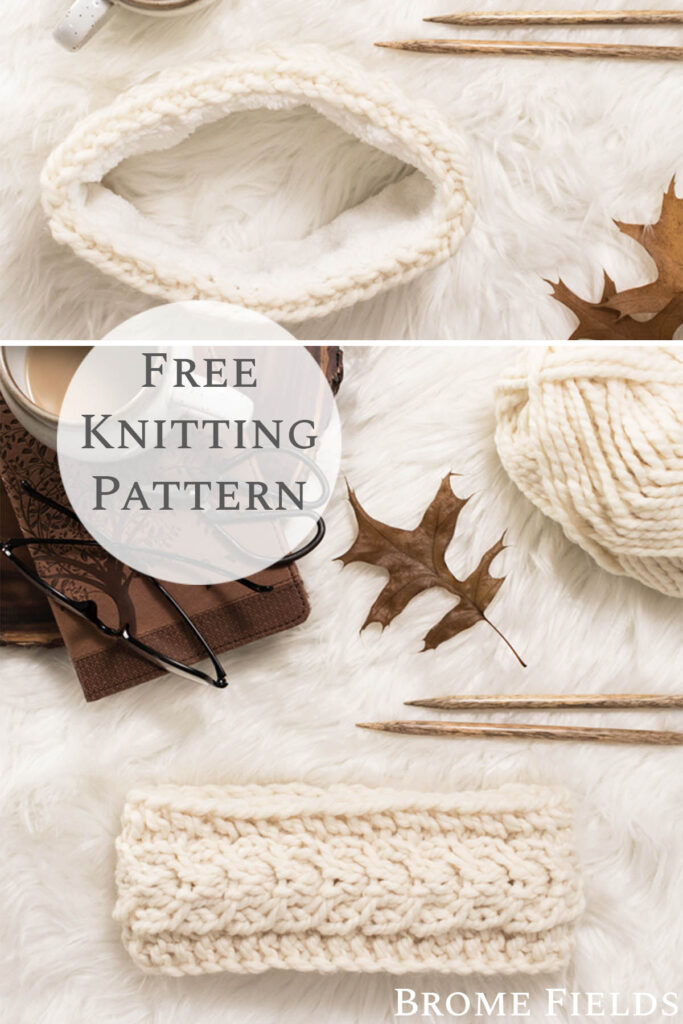
Fish Tail Braided Cable Headband Knitting Pattern, Free
This post may contain affiliate links. Please read my disclosure policy.
Grab this FREE fish tail braided cable headband knitting pattern with a fleece liner. The warmest, coziest headband ever!
Listening to the crunch of the leaves with each step and feeling the crisp air mingling with the warmth of sunlight on my face… ahhhh, spring… my favorite time of year.
About
Available Sizes: One
Size: 20 – 22″ {51 – 56cm} Head Circumference
Pattern Format: Written Pattern, No Chart
Pattern Language: English
Skill Level: Advanced Beginner
PDF Format: Printer Friendly
PDF Bonus: Ad-Free Video, Checklist
Pattern Name: Crisp Sunlight
Techniques
Knit Flat
Knit & Purl Stitches
Cable Stitches
Clean Edge
Sew Seam
Materials
Yarn Weight: Super Bulky
Yardage: 65 – 75 yards {59 – 68 meters}
Suggested Yarn: Lion Brand Wool Ease Thick & Quick
Needle Size: US 11 {8mm} Knitting Needles
Extras: Cable Needle, Fleece {Optional}
Yarn Substitutes
- Lion Brand Hometown Yarn (acrylic option)
- Lion Brand Re-Spun Thick & Quick
- Cascade Yarns Pacific Chunky
- Hobbii Umami
- Rico Designs Creative Twist
- Rowan Big Wool (100% wool)
- Yarn Bee Dream Supreme
- Paint Box Yarns Wool Blend Super Chunky
Check out Yarnsub’s for more yarn substitutions.
Details
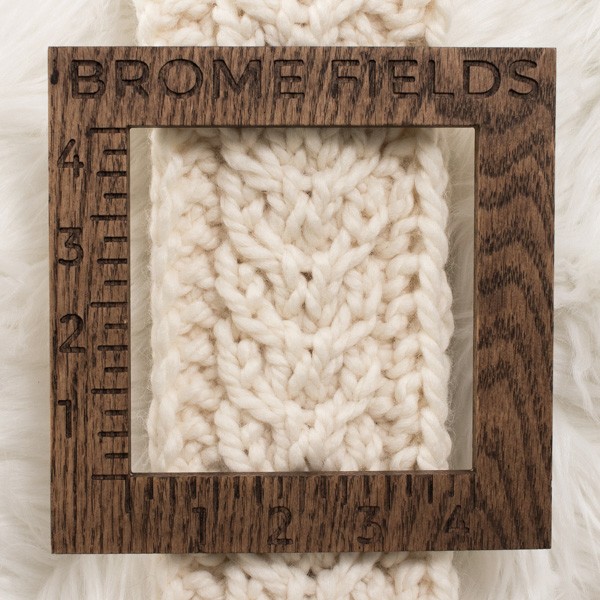
Measurements, After Seaming: 3 1/2″ Height x 10′′ {9cm x 25cm}
Gauge: 12 STS & 15 rows per 3 1/2” {9cm} square, knit in the pattern below
Weight: 3.8oz {110g}
Notes
Not reversible.
The CO edge is the height.
Knit using a variation of the wild oats knit stitch.
If you’re going to line the headband, be sure to sew the fleece to the headband BEFORE seaming the ends together.
Video Tutorials
Save it for Later
- Buy the ad-free, printer-friendly pattern in the Shop.
- Save it to your Ravelry Library!
- Pin-it to Pinterest for later.
Save this pattern for later!
Download & Print this Pattern
Do you enjoy working from a paper copy? Get the downloadable, printer-friendly PDF completely ad-free.
That way you can have lifetime access to it and download it to any device and view it from anywhere, without ads (and the pattern might not be around forever).
FREE Knitting Pattern
 |
 |
 |
Knit flat, row by row, back & forth:
CO 12 STS
Note: First 3 sts = edge, Middle 6 sts = cables, Last 3 sts = edge
Row 1 {WS}: WYIF S1PW, K2, P6, K2, WYIF S1PW {set-up row}
Row 2 {RS}: K1TBL, K1, P1 [K2, WYIB S2PW, K2] P1, K1, WYIF S1PW
Row 3 {WS}: K1TBL, K2 [P2, WYIF S2PW, P2] K2, WYIF S1PW
Row 4 {RS}: K1TBL, K1, P1, [C3B, C3F] P1, K1, WYIF S1PW
Row 5 {WS}: K1TBL, K2, P6, K2, WYIF S1PW
Repeat rows 2-5 until desired length.
Fleece {Optional}:
I used a sherpa type fleece. You can get creative here and use just about anything. If you’re a quilter and want to use flannel and batting, that would look cute too!
When cutting use a 1/4” seam allowance, but it’s better to err on the side of too much than not enough, you can always trim it, thankfully you’re not working with a lot of fabric.
Before sewing together, put the wrong sides together.
Sew the fleece to the headband BEFORE seaming the ends together.
I sewed the fleece onto the headband by hand, but you can use a sewing machine.
Whichever method works best for you.
I sewed the fleece to the headband, all the way around. I didn’t sew the ends of the fleece together, so that it would have plenty of stretch.
End:
Sew CO & BO edge together.
Weave in the ends.
No blocking necessary.
Knitting Abbreviations
* – * – repeat between *
BO – bind-off in pattern
CO – cast-on {long-tail cast-on method}
C3B – slip 2 STS onto a cable needle hanging at the BACK of your work, knit 1 ST, K2 STS from the cable needle.
C3F – slip 1 STS onto a cable needle hanging at the FRONT of your work, knit 2 STS, and then knit the 1 stitch from the cable needle.
K – knit stitches {K1 means to knit 1 stitch}
K1TBL – knit 1 stitch through the back loop
P – purl stitches {P2 means to purl 2 stitches}
RS – right side
S1PW – slip one stitch purl-wise
S2PW – slip two stitches purl-wise
STS – stitches
WS – wrong side
WYIF – with yarn in front
Gauge
|
|
|
|