
Linen Stitch Tote Bag Free Knitting Pattern
This post may contain affiliate links. Please read my disclosure policy.
I’ve been dreaming up the perfect book bag for a while now — one that’s actually strong enough to hold the weight of a good stack of reads without stretching out of shape by the end of the day. This is that bag.
Get the free knitting pattern below or purchase the ad-free, printer-friendly PDF
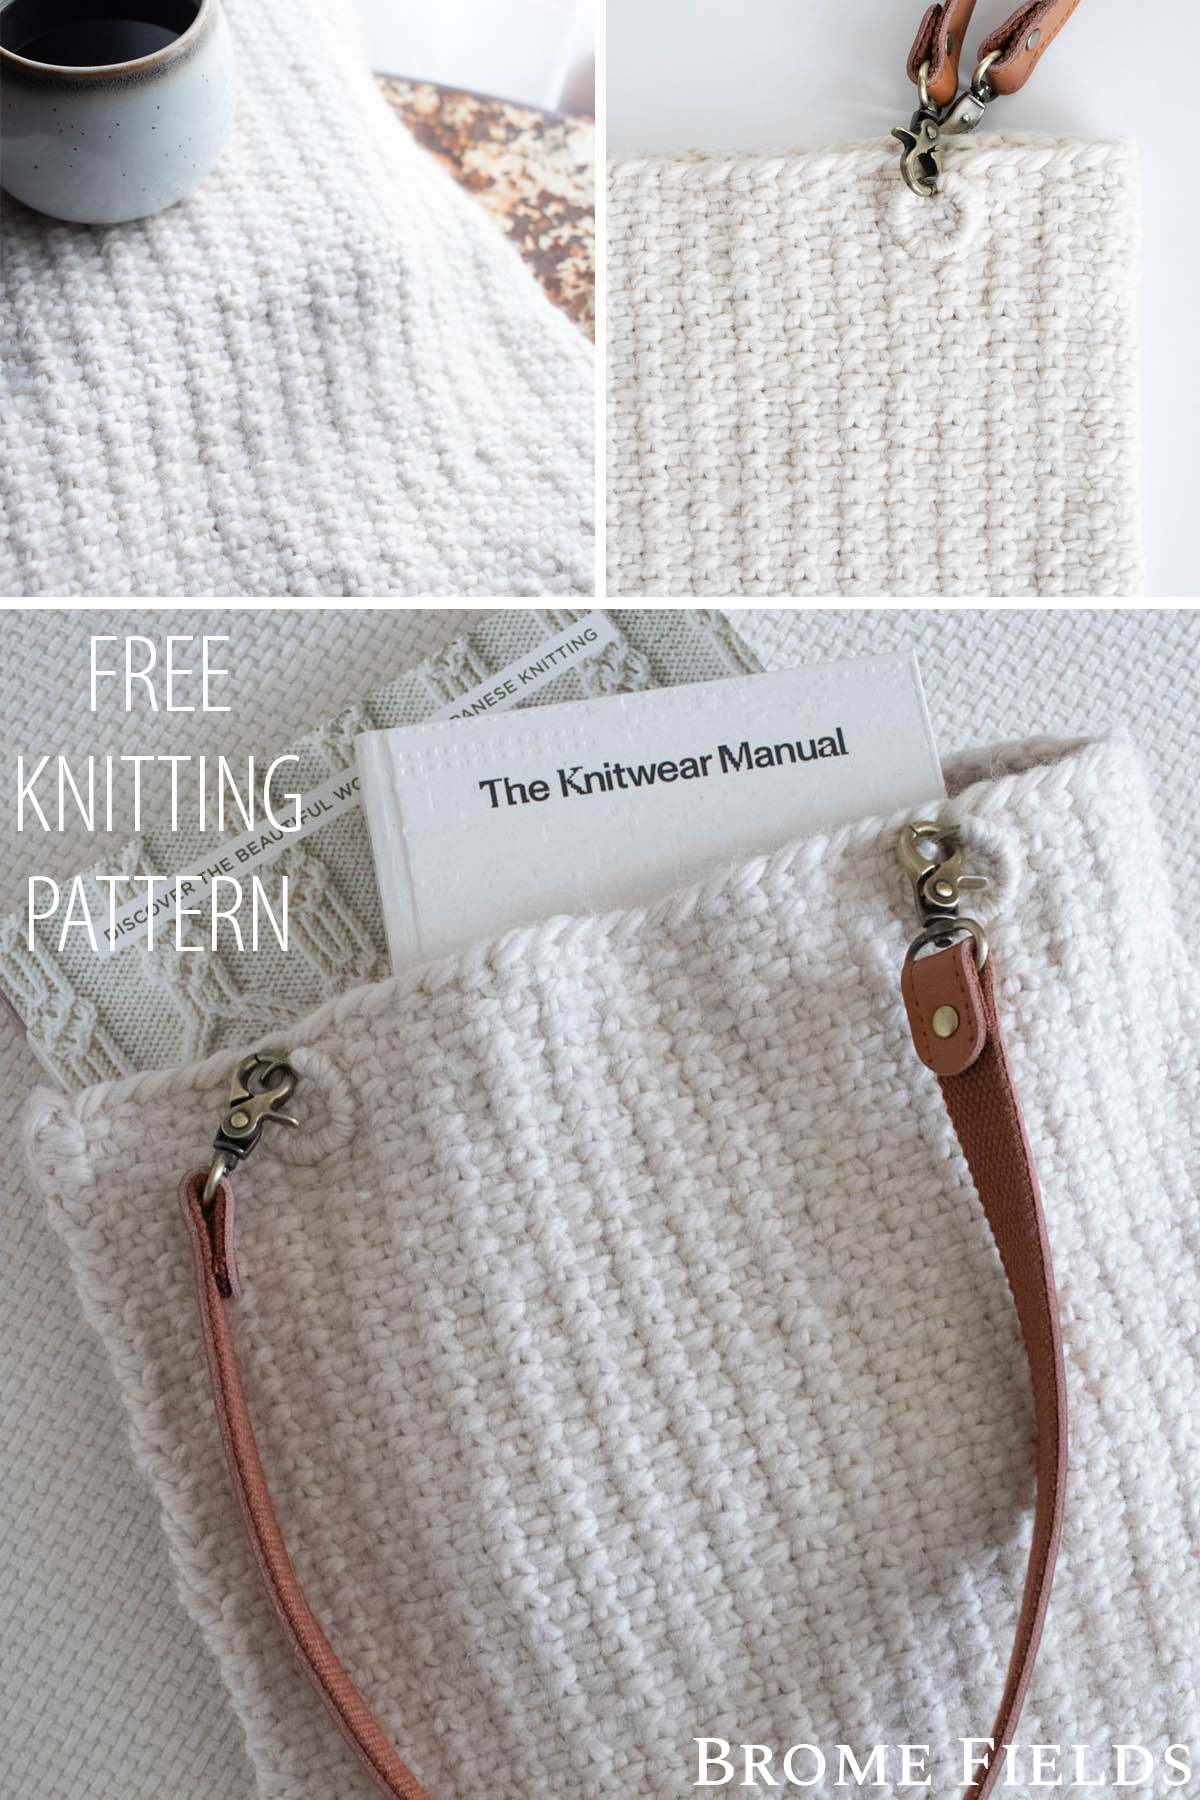
The Storybook Tote is knit in the linen stitch, which creates a beautifully tight, dense fabric — exactly the kind that holds its structure and keeps everything right where you put it. And then there are the metal keyring hardware details, which add an extra layer of strength right at the stress points where the straps attach. It’s a bag built to last.
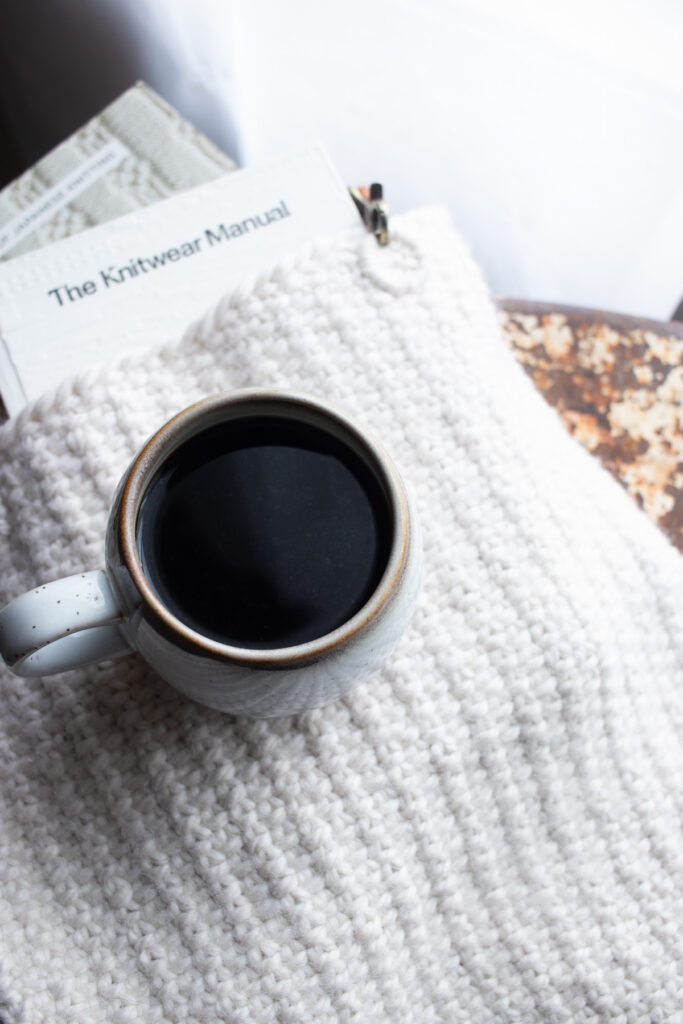
What I really love about this one is the yarn. Lion Brand Re-spun Thick & Quick is made from repurposed fiber, so it’s an eco-friendly choice right from the start. It’s also less likely to pill and won’t felt the way wool can — which means this bag is going to look just as beautiful years from now as it does the day you finish it. The yarn has the most gorgeous subtle halo to it too, which gives the finished bag that unmistakable handmade charm. It really is stunning inside and out — I’m even considering designing a liner for it down the road to make it that much more functional.
About the Pattern
Available Sizes: One
Pattern Format: Written Pattern, No Chart
Pattern Language: English
Skill Level: Advanced Beginner
PDF Format: Printer Friendly
Pattern Name: Storybook
Techniques:
Knit Flat (Back & Forth)
Knit & Purl Stitches
Slipped Stitches
Yarn in Front & Yarn in Back
Materials:
Yarn Weight: Super Bulky
Yardage: 148 – 158 yards (135 – 145 meters)
Suggested Yarn: Lion Brand Re-spun Thick & Quick, Whipped Cream
Needle Size: US 11 (8mm) Circular Needles with a 24″ (60cm) Cable, or longer
Tapestry / Darning Needle
2 Leather Purse Straps: Length: 24”(60 cm), width: 0.8” (2 cm), Thickness: 0.17” (0.45 cm)
4 – 25mm Key Rings
Safety Pins
Details:
Measurements: 12″ wide x 13″ (30cm x 33cm)
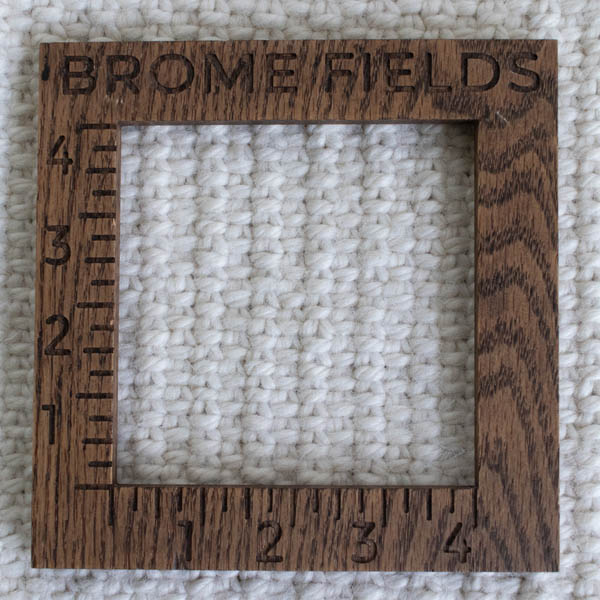
Gauge: 13 STS & 26 rows per 4” (10cm) square, knit in the linen stitch without steaming or blocking, using US 11 (8mm) circular needles.
Weight: 8.6oz (245g)
Notes:
Not reversible.
Knit top down.
The CO edge is the top.
Knit using the linen stitch.
Knit 2 sides and then seam them together.
When I made a mistake I had to tink, or unknit, back to the mistake. This isn’t a very forgiving pattern.
Knit flat on circular needles, which are used to hold the large number of CO stitches, without joining in the round.
Linen Stitch Video Tutorial
Gauge
13 STS & 26 rows per 4” (10cm) square, knit in the linen stitch without steaming or blocking, using US 11 (8mm) circular needles.
Knitting Abbreviations
*– * – repeat between the asterisks
BO – bind-off
CO – cast-on (long-tail cast-on method)
K – knit stitches (example: K1 means to knit 1 stitch)
P – purl stitches (example: P2 means to purl 2 stitches)
RS – right side
S1PW – slip one stitch purl-wise
WS – wrong side
YBK – with yarn in the back
YFWD – with yarn forward
Save it for Later
- Want a printable version? Grab the ad-free PDF here and knit cozy anywhere — no scrolling required.
- Save it to your Ravelry Library!
- Pin-it to Pinterest for later.
Save this pattern for later!
Download & Print this Pattern
Do you enjoy working from a paper copy? Get the downloadable, printer-friendly PDF completely ad-free.
That way you can have lifetime access to it and download it to any device and view it from anywhere, without ads.
Pattern Instructions
CO 38 STS
Row 1 (WS): *P1, YBK, S1PW, YFWD*
Row 2 (RS): *K1, YFWD, S1PW, YBK*
Repeat rows 1-2, until it measures 13″ (33cm), or desired length.
BO in all knit stitches.
Knit the second side the same as the first.
Weave in the ends.
Sew Seams:
Lay the piece flat with right sides together, matching up the top and bottom edges so the panel is symmetrical. Place a few safety pins every few inches along the edge to keep everything lined up and prevent shifting as you sew. Thread a yarn needle with a long length of matching yarn, leaving a tail to weave in later.
Using the mattress stitch, start at one top corner and work your way down the side seam, across the bottom, and back up the opposite side, removing pins as you go. Keep your stitches snug and even for a clean, nearly invisible seam, but not so tight that the fabric puckers. When you reach the final corner, fasten off and weave in your ends on the wrong side of the work.
Turn right side out to check your seam before moving on to attaching the handles.
Attaching the Keyrings & Straps:
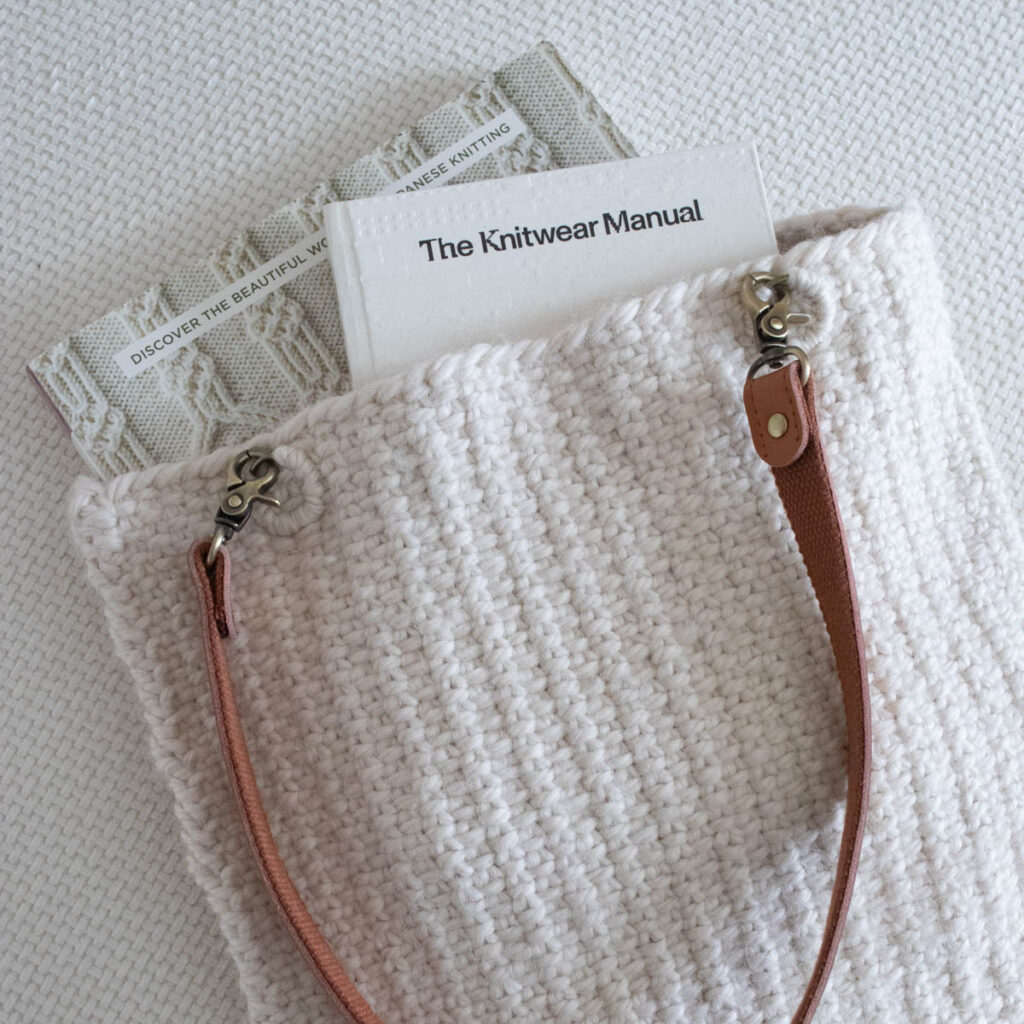
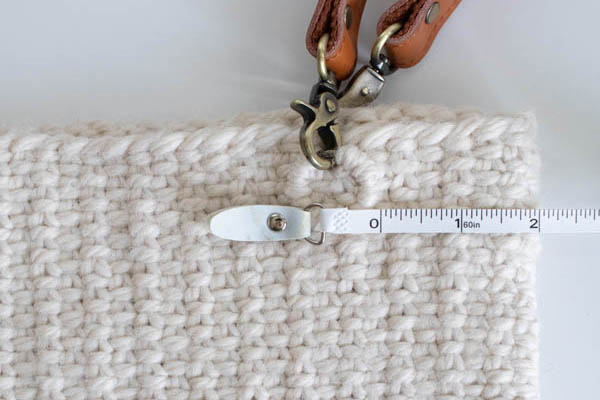
Using a length of yarn threaded onto a yarn needle, attach a metal keyring just below the top edge of the bag, positioned about 2″ in from the side seam. Sew through the ring and into the fabric several times, going almost all the way around the ring, to anchor it as securely as possible. Weave in your ends.
Repeat for the remaining 3 keyrings, placing one near each side seam on both the front and back of the bag (4 keyrings total), so your straps will sit evenly.
Once all 4 keyrings are attached, clip the lobster clasp ends of your leather purse straps onto the keyrings to complete your bag.
Note: If both ends of your strap have lobster clasps, you can attach it in whichever orientation you like, there’s no right or wrong side. Feel free to also mix and match strap lengths or styles if you’d like to customize the look of your tote.
Share your Storybook Tote
I can’t wait to see the yarns you choose to make this your own. When you finish yours, we want to see it! Tag your photos on social media with #bromefields — nothing makes my day quite like seeing this pattern out in the world.
Want More Patterns Like This?
Join the BFF Knitting Club — Brome Fields’ monthly membership with new patterns and slow cozy content delivered directly to your inbox every month. It’s a quiet little corner of the internet just for knitters. Come join us.