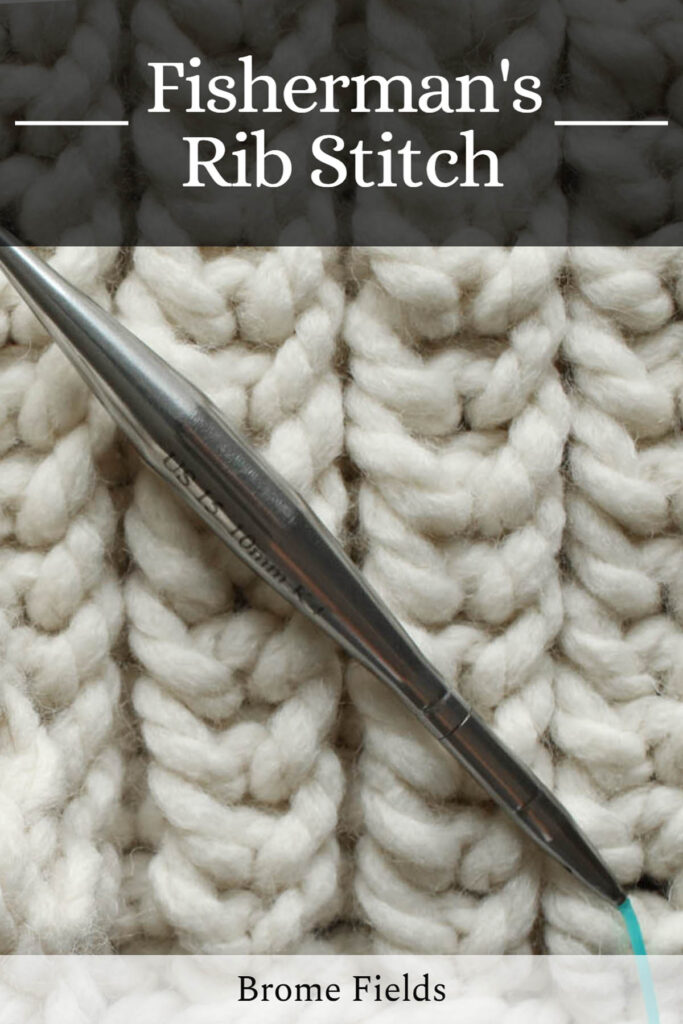
Master Fisherman’s Rib Stitch Knit in the Round | Squishy Texture Made Simple
Looks like brioche… but it’s not.
This stitch is way easier… and squishier.
When I first knit the Fisherman’s Rib flat, I was hooked on its soft, cloud-like squish. But once I tried it in the round, I knew it was destined for all my favorite cozy fall accessories. Fisherman’s Rib in the round creates the same thick, reversible texture with just a simple twist on the stitches. This post will show you exactly how to do it, with beginner-friendly instructions and plenty of tips for success.
What Is Fisherman’s Rib Stitch, Knit in the Round?
Same Squish, New Stitch
Fisherman’s Rib in the round uses a twist to the stitch technique as in the knit flat pattern — the “knit 1 below” — we’ll be introducing “purl 1 below.” It’s worked seamlessly on circular needles. The result is a stretchy, bouncy fabric with all the squish and none of the seams.
Why It’s Perfect for Accessories
Because the stitch is reversible, you don’t have to worry about a wrong side showing. That makes it perfect for hats, cowls, and infinity scarves — the kind of cozy pieces you’ll want to wear all season long.
Why You’ll Love Knitting It in the Round
Seamless Fabric With No Wrong Side
In the round, the stitch flows continuously, giving your project a polished, professional look without seams.
Stretches Beautifully for Hats + Cowls
The natural elasticity of Fisherman’s Rib makes it a great choice for accessories that need a little give, like hats that hug your head just right or cowls that drape comfortably.
Squishy Warmth That’s Beginner-Friendly
Even though it looks like brioche, it’s much simpler to knit. Once you get into the rhythm, it becomes a soothing, meditative stitch that you’ll return to again and again.
How to Knit Fisherman’s Rib Stitch in the Round (Step-by-Step)
Materials You’ll Need
- Bulky or super bulky yarn (smooth yarn is easiest to learn with)
- Circular needles (about 1 size larger than recommended for your yarn)
- Stitch marker to mark the beginning of the round
Cast-On and Setup Round
Cast-on an even number of stitches. Place a marker to mark the beginning of the round. Join in the round
Set-up Round: *K1, P1* (Knit 1 and then purl 1, repeat all the way around)
The Main Repeat
Round 1: *K1B, P1* (Knit 1 below and then purl 1, repeat all the way around)
Round 2: *K1, P1B* (Knit 1 and then purl 1 below, repeat all the way around)
Repeat rounds 1-2 until desired length.
When your piece is the length you want, bind-off in pattern using the K1, P1 rib stitch.
Weave in the ends.
Gently block or steam-block lightly, if desired.
💡 Tip: Keep an eye on your “knit below” stitches in the round. If you accidentally knit the normal stitch instead of the one below, the pattern will shift.
💡 Note: Since you’re knitting in the round, you’re always on the right side of the fabric — so each round builds on the front. No flipping needed, just smooth, squishy rounds all the way around.
Video Tutorial: Fisherman’s Rib in the Round
How to Read Your Stitches
After you’ve knit a few rounds…
- If your knit stitch below has 2 loops, knit into it.
- If your knit stitch below has 1 loop, knit 1 below.
- If your purl stitch below has 2 loops, purl into it.
- If your purl stitch below has 1 loop, purl 1 below.
Save this pattern for later!
The beauty of this stitch is that it’s easy to read. Once you can read your stitches, it’s easy to put your knitting down and pick it back up without losing your place.
Common Struggles + Fixes
Accidentally Knitting the Regular Stitch Instead of “Below”
If your fabric looks more like 1×1 ribbing, you may have missed the “below” stitch. Look closely at your work — every other stitch should have a double thickness on every other row, so the double loops alternate.
Yarn Usage and Planning Ahead
Fisherman’s Rib uses more yarn than standard ribbing — about 30–50% more. Buy an extra skein (or more) so you don’t play chicken with your yarn.
Uneven Tension or Stitches Not Settling
Sometimes the stitches don’t “sit” correctly on the needle. Give your work a gentle tug both vertically and horizontally, then the fabric will relax into place.
Dropped Stitches + How to Save Them
Dropped stitches can look intimidating in Fisherman’s Rib. A crochet hook is your best friend here, or better yet, use lifelines every few inches for peace of mind. (I highly recommend lifelines… in this case they’re lifesavers.)
Best Projects for Fisherman’s Rib in the Round
Hats and Beanies
The stretch and squish of this stitch make it perfect for hats that are snug but comfortable.
Cowls and Infinity Scarves
Reversible fabric = no fuss. You’ll never worry about flipping your cowl to the “right” side.
Sweater Collars + Cuffs
This stitch adds cozy texture and stretch to sweater edges, making them both stylish and practical.
Tips for Success With Fisherman’s Rib in the Round
Swatch in the Round for True Gauge
Because Fisherman’s Rib stretches differently than stockinette, always swatch in the round for accuracy.
Use Smooth, Light-Colored Yarn While Learning
It’s much easier to see the “below” stitches with a smooth, lighter yarn. Save the fuzzy fibers for later once you’re comfortable with this stitch.
Keep a Relaxed Tension
This stitch likes a gentle hand. Relax your tension and let the yarn do its thing.
Place Lifelines Every Few Inches
Especially for big projects, lifelines make it easy to rip back without fear. Future-you will thank you!

Fisherman’s Rib Stitch Knit in the Round
Equipment
- Knitting Needles (Recommended Size for Yarn)
- Stitch Marker
Materials
- Any Yarn
Instructions
- Cast-on an even number of stitches.
- Set-up Round: *K1, P1* (Knit 1 and then purl 1, repeat all the way around)
- Round 1: *K1B, P1* (Knit 1 below and then purl 1, repeat all the way around)
- Round 2: *K1, P1B* (Knit 1 and then purl 1 below, repeat all the way around)
- Repeat rounds 1-2 until desired length.
- When your piece is the length you want, bind off in pattern using the K1, P1 rib stitch.
- Weave in the ends.
- Gently block or steam-block lightly, if desired.
Abbreviations
- * – * – repeat between the asterisks
- BO – bind-off in pattern
- CO – cast-on (long-tail cast-on method)
- K – knit stitches (K1 means to knit 1 stitch)
- K1B – knit 1 stitch below
- P – purl stitches (P2 means to purl 2 stitches)
- P1B – purl 1 stitch below
- STS – stitches
Final Thoughts: Add This Stitch to Your Cozy Repertoire
Fisherman’s Rib in the round is one of those stitches that looks advanced but feels delightfully simple once you try it. It’s soft, stretchy, and endlessly cozy — the kind of stitch that makes hats, cowls, and sweaters you’ll never want to take off.
If you’re ready to give it a try, start with the tutorial video above and cast-on your first round. And if you’d like to explore more, check out:
Happy knitting — and happy snuggling into all that squish!