
Quick Knit Skinny Scarf Pattern
This post may contain affiliate links. Please read my disclosure policy.
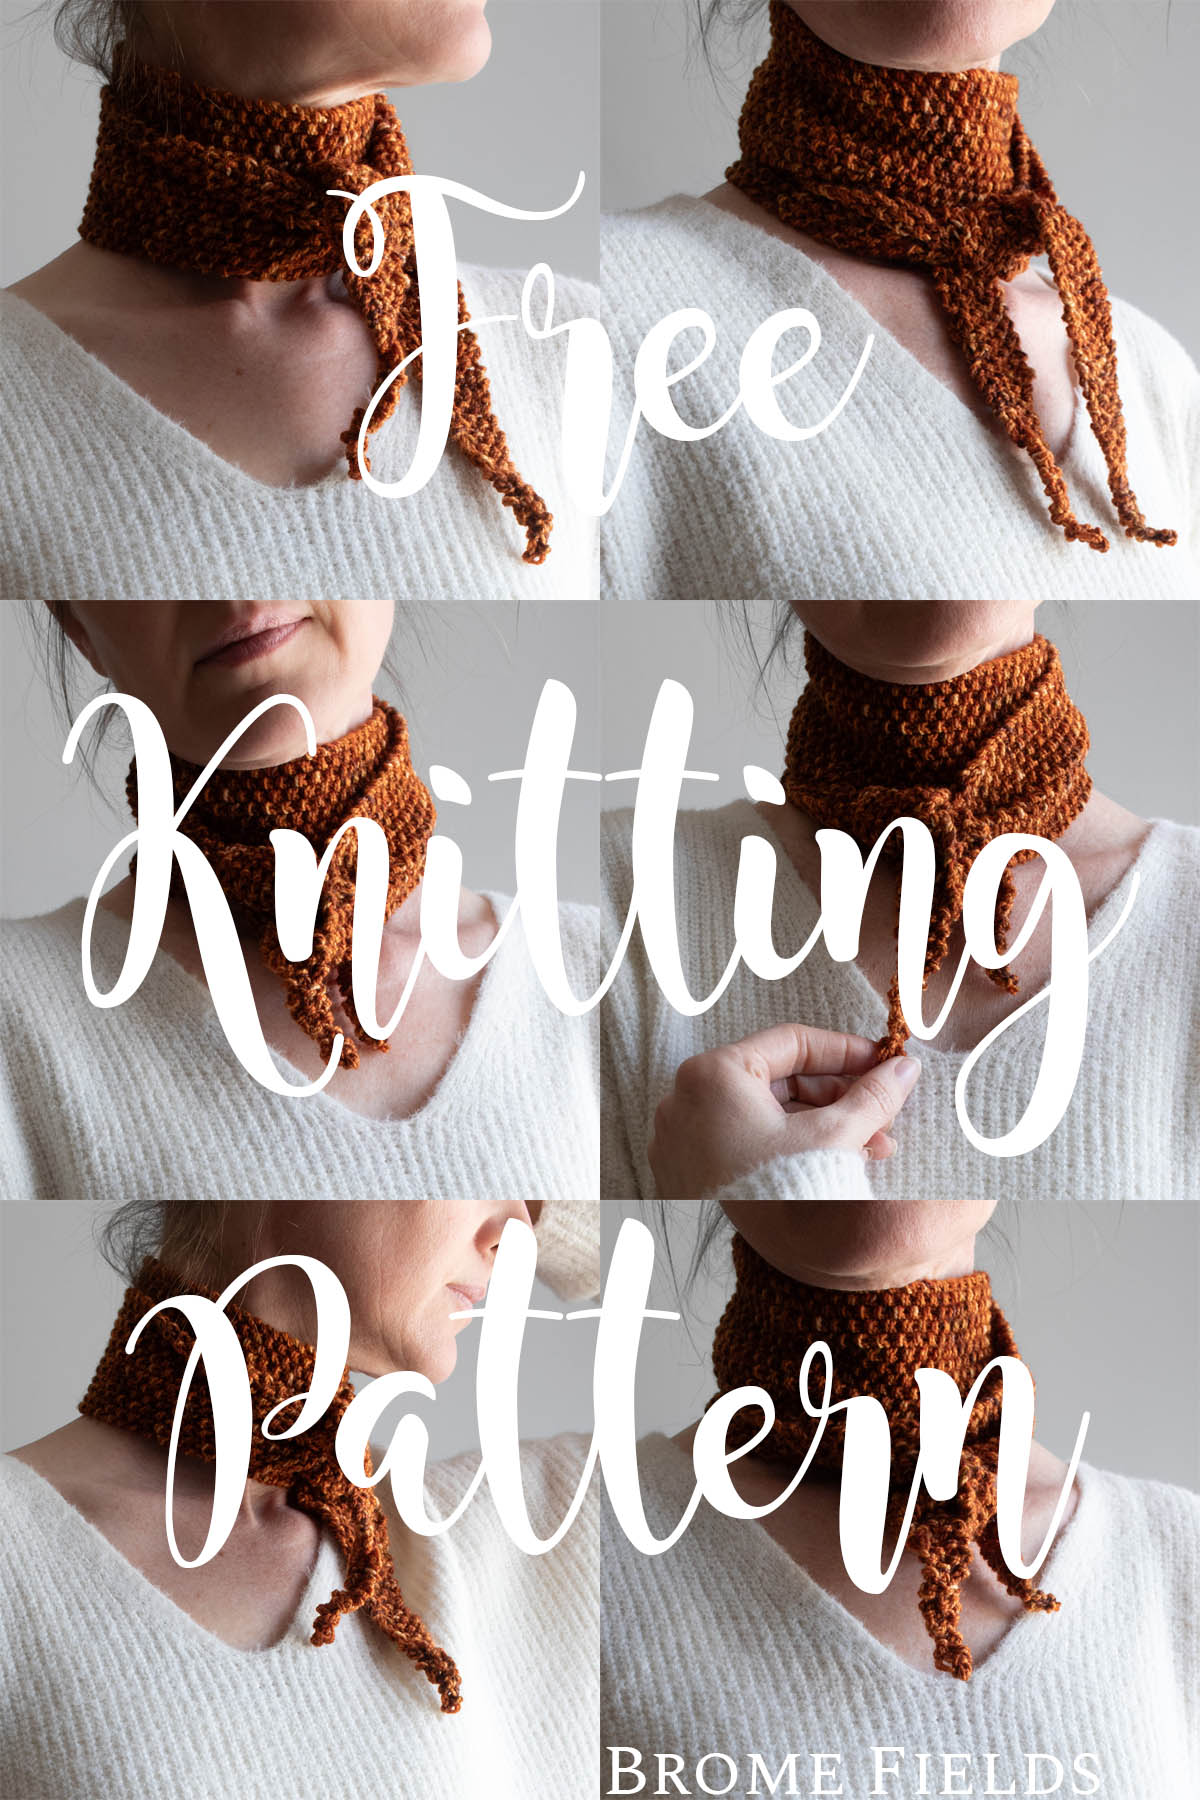
I wanted to design something simple this time — a quick knit skinny scarf with nothing more complicated than a few increases and decreases and easy edges. Something that felt doable, even on a day when my brain didn’t have much bandwidth for pattern-reading.
Seed stitch felt like the right call, partly for the texture, and partly because I didn’t want to fight the curling and twisting you get with stockinette. And I held the sock yarn double, which does double duty — it adds real warmth for those chilly mornings when you need something at your neck, and it means the whole thing knits up fast. There’s something so satisfying about a project that gives you instant gratification without skimping on the finished result.
What I didn’t expect was how much depth the hand-dyed yarn would take on once it was held double. The colors layered into each other in a way I couldn’t have planned, and now this skinny scarf is one of my favorite pieces I’ve made all year — a small, easy way to add a little more color and elegance to whatever I’m already wearing.
About the Skinny Scarf Knitting Pattern
Available Sizes: 3 sizes 3″, 4″ or 5″ wide
Pattern Format: Written Pattern, No Chart
Pattern Language: English
Skill Level: Advanced Beginner
PDF Format: Printer Friendly
Pattern Name: Almost Autumn
What Skills You Need to Knit This Pattern
This skinny scarf pattern uses the following knitting techniques:
Knit Flat
Knit & Purl Stitches
Increase & Decrease Stitches
Yarn Held Double
Recommended Yarn Details
Yarn Weight: Classic Sock Yarn
Yardage: 160 – 280 yards (146 – 256 meters)
Suggested Yarn: Coast to Coast Yarn Co. Classic Sock, Laetiporus
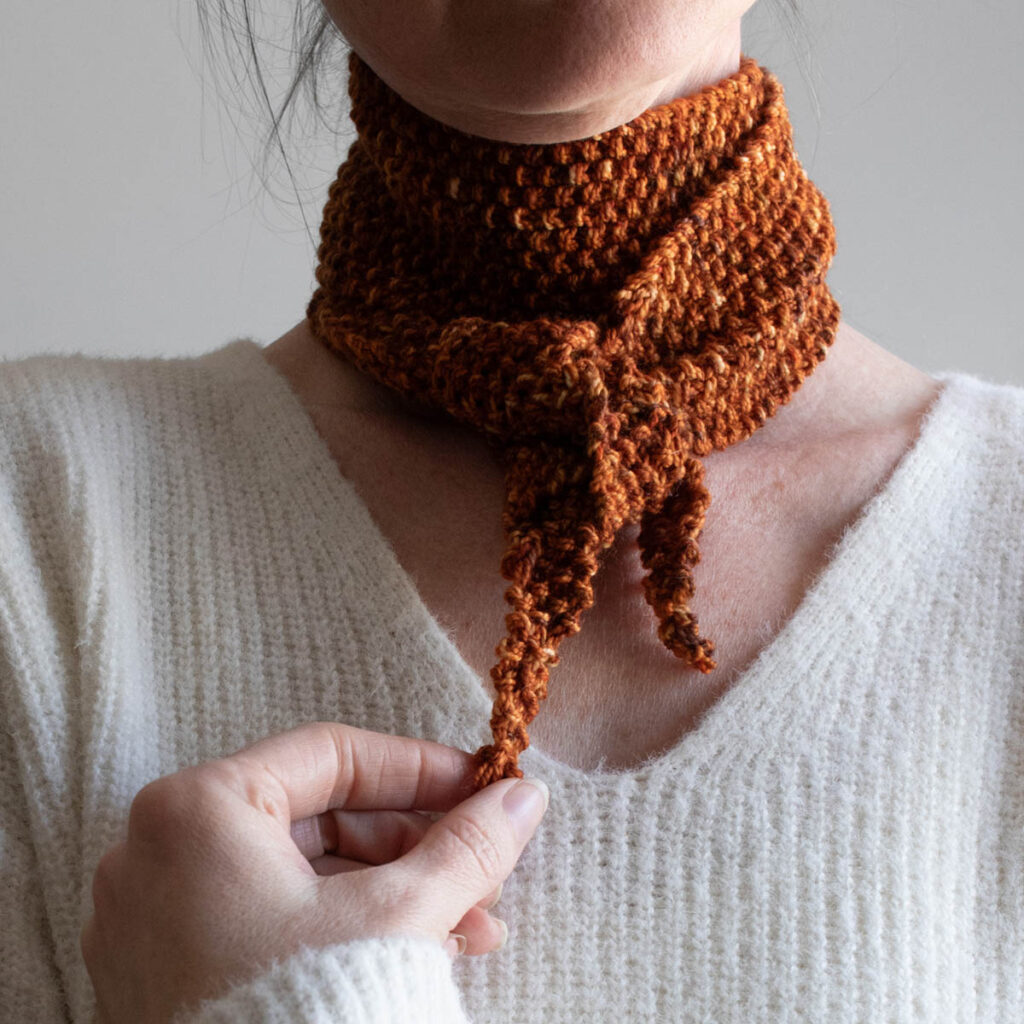
This was knit with hand-dyed sock yarn held double, but any similar-weight sock/fingering yarn should work well for this pattern.
Needles & Notions
US 9 (5.5mm) Knitting Needles
Scissors
Darning Needle
Final Project Details
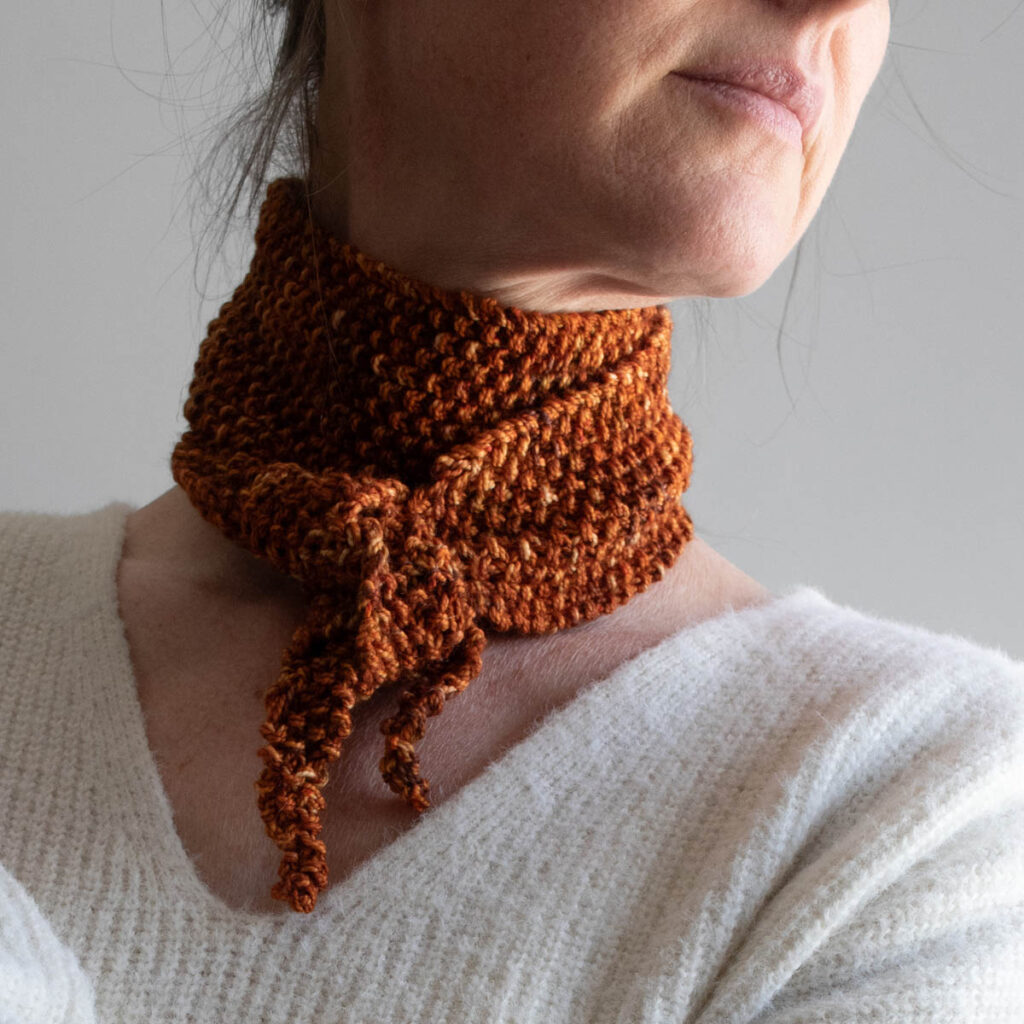
Measurements, after steaming: 3″ wide x 43″ long (8cm x 109cm)
Gauge: 13 STS & 21 rows per 4” (10cm) square, knit in the seed stitch
Weight: 1.4oz (40g)
Sizes
13 sts = 3″ width (40g) 160y
17 sts = 4″ width (55g) 220y
21 sts = 5″ width (70g) 280y
Notes
Reversible.
Knit from side to side.
Knit using the seed stitch.
Knitting Abbreviations
*– * – repeat between the asterisks
BO – bind-off in pattern
CO – cast-on (long-tail cast-on method)
INC1 – make 1 stitch (I use a backwards loop)
K – knit stitches (K1 means to knit 1 stitch)
K2TOG – knit 2 stitches together
KFB – knit the stitch, before slipping off, knit another stitch into the back of the same stitch, slip to right needle
P – purl stitches (P2 means to purl 2 stitches)
RS – right side
STS – stitches
WS – wrong side
Save it for Later
- Want a printable version? Grab the ad-free PDF here and knit cozy anywhere — no scrolling required.
- Save it to your Ravelry Library!
- Pin-it to Pinterest for later.
Download & Print this Pattern
Do you enjoy working from a paper copy? Get the downloadable, printer-friendly PDF completely ad-free.
That way you can have lifetime access to it and download it to any device and view it from anywhere, without ads.
Pattern Instructions
Row 01: CO 1 stitch, using a slip knot
Row 02: KFB
Row 03: P1, K1
Row 04: K1, P1
Row 05: P1, K1
Row 06: INC1, K1, P1
Row 07: P1, K1, P1
Row 08: P1, K1, P1
Row 09: P1, K1, P1
Row 10: P1, K1, P1
Row 11: INC1, P1, K1, P1
*****
Row 12: *P1, K1*
Row 13: *K1, P1*
Row 14: *P1, K1*
Row 15: *K1, P1*
Row 16: INC1 *P1, K1*
Row 17: *K1, P1* K1
Row 18: *K1, P1* K1
Row 19: *K1, P1* K1
Row 20: *K1, P1* K1
Row 21: INC1 *K1, P1* K1
Row 22: *K1, P1*
Save this pattern for later!
Row 23: *P1, K1*
Row 24: *K1, P1*
Row 25: *P1, K1*
Row 26: INC1 *K1, P1*
Row 27: *P1, K1* P1
Row 28: *P1, K1* P1
Row 29: *P1, K1* P1
Row 30: *P1, K1* P1
Row 31: INC1 *P1, K1* P1
Repeat rows 12-31 until you have 13 (3″) [17 (4″), 21 (5″)] STS on your needles, depending on the width you’d like.
Repeat rows 12-16.
Note: I ended when I had an odd number of stitches on my needles and the next row began with a knit stitch, so that every row is the same. :/ (I know, it’s boring, but it’s consistent and I’m less likely to make a mistake.)
Next Row: *K1, P1* K1
Repeat this row for 37″, measured from the beginning, or until you’ve reached your desired length, minus the decrease side.
Row 1 (WS): K2TOG *K1, P1* K1
Row 2 (RS): *K1, P1*
Row 3 (WS): *P1, K1*
Row 4 (RS): *K1, P1*
Row 5 (WS): *P1, K1*
Row 6 (RS): K2TOG *K1, P1*
Row 7 (WS): *P1, K1* P1
Row 8 (RS): *P1, K1* P1
Row 9 (WS): *P1, K1* P1
Row 10 (RS): *P1, K1* P1
Row 11 (WS): K2TOG *P1, K1* P1
Row 12 (RS): *P1, K1*
Row 13 (WS): *K1, P1*
Row 14 (RS): *P1, K1*
Row 15 (WS): *K1, P1*
Row 16 (RS): K2TOG *P1, K1*
Row 17 (WS): *K1, P1* K1
Row 18 (RS): *K1, P1* K1
Row 19 (WS): *K1, P1* K1
Row 20 (RS): *K1, P1* K1
Repeat rows 1-20, 2 times
Repeat rows 1-5
There should be 4 stitches on your needles
Row 6 (RS): K2TOG, K1, P1
3 stitches remaining:
Row 7 (WS): P1, K1, P1
Row 8 (RS): P1, K1, P1
Row 9 (WS): P1, K1, P1
Row 10 (RS): P1, K1, P1
Row 11 (WS): K2TOG, P1
2 stitches remaining:
Row 12 (RS): P1, K1
Row 13 (WS): K1, P1
Row 14 (RS): P1, K1
Row 15 (WS): K1, P1
Row 16 (RS): K2TOG
Use a darning needles to weave in the ends.
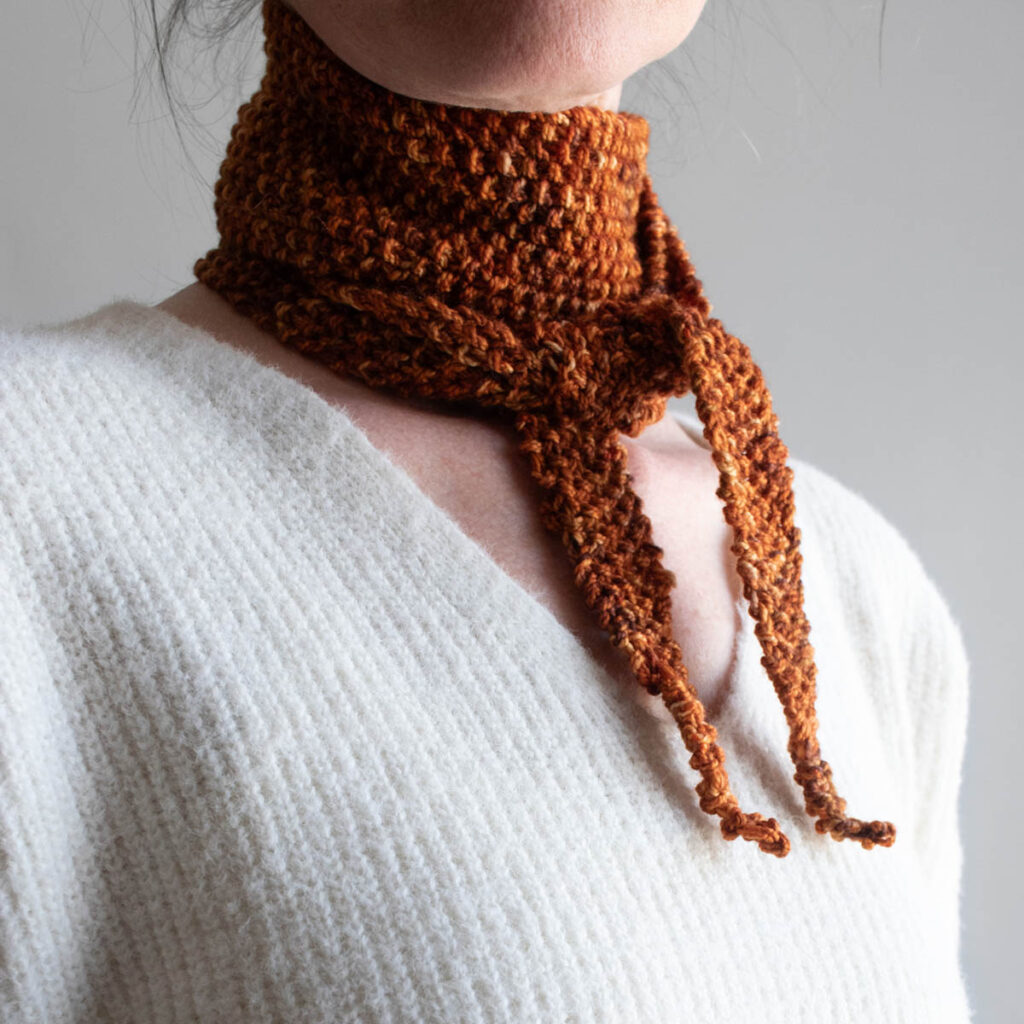
Steam-block lightly, which will add 1-2″/3-5cm of length and soften the stitches for a relaxed drape.
Share your Almost Autumn Skinny Scarf
When you finish yours, we want to see it! Tag your photos with #AlmostAutumnScarf and give us a follow at @bromefields on Instagram and Facebook — there’s nothing better than watching this skinny scarf show up in all its different colors, sizes and styles.
Want More Patterns Like This?
Join the BFF Knitting Club — Brome Fields’ monthly membership with new patterns and slow cozy content delivered directly to your inbox every month. It’s a quiet little corner of the internet just for knitters. Come join us.