Fall Tank Top Sweater Knitting Pattern
This post may contain affiliate links. Please read my disclosure policy.
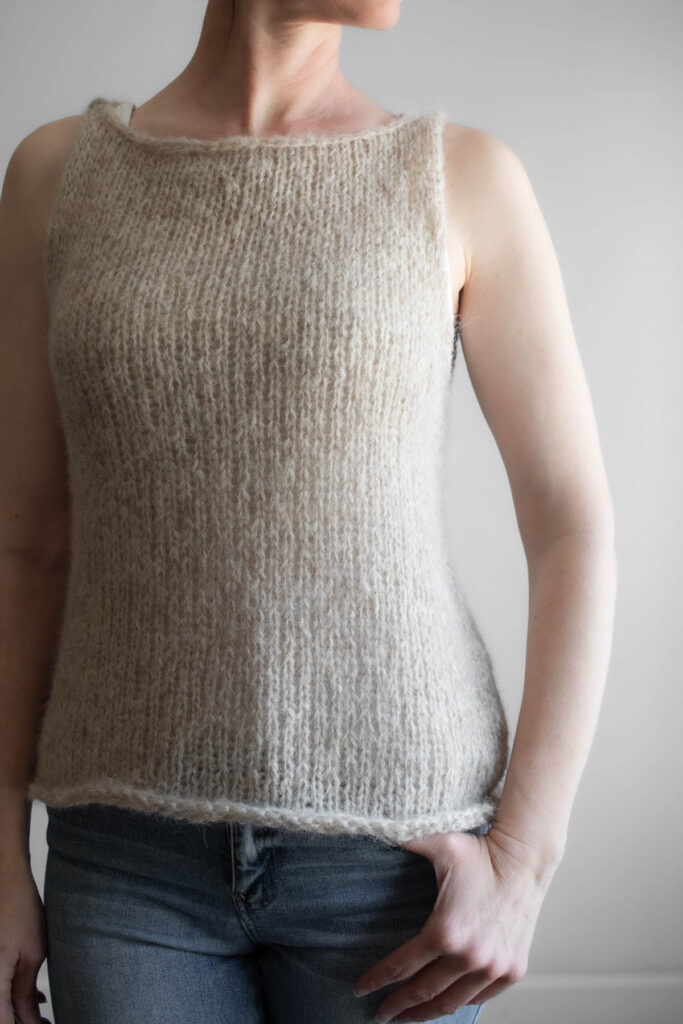
Not quite sweater weather? This lightweight tank top sweater was made for those in-between days.
Get the free knitting pattern below or purchase the ad-free, printer-friendly PDF.
I designed it as an approachable easy first garment: simple stockinette, minimal shaping, and an easy boat neckline.
Layer it with a cami when it’s warm or add your favorite denim jacket when the temperature drops.
That’s what I love about knitting… we can create clothing that works for our lives and our lifestyle.
About the Fall Tank Top Sweater
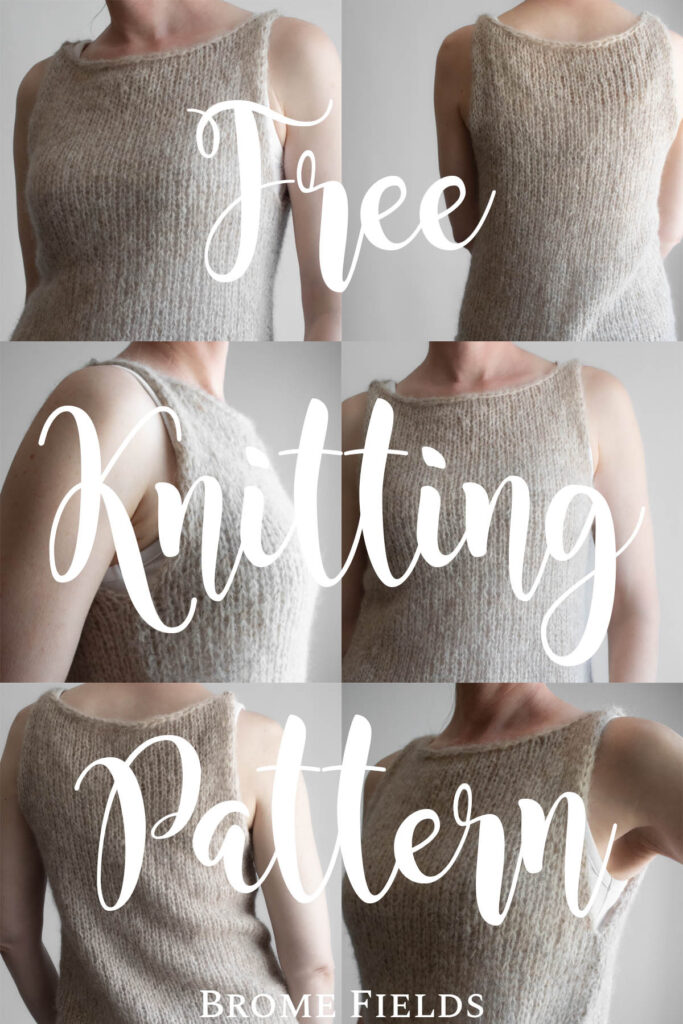
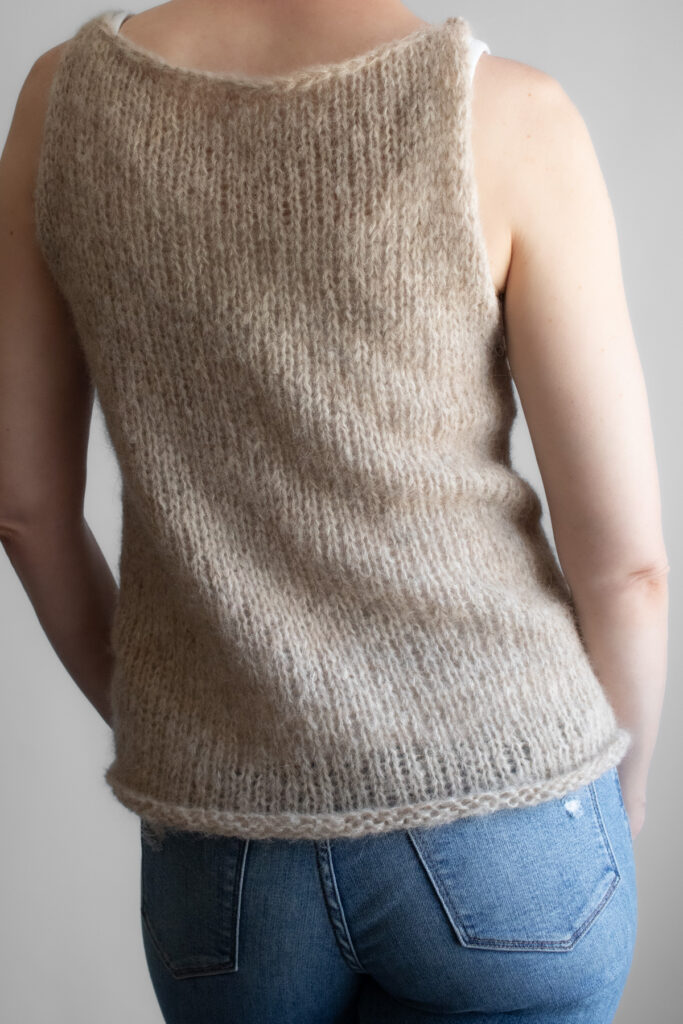
This beginner(ish)-friendly tank top sweater knitting pattern is an easy first step into garment knitting. Knit from the bottom up in simple stockinette stitch, it features uncomplicated armhole shaping and a straight boat neckline with no neckline decreases. Using two strands of brushed alpaca held together to create a soft, airy fabric that you can wear with a cami on warmer days or layer under your favorite denim jacket when fall arrives.
Available Sizes: Seven (XS – 3XL)
Pattern Format: Written Pattern, No Chart
Pattern Language: English
Skill Level: Advanced Beginner
PDF Format: Printer-Friendly
Techniques
Knit Flat (not in the round)
Knit & Purl Stitches
Decrease Stitches
Sew Seams
Materials
Yarn Weight: Worsted
Yardage: 331 – 1025 yards (303–938 meters)
Suggested Yarn: Drops Brushed Alpaca, Color 4 (light beige)
Needle Size: US 11 (8mm) Circular Needles with a 24″ (60cm) Cable, or longer
Needle Size: US 15 (10mm) Circular Needles with a 24″ (60cm) Cable, or longer
Extras: Stitch Markers (optional, to mark decreases or increases)
Yarn Substitution Options
I tried several different halo type yarns and didn’t find any as plush as this yarn.
Notes
Not reversible.
Knit bottom up.
Knit using the stockinette stitch.
Knit holding 2 strands at once.
Model Details
Height: 5’9″ (175cm). Weight: 130lbs (59kg). Bust: 35″ (88cm). Waist: 25″ (63cm)
Sample in Photo Details
Width across shoulders: 13″ (33cm)
Width across hips (widest point): 18″ (46cm)
Length: 22″ (56cm)
# of CO STS: 45
Weight: 3oz (85g)
Model is wearing size M for a slightly loose fit
How to Choose Your Size
This tee is designed with approximately 1-2″ of positive ease for a slightly loose fit.
Choose your size based on your preferred finished width:
For a standard loose fit, choose your usual size.
For an extra roomy, oversized fit, size up.
Sample shown on a 35″ bust in size M (18″ wide × 22″ long).
Size Chart
| Size | Bust | W” | x | L” | # of CO STS (width) | Length of Arm Hole | Skeins Needed | Total Meters | Total Yards |
| XS | 32″ | 14″ | x | 18″ | 35 | 6 1/2″ | 3 | 303 | 331 |
| S | 34″ | 16″ | x | 20″ | 40 | 7″ | 3 | 385 | 421 |
| M | 36″ | 18″ | x | 22″ | 45 | 8″ | 4 | 476 | 521 |
| L | 38″ | 20″ | x | 24″ | 50 | 8 1/2″ | 5 | 577 | 631 |
| XL | 40″ | 22″ | x | 26″ | 55 | 9 1/2″ | 5 | 688 | 752 |
| 2XL | 42″ | 24″ | x | 28″ | 60 | 10″ | 6 | 808 | 883 |
| 3XL | 44″ | 26″ | x | 30″ | 65 | 10 3/4″ | 7 | 938 | 1025 |
Gauge Guide
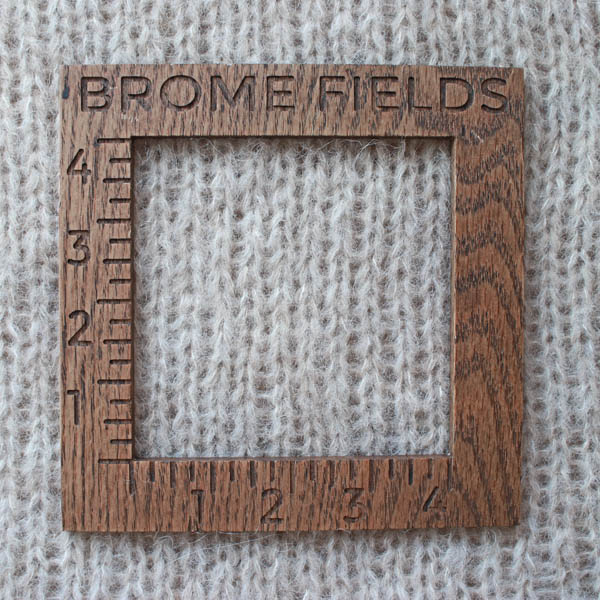
10 STS & 16 rows per 4” (10cm) square, knit flat in stockinette stitch after steaming, using US 11 (8mm) circular needles.
Knitting Abbreviations
*– * – repeat between the asterisks
BO – bind-off in pattern
CO – cast-on (long-tail cast-on method)
K – knit stitches (K1 means to knit 1 stitch)
P – purl stitches (P2 means to purl 2 stitches)
RS – right side
STS – stitches
WS – wrong side
Save it for Later
- Want a printable version? Grab the ad-free PDF here and knit cozy anywhere — no scrolling required.
- Save it to your Ravelry Library!
- Pin-it to Pinterest for later.
Download & Print this Pattern
Do you enjoy working from a paper copy? Get the downloadable, printer-friendly PDF completely ad-free.
That way you can have lifetime access to it and download it to any device and view it from anywhere, without ads.
Save this pattern for later!
Tank Top Sweater Knitting Pattern Instructions
CO using US 15 (10mm) Circular Needles with a 24″ (60cm) Cable, or longer
CO the number of stitches for your chosen bust size.
XS (35), S (40), M (45), L (50), XL (55), 2XL (60), 3XL (65)
Switch to US 11 (8mm) Circular Needles with a 24″ (60cm) Cable, or longer
Row 1 (WS): *P* (Purl all the stitches in this row)
Row 2 (RS): *K* (Knit all the stitches in this row)
Repeat rows 1-2 until it measures:
XS 11 1/2″ (29cm), S 13″ (33cm), M 14″ (36cm), L 15 1/2″ (40cm), XL 16 1/2″ (42cm), 2XL 18″ (46cm), 3XL 19 1/4″ (49cm)
Repeat row 1 (WS): *P* (Purl all the stitches in this row)
Decrease for the Arm:
Row 1 (RS): SKP, *K*, last 2 stitches: K2TOG
Row 2 (WS): *P* (Purl all the stitches in this row)
Row 3 (RS): *K* (Knit all the stitches in this row)
Row 4 (WS): *P* (Purl all the stitches in this row)
Repeat rows 1-4, until desired size.
Sizes 32-34 decrease 4 times
Sizes 36-38 decrease 5 times
Sizes 40-42 decrease 6 times
Sizes 44 decrease 7 times
Notes:
- Decrease until you’ve reached your desired width, knit in stockinette until you’ve reached your desired height.
- Place a stitch marker at every decrease, so it’s easier to see and match both sides.
Optional: Don’t bind off and set aside until the other half is complete, so you can sew up the sides and see how deep you’d like the arm hole and add more stitches to desired length/depth. Make sure the overall fit is desired/perfect.
Switch to US 15 (10mm) Circular Needles with a 24″ (60cm) Cable, or longer
BO in the K1, P1 pattern, leaving an 8″ tail to sew the top edges together for the neck hole.
Knit a second panel from the beginning, following all the instructions above.
Both the front and back are identical.
Finishing:
With your bound-off tail, sew 2-3 stitches together at each shoulder, working from the outer edge inward. Leave the center section open — this becomes your neck hole. Try it on as you go to get the opening just right for your style preference.
Sew up the seams before steaming:
Using 2 strands of the brushed mohair that’s twice the length of your seam, carefully sew the seam, being careful not to tangle up the yarn, from the bottom edge to the first decrease stitch, marked by a stitch marker.
Weave in the ends.
Steaming:
Don’t skip this step. Steaming really pulls everything together, turning it into something you’ll feel proud to wear again and again.
Lightly steam the finished piece to even out stitches and encourage a relaxed drape. Steaming helps smooth out uneven tension, soften the fabric, and allows the garment to relax into its final shape and measurements before wearing. This final step gives the piece its signature drape and finish, transforming it from handmade to beautifully finished.
Want More Patterns Like This Tank Top Sweater?
Join the BFF Knitting Club — Brome Fields’ monthly membership with new patterns and slow cozy content delivered directly to your inbox every month. It’s a quiet little corner of the internet just for knitters. Come join us.