Modern Poncho Knitting Pattern
This post may contain affiliate links. Please read my disclosure policy.
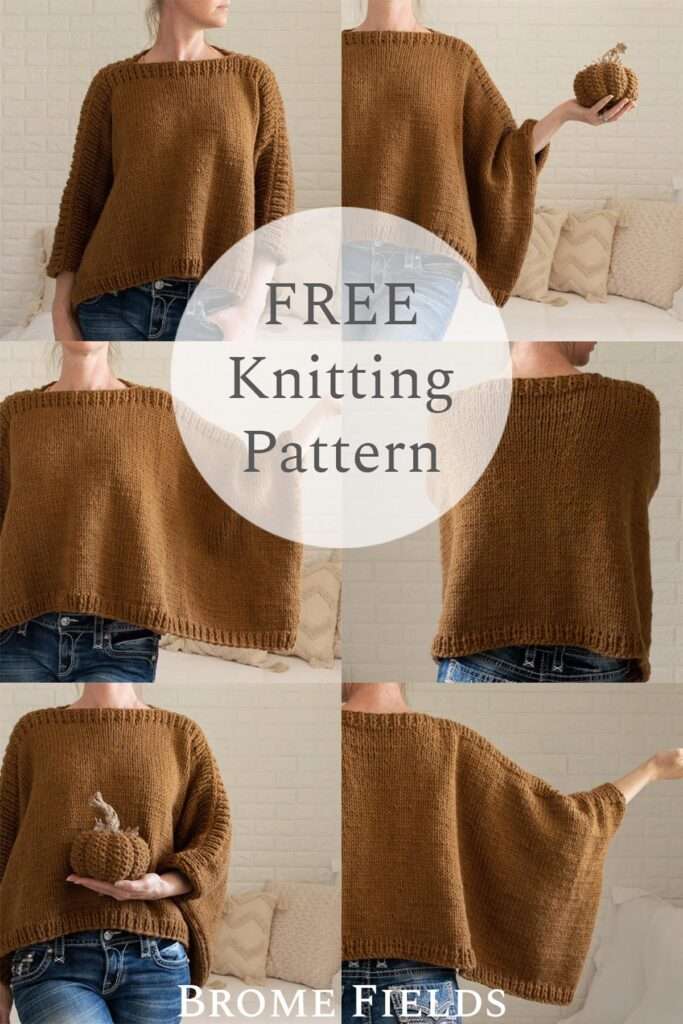
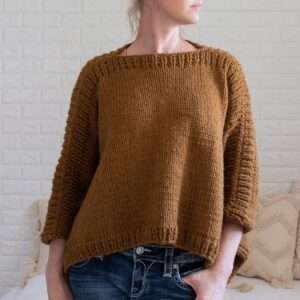
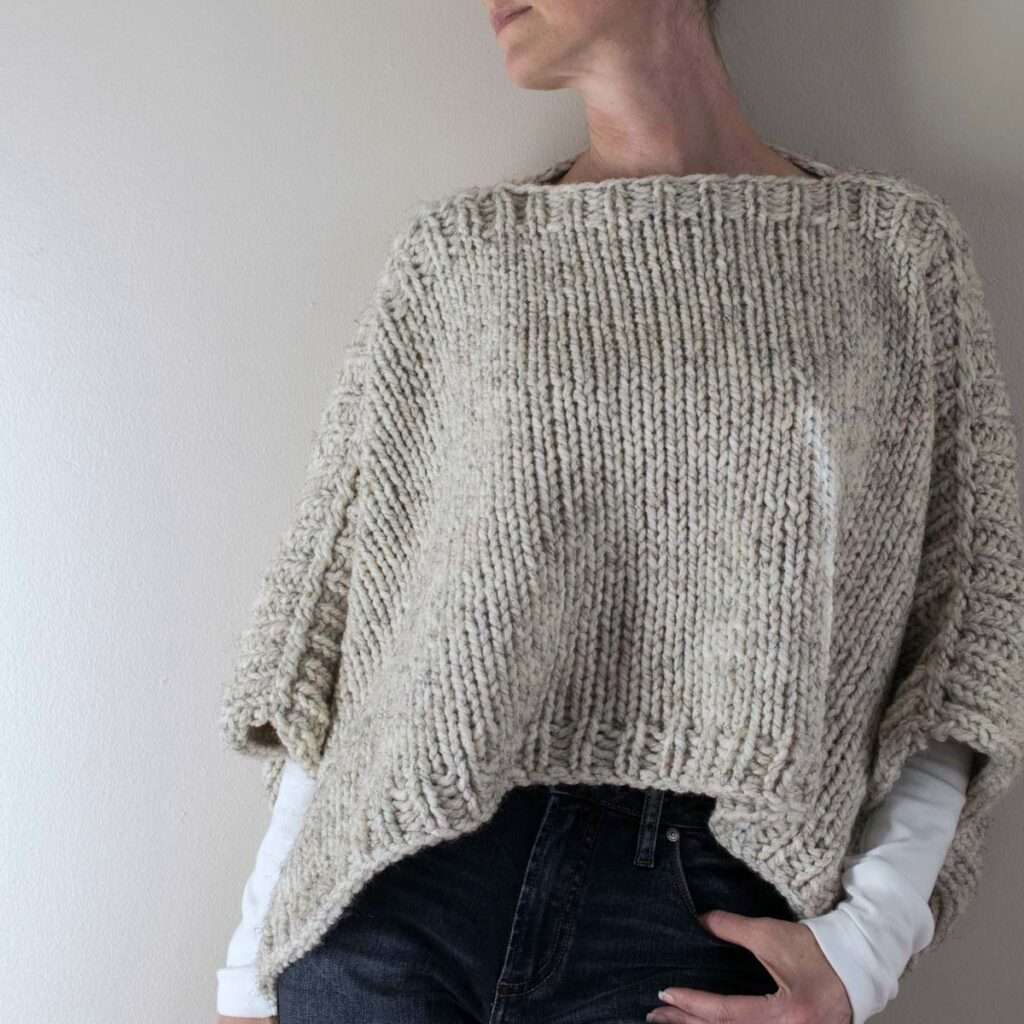
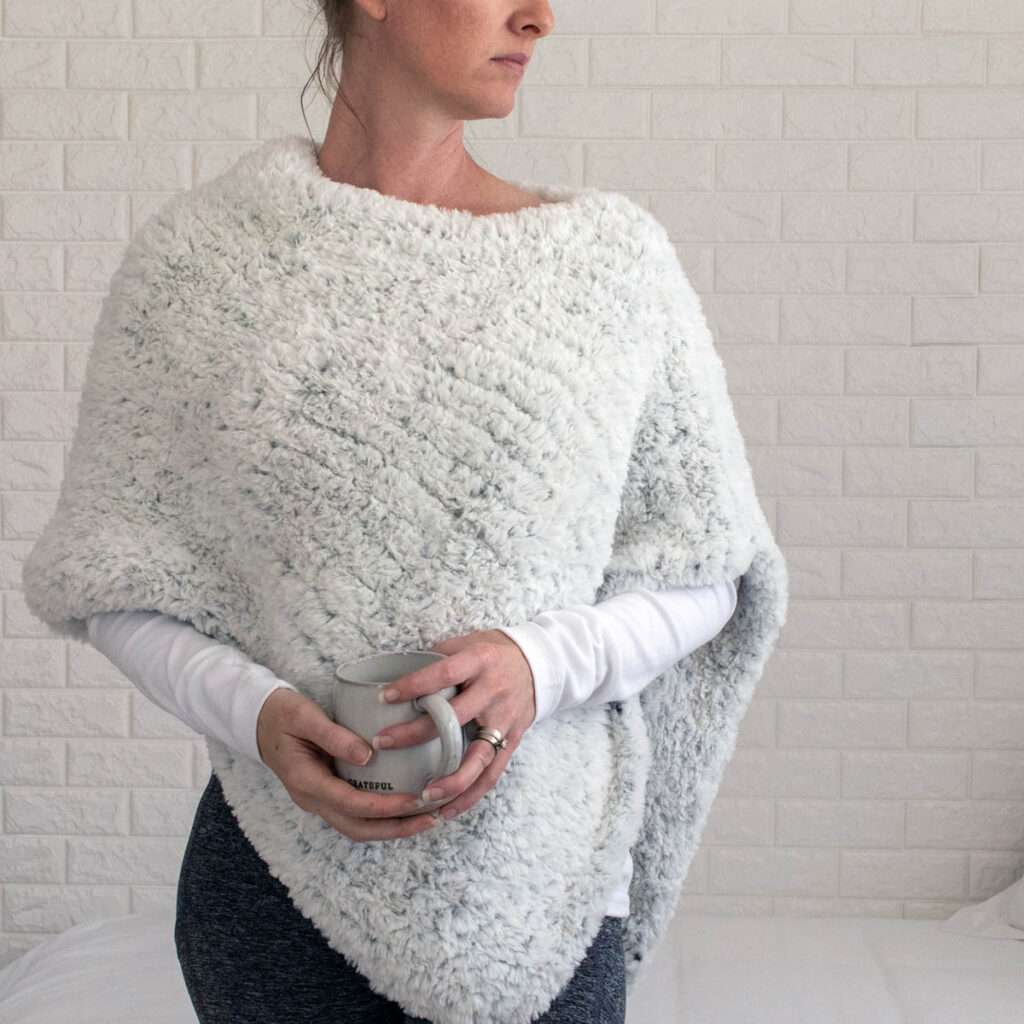
This modern poncho knitting pattern uses bulky yarn for a quick & easy first garment project for a beginner knitter. No shaping required.
About the Pattern
Easy & FREE poncho knitting pattern! A chunky, two rectangle poncho that’s modern & cozy. This poncho knitting pattern includes 2 video tutorials to help you bring it all together.
Chunky yarn makes for a quick project that’s extra stylish and extra warm, yet surprisingly light and cozy.
Fall is right around the corner… any one else ready to cozy up in some chunky knits!?!
Available Sizes: Seven (XS – 3XL)
Pattern Format: Written Pattern, No Chart
Pattern Language: English
Skill Level: Beginner & Advanced Beginner
PDF Format: Printer Friendly
Bonus: Videos
Techniques
Here are some of the knitting skills you need to know before getting started:
Knit Flat
Knit & Purl Stitches
Clean Edge
WHAT’S TO LOVE!?
- Quick & easy project
- Simple & classic texture
- Lovely drape
- A hug of extra warmth
Yarn & Substitutions
Yarn Weight: Bulky
Yardage: 550 – 1155 yards (500 – 1100 meters)
Suggested Yarn: Lion Brand Hue + Me
Hue + Me is a bulky weight acrylic and wool blend yarn. I’ve enjoyed knitting with it and it’s soft enough. It’s not cashmere or silk, I’d call it more of a rustic yarn. It’s not itchy, but it’s not super soft either, just somewhere in the middle. I love the weight of it and haven’t found a perfect substitute.
So, I went to the library aka YarnSub.com to see what they suggest. One that they recommend is Berroco Vintage Chunky, which just so happens to be one of my current favorite yarns. In my opinion, it’s a little thin for a direct substitute, but it might work if you pair it with a fingering weight yarn maybe even a different color adding some depth, creativity and uniqueness.
There are a few recommendations for different Knit Picks yarns that I need to try!
Expert tip: When using a yarn substitute, I highly recommended knitting a swatch to know your gauge.
Needles & Notions
Needle Size: US 10.5 (6.5mm) Circular Needles with a 32” (80cm) Cable
This ponchos is knit flat, back & forth on circular needles. The long cable is used to accommodate the large number of super bulky cast-on stitches.
Gauge
11 STS & 17 rows per 4” (10cm) square, knit flat in stockinette stitch
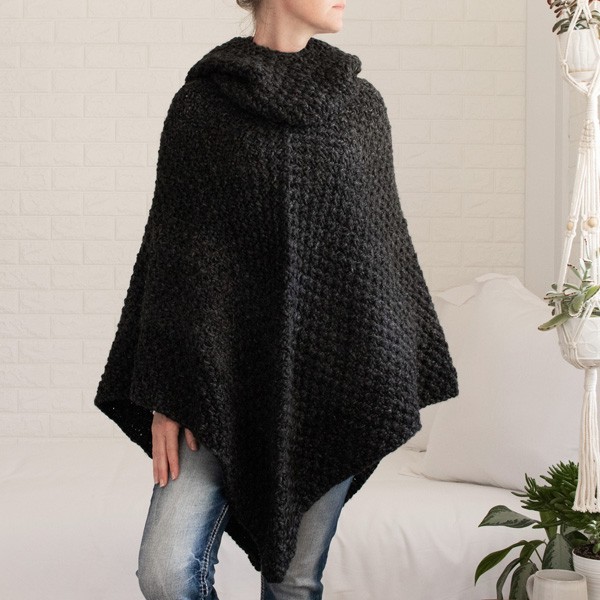
Picture Details
Poncho Measurements: 47″ wide x 19″ (119cm x 48cm)
Poncho Weight: 1lb 8.2oz (685g)
Model is 5’9″/175cm, 130lbs with a 33″/84cm chest, 27″/68cm waist wearing a 47″ width poncho with mid-rise jeans.
Sizes
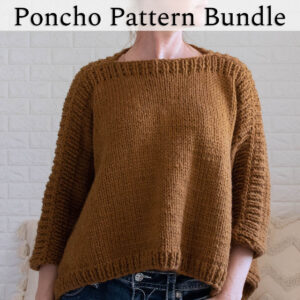
The downloadable PDF pattern is available in 7 (XS – 3XL) sizes, which you can get in the Brome Fields shop. Scroll down to get the size MEDIUM for free!
| Size | W” | x | L” | # of CO STS (width) | Skeins Needed | Meters Needed | Yards Needed |
| M | 47 | x | 19 | 131 | 6 | 685 | 749 |
Notes
Not reversible.
Knit using the rib & stockinette stitch.
Knit top down or bottom up, either way.
Knit flat, back & forth using circular needles.
Circular needles are used to accommodate the large number of CO stitches.
Expert Tips
Knit the stitches onto a 60″ cable, so you can try it on as you go, or you can slide your stitches onto a scrap piece of yarn. I know it takes extra time to do this step, but in the long run it saves time {I have to remind myself of this too!}, that way you don’t have to bind-off and then frog it if it’s not the right size. Which is the lesser of 2 evils? Scrap yarn or frogging? Both & neither. 🤨
Knitting Abbreviations
* – * – repeat between *
BO – bind-off in pattern
CO – cast-on {long-tail cast-on method}
K – knit stitches {K1 means to knit 1 stitch}
K1TBL – knit 1 stitch through the back loop
P – purl stitches {P2 means to purl 2 stitches}
RS – right side
S1PW – slip one stitch purl-wise
STS – stitches
WS – wrong side
WYIF – with yarn in front
Top Seam Video Tutorial
Side Seam Video Tutorial
Save it for Later
- Buy the ad-free, printer-friendly pattern in the shop.
- Pin-it to Pinterest for later here.
Save this pattern for later!
Download & Print this Pattern
Do you enjoy working from a paper copy? Get the downloadable, printer-friendly PDF completely ad-free.
That way you can have lifetime access to it and download it to any device and view it from anywhere, without ads (and the pattern might not be around forever).
Beginner Pattern
 |
 |
 |
Knit Flat (Back & Forth)
CO the number of STS from the “Size” section above.
Top Rib:
Rows 1, 3, 5 (WS): *P1, K1* P1
Rows 2, 4 (RS): *K1, P1* K1
Body:
Row 6 (RS): *K*
Row 7 (WS): *P*
Repeat rows 6-7, until desired length, minus the bottom ribbing
Bottom Rib:
Repeat Row 6 (RS) K1TBL *K* K1TBL
Rows 1, 3 (WS): WYIF S1PW *P1, K1* P1, WYIF S1PW
Rows 2, 4 (RS): K1TBL *K1, P1* K1, K1TBL
Row 5 (WS): BO in the K1, P1 pattern
Knit the 2nd side the same as the first. The front and back are the same.
Top Seam:
Put the wrong sides together.
Starting from the outside, seam the top seam, leaving a hole just large enough to fit your head through. Make sure the seams from the outside to the inside are the same measurement.
Mine measures 47″ wide and the hole width is 8″. Each top seam measures 19.5″.
Side Seam:
Starting from the bottom, seam each side using the mattress stitch, leaving a hole just large enough to fit your hand and arm through.
End:
Weave in the ends.
Blocking:
After seaming steam-block lightly, which will add 1-2″ of length.
Advanced Beginner Pattern
Knit Flat (Back & Forth)
CO the number of STS from the “Size” section above.
Top Rib:
Rows 1, 3, 5 (WS): WYIF S1PW *P1, K1* P1, WYIF S1PW
Rows 2, 4 (RS): K1TBL *K1, P1* K1, K1TBL
Body:
Row 6 (RS): K1TBL *K* K1TBL
Row 7 (WS): WYIF S1PW *P* WYIF S1PW
Repeat rows 6-7, until desired length, minus the bottom ribbing
Bottom Rib:
Repeat Row 6 (RS) K1TBL *K* K1TBL
Rows 1, 3 (WS): WYIF S1PW *P1, K1* P1, WYIF S1PW
Rows 2, 4 (RS): K1TBL *K1, P1* K1, K1TBL
Row 5 (WS): BO in the K1, P1 pattern
Knit the 2nd side the same as the first. The front and back are the same.
Top Seam:
Put the wrong sides together.
Starting from the outside, seam the top seam, leaving a hole just large enough to fit your head through. Make sure the seams from the outside to the inside are the same measurement.
Mine measures 47″ wide and the hole width is 8″. Each top seam measures 19.5″.
Side Seam:
Starting from the bottom, seam each side using the mattress stitch, leaving a hole just large enough to fit your hand and arm through.
End:
Weave in the ends.
Blocking:
After seaming steam-block lightly, which will add 1-2″ of length.
More poncho patterns you’ll love:
|
|
|
|