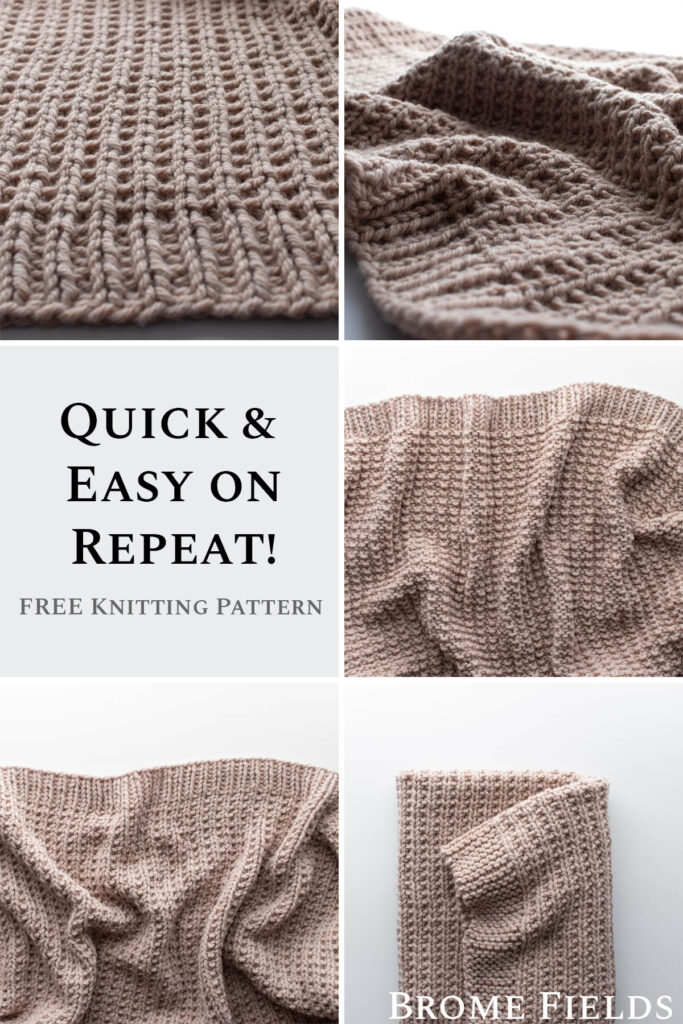
Coziest Throw Blanket Pattern
This post may contain affiliate links. Please read my disclosure policy.
Knit your coziest blanket yet with this quick and easy throw pattern. It’s made with bulky yarn and simple knit and purl stitches, making it the perfect weekend project for beginner knitters.
There’s nothing better than curling up under a handmade blanket you knit yourself. The Coziest Throw Blanket Pattern is designed for simplicity and comfort. Perfect for beginner knitters who love quick, satisfying projects. Using only knit and purl stitches, it creates a beautifully textured, reversible fabric that looks stunning on both sides.
Description
This quick, beginner-friendly blanket has become one of my favorite projects to knit. It’s easy to memorize, so once you find your rhythm, you can relax, unwind, and simply enjoy the process.
The middle section features a simple 2-row repeat, enough to keep your hands moving and your mind calm. I love watching it grow row by row; there’s something so satisfying about that cozy progress that makes you want to knit “just one more row” every time.
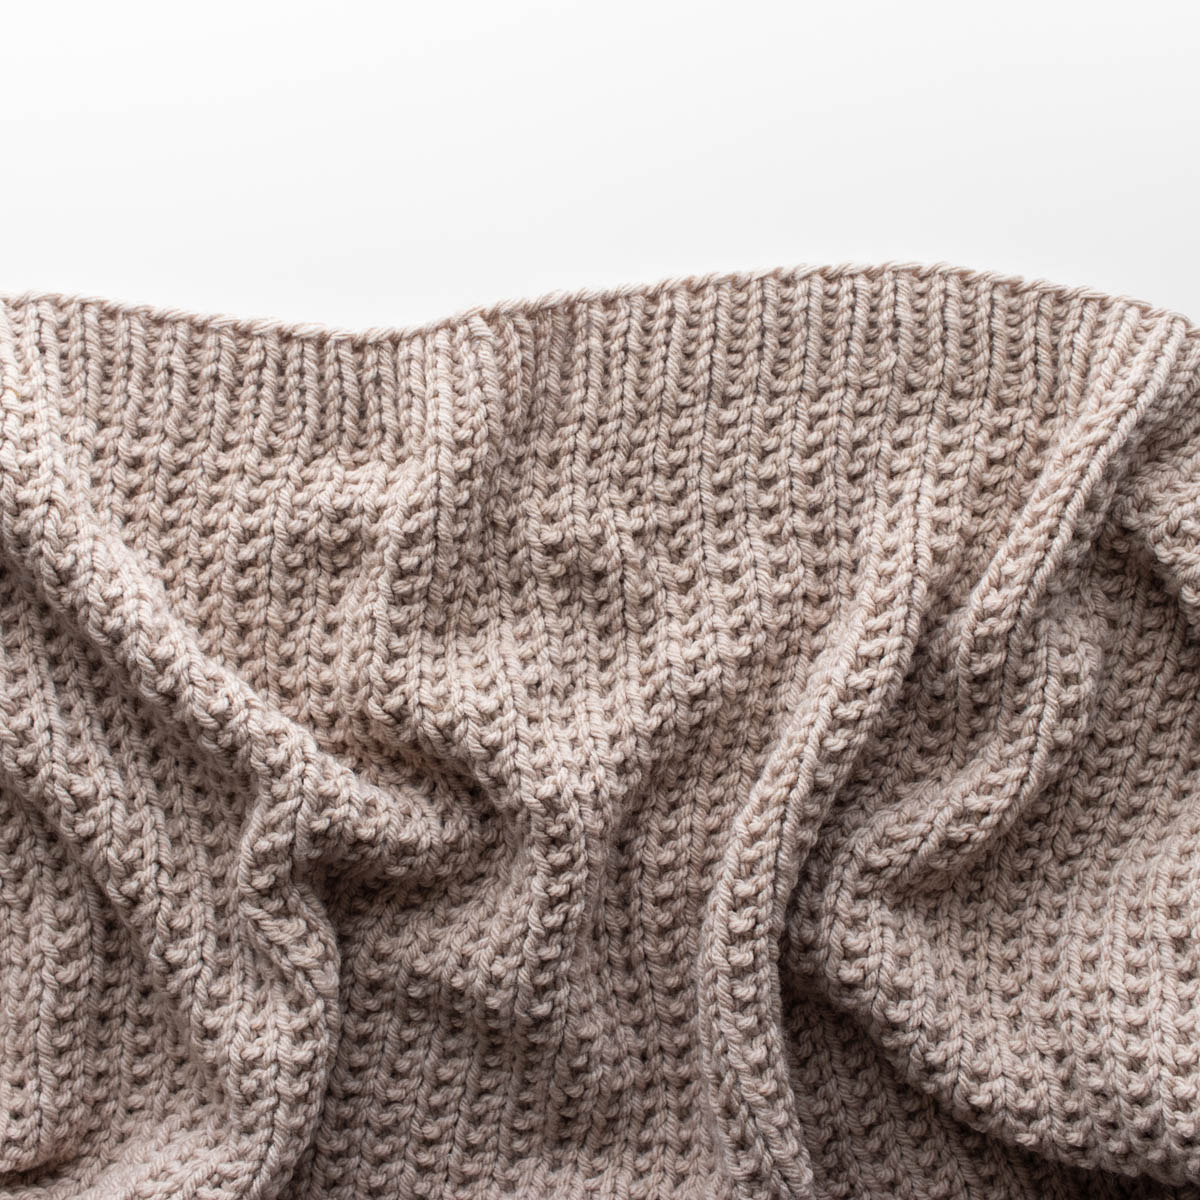
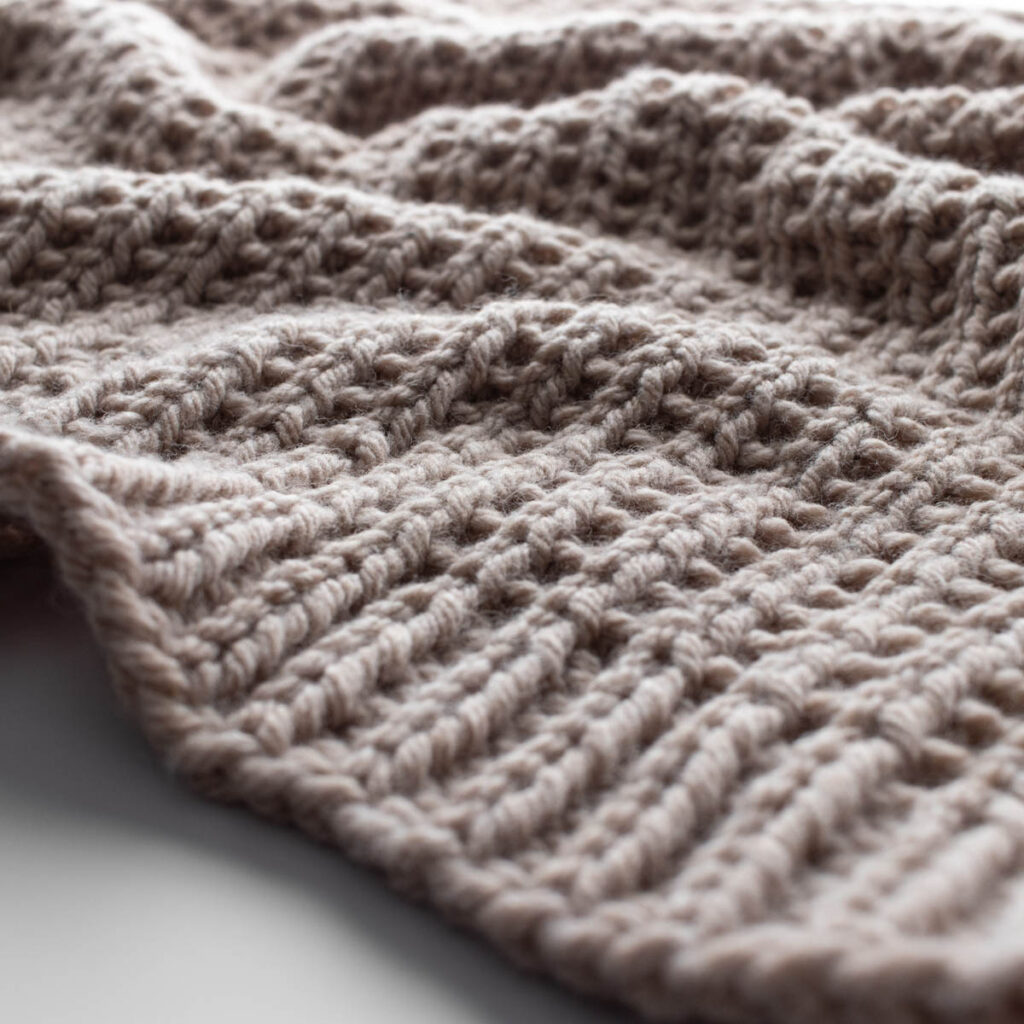
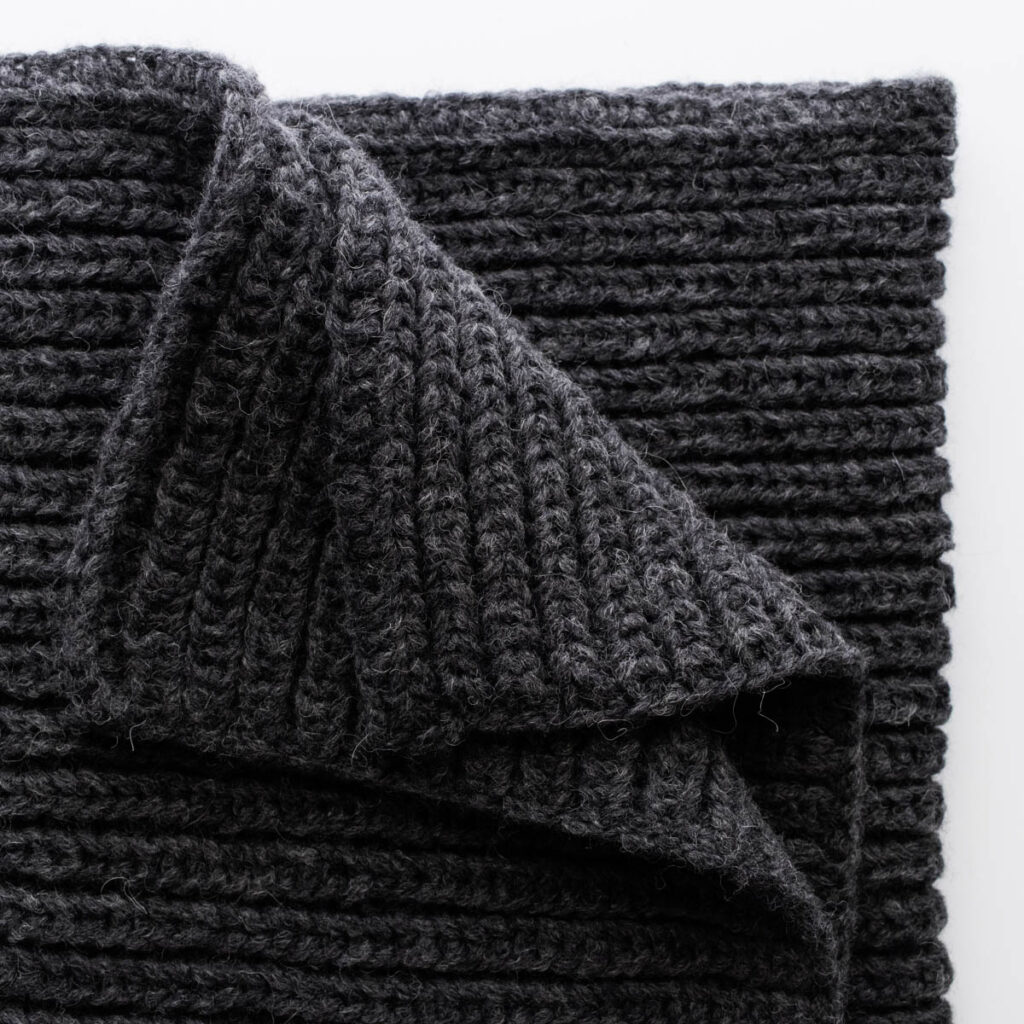
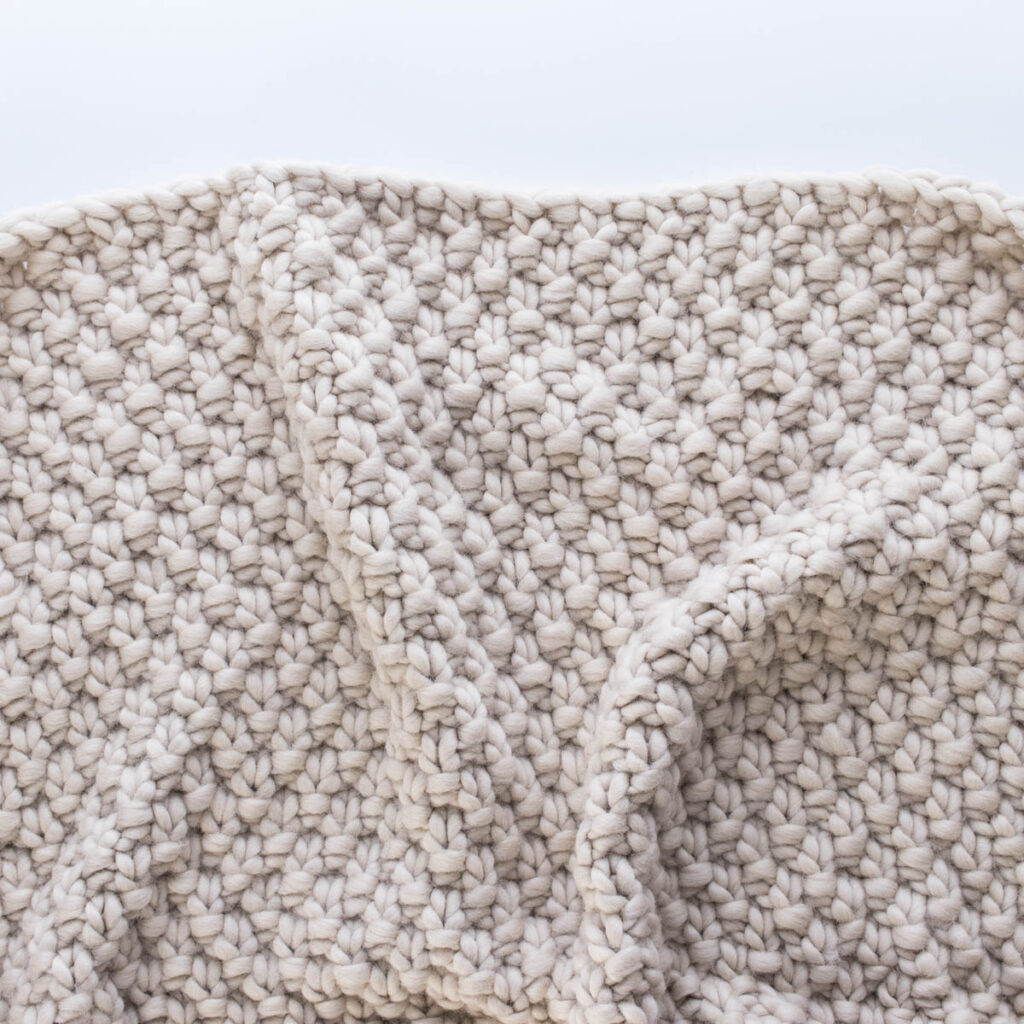
The blanket is fully reversible, showcasing the beautiful texture of the broken rib stitch on one side and a soft, waffle-like pattern on the other. Both sides are equally stunning, and honestly, I can’t decide which one I love more.🤔
With eight sizes to choose from, it’s perfect for every occasion, from a sweet baby blanket to a big, cozy throw for your living room.
Pattern Format: Written Pattern, No Chart
Pattern Language: English
Skill Level: Beginner
PDF Format: Printer-Friendly
Pattern Name: Candlelight
Techniques
Here are some of the knitting skills you need to know before getting started:
Knit Flat
Knit & Purl Stitches
Clean Edge (Advanced version only)
Yarn & Substitutions
Yarn Weight: Bulky
Yardage: 618 – 5005 yards (565 – 4577 meters)
Suggested Yarn: Lion Brand Hue + Me, Bellini
For this blanket, I chose Lion Brand Hue + Me, one of my go-to bulky yarns for cozy projects. It comes in a beautiful range of neutral hues that pairs perfectly with most home decor (making it a great gift!). I love that it’s thick enough to knit up quickly but not so heavy that the blanket feels bulky or stiff, it’s just the right balance of warmth, drape, and squish.
Alternative Yarn Substitutes:
If you can’t find Lion Brand Hue + Me, don’t worry, any similar bulky weight (category 5) yarn will work beautifully for this pattern. Look for something soft, smooth, and cozy that gives you a similar gauge.
Here are a few options:
Or try Lion Brand Wool Ease Thick & Quick for a slightly heavier feel. Swatch first to make sure you love the texture. Every yarn has its own personality, and part of the fun is finding the one that feels just right in your hands. 🥰
Check out Yarnsub’s for more yarn substitutions for Lion Brand Hue + Me.
Needles & Notions
No worries! Even though we’re using a circular needle, you’ll be knitting the blanket flat. Most blankets are worked on circular needles simply because the long cable helps hold all those stitches in one place. This lets you knit the entire blanket in one piece with no seaming required… just smooth, cozy knitting from start to finish.
Needle Size: US 13 (9mm) Circular Needles with a 32” (80cm) Cable, or longer
Darning or Tapestry Needle for weaving in the ends
Scissors
I used US 13 (9mm) circular knitting needles with a 32″ (80cm) cable, which felt like the perfect size for this bulky yarn. You might be able to use a shorter cable for the smaller sizes, or you may prefer a longer one if you’re knitting one of the larger throws. As long as your stitches fit comfortably on the needle without being crowded, you’re good to go!
Pro tip: Using circular needles helps distribute the weight of the blanket on the cable and makes it much easier to manage.
Weird tip: When my blanket gets a little big and I have to start wrestling it, I like to put it in a trash bag, so it’s easy to flip and flop/twist and turn and it minimizes felting.
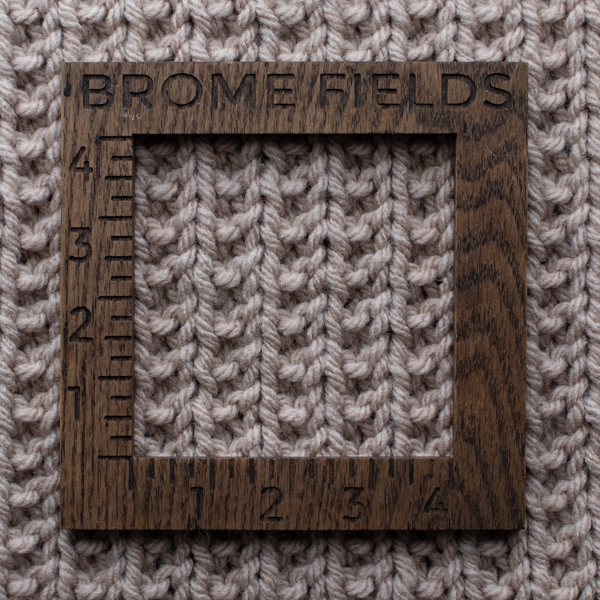
Gauge:
10 STS & 14 rows per 4” (10cm) square, knit in the broken rib pattern, without blocking.
Gauge can feel intimidating, but it’s really about finding what you like. Many knitters struggle when their blanket turns out smaller or larger than planned. Swatching helps, but you can also adjust on the fly, just add or remove repeats… or just embrace the surprise of a custom-sized blanket.
The gauge for this pattern isn’t super critical, but it helps ensure your blanket turns out the size you expect and uses the right amount of yarn. I recommend knitting a small swatch first, about 8” x 8” to check your stitches per inch. My gauge was approximately 10 stitches and 14 rows = 4” using the broken rib stitch pattern and US 13 (9mm) needles.
If your blanket is coming out smaller or larger than expected, don’t worry! You can easily adjust your tension, change needle size, or simply knit another repeat or two to get the length you love.
This is a relaxing, beginner-friendly project meant to be enjoyed, so don’t stress too much about perfection. Every blanket turns out beautifully unique, and that’s part of what makes it so special.
Sizes
Blanket Sizes:
| Size | L” | x | W” | # of CO STS (width) | Skeins Needed | Meters Needed | Yards Needed |
| Lapghan | 36 | x | 48 | 91 | 6 | 678 | 741 |
| Baby | 36 | x | 36 | 91 | 5 | 509 | 556 |
| Throw | 50 | x | 60 | 125 | 10 | 1177 | 1287 |
| Twin | 68 | x | 86 | 171 | 19 | 2295 | 2509 |
| Full | 80 | x | 92 | 201 | 24 | 2888 | 3158 |
| Queen | 92 | x | 92 | 231 | 27 | 3321 | 3632 |
| King | 100 | x | 100 | 251 | 32 | 3924 | 4291 |
| California | 108 | x | 108 | 271 | 37 | 4577 | 5005 |
Runner Sizes:
| Size | W” | x | L” | # of CO STS (width) | Skeins Needed | Meters Needed | Yards Needed |
| Single | 18 | x | 42 | 49 | 3 | 266 | 291 |
| Twin | 18 | x | 50 | 49 | 3 | 317 | 347 |
| Full | 18 | x | 66 | 49 | 4 | 418 | 458 |
| Queen | 18 | x | 72 | 49 | 4 | 456 | 499 |
| King | 18 | x | 88 | 49 | 5 | 558 | 610 |
| Cali King | 18 | x | 84 | 49 | 5 | 532 | 582 |
Notes
The CO edge is the width.
Not reversible, but both sides are pretty.
Knit using the broken rib stitch, rib stitch & garter stitch.
A circular needle is used to accommodate the large number of CO stitches.
I like to place a stitch marker after the first 8 stitches and before the last 8 stitches. It’s just a physical reminder where the pattern changes so I don’t have to count stitches.
Knitting Abbreviations
*– * – repeat between the asterisks
BO – bind-off in pattern
CO – cast-on (long-tail cast-on method)
K – knit stitches (K1 means to knit 1 stitch)
P – purl stitches (P2 means to purl 2 stitches)
RS – right side
STS – stitches
WS – wrong side
Save it for Later
- Want a printable version? Grab the ad-free PDF here and knit cozy anywhere — no scrolling required.
- Save it to your Ravelry Library!
- Pin-it to Pinterest for later.
Save this pattern for later!
Download & Print this Pattern
Do you enjoy working from a paper copy? Get the downloadable, printer-friendly PDF completely ad-free.
That way you can have lifetime access to it and download it to any device and view it from anywhere, without ads.
Pattern Instructions
This pattern includes two versions: a simple one for beginners and a slightly more advanced option with a clean edge for experienced knitters or adventurous beginners. If you’re curious about the clean edge technique, I’ve included a quick video tutorial so you can see how it’s done and decide if you’d like to give it a try: How to Knit a Clean Edge
Once you’ve decided which version you’d like to knit, gather your yarn and needles, get comfortable, and let’s start your blanket!
Beginner Pattern:
CO the number of STS from the chart above.
Top Ribbing (2 1/2”/6cm):
Row 1.3.5.7 (WS): K8, *P1, K1* last 9 STS: P1, K8
Row 2.4.6 (RS): K8, *K1, P1* last 9 STS: K9
Middle:
Row 8 (RS): *K*
Row 9 (WS): K8, *P1, K1* last 9 STS: P1, K8
Repeat rows 8-9 according to the Size Chart above, or until desired length, minus the bottom ribbing.
Bottom Ribbing (about 2 1/2”/6cm):
Row 1, 3, 5, 7 (RS): K8, *K1, P1* last 9 STS: K9
Row 2, 4, 6, 8 (WS): K8, *P1, K1* last 9 STS: P1, K8
Row 9 (RS): BO in pattern.
Weave in the ends.
Steam-block lightly, which will add a little more length and soften the stitches for a relaxed drape.
Advanced Beginner Pattern:
CO the number of STS from the chart above.
Top Ribbing (2 1/2”/6cm):
Row 1.3.5.7 (WS): WYIF S1PW, K7, *P1, K1* last 9 STS: P1, K7, WYIF S1PW
Row 2.4.6 (RS): K1TBL, K7, *K1, P1* last 9 STS: K8, K1TBL
Middle:
Row 8 (RS): K1TBL, *K* K1TBL
Row 9 (WS): WYIF S1PW, K7, *P1, K1* last 9 STS: P1, K7, WYIF S1PW
Repeat rows 8-9 according to the Size Chart above, or until desired length, minus the bottom ribbing.
Bottom Ribbing (about 2 1/2”/6cm):
Row 1, 3, 5, 7 (RS): K1TBL, K7, *K1, P1* last 9 STS: K8, K1TBL
Row 2, 4, 6, 8 (WS): WYIF S1PW, K7, *P1, K1* last 9 STS: P1, K7, WYIF S1PW
Row 9 (RS): BO in pattern.
Weave in the ends.
Steam-block lightly, which will add a little more length and soften the stitches for a relaxed drape.
I love this version of the clean edge because it creates a beautiful, elongated stitch on each side, making the edges look perfectly symmetrical. It’s such a satisfying little detail… and I’ll admit, my inner perfectionist really appreciates it!
Another option to creating a clean edge is to slip the first stitch of each row. That one little thing can make a big difference.
Staying Motivated While Knitting a Blanket
Blankets are big projects, and it’s totally normal to lose a little momentum halfway through. Here are a few ways to keep your knitting energy flowing:
- Set small goals: Focus on finishing one repeat or one skein at a time.
- Track your progress: Take photos or jot notes as your blanket grows (it’s so rewarding to look back).
- Switch things up: Alternate between knitting this and a quick, smaller project for variety.
- Create a cozy ritual: Light a candle, make tea, or listen to an audiobook while you knit.
- Celebrate milestones: Finishing the halfway mark absolutely deserves a little happy dance (or a new skein yarn, just sayin’).
- Start a local knitting group: Meet up at your favorite coffee shop or cozy spot once a week. Knitting with others keeps you inspired, helps you stay accountable, and makes the process even more enjoyable.
Blanket projects are a slow and satisfying kind of progress — every stitch adds up to something beautiful. Every stitch brings you a little closer to wrapping up in something handmade and special — so take your time, enjoy the process, and before you know it, your blanket will be ready to snuggle under.
Happy knitting, and enjoy every cozy stitch.
Jennifer
If you share your finished blanket on social media, be sure to tag @BromeFields — I absolutely love seeing your creations and how you make each pattern your own. It’s such a joy to watch this cozy community grow, one stitch at a time. 🤍