Easy Shrug Knitting Pattern
This post may contain affiliate links. Please read my disclosure policy.
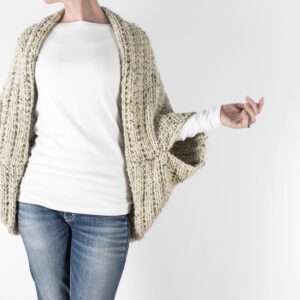
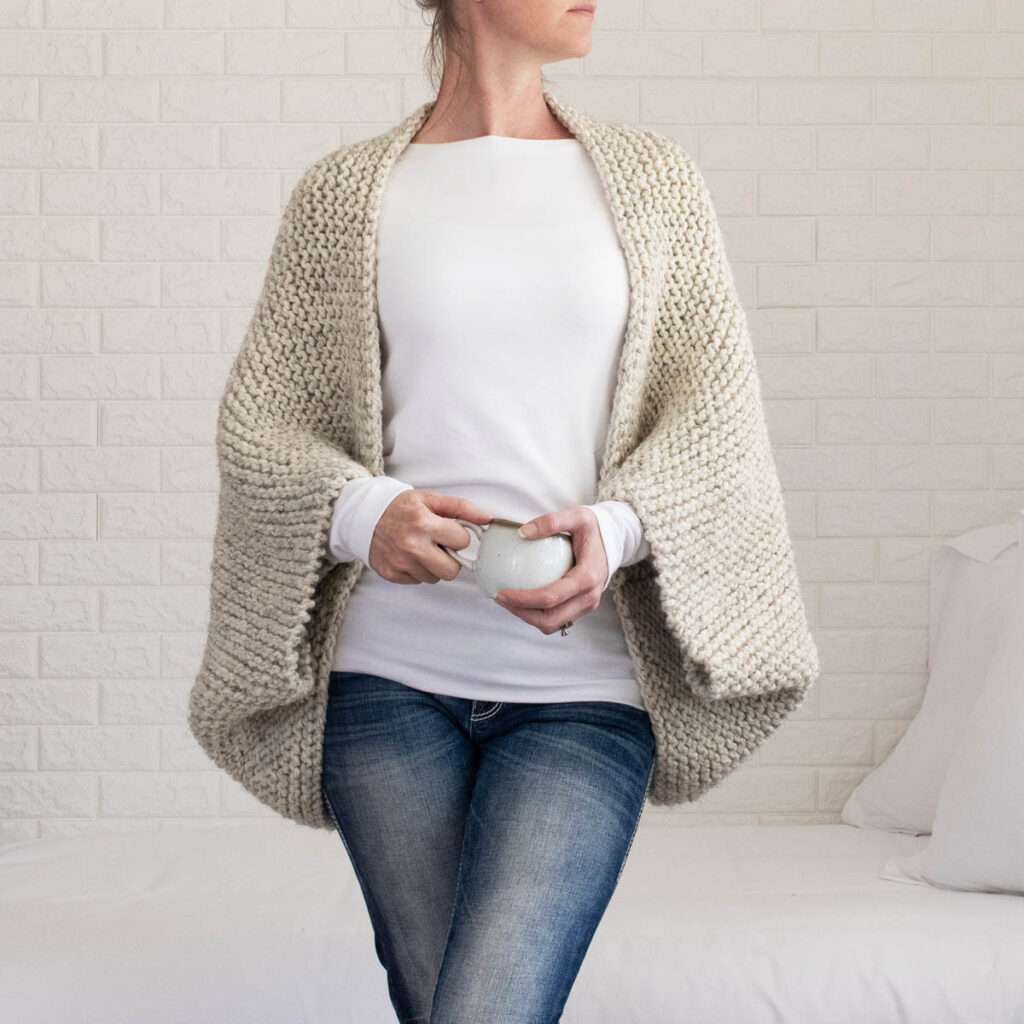
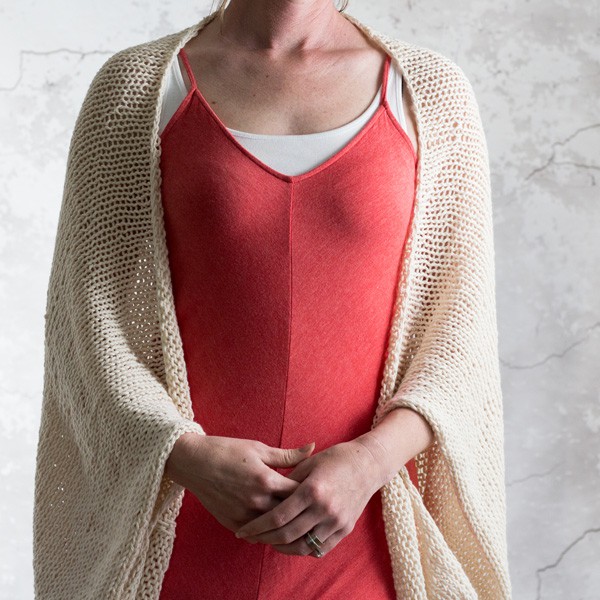
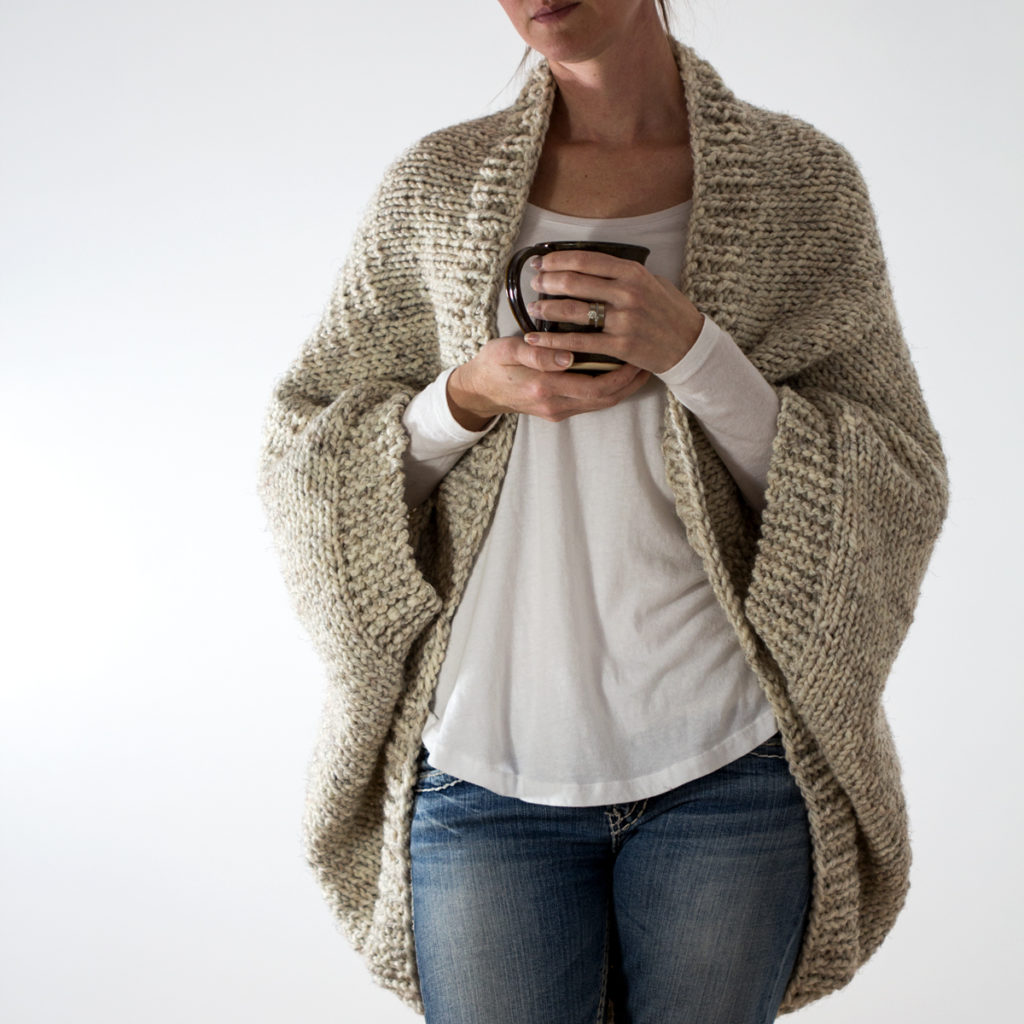
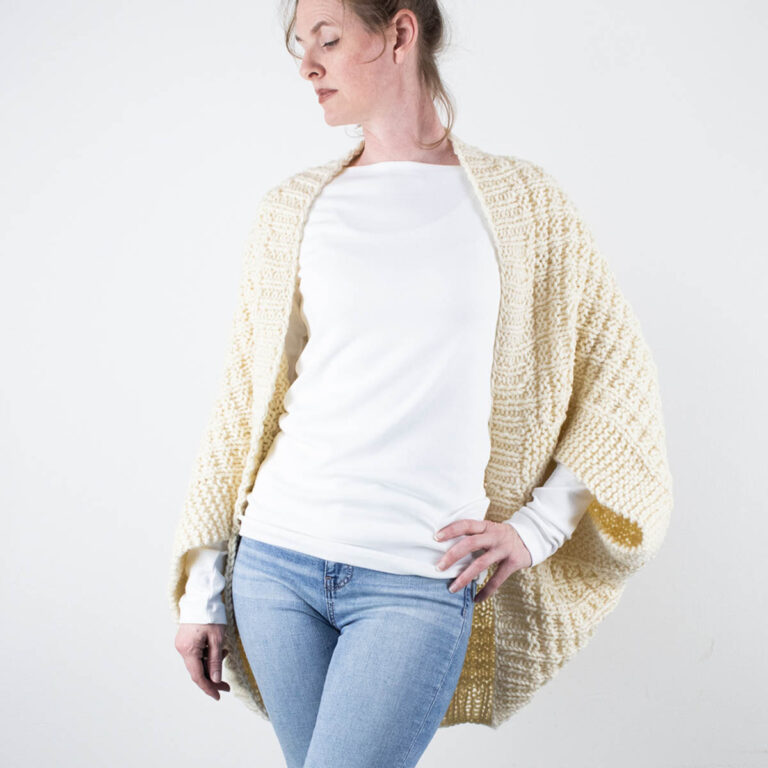
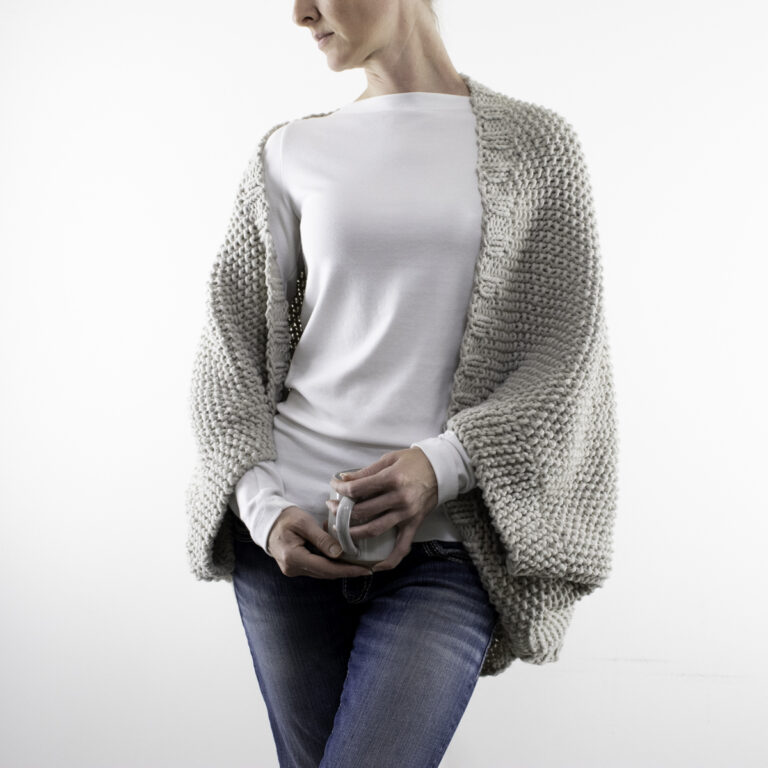
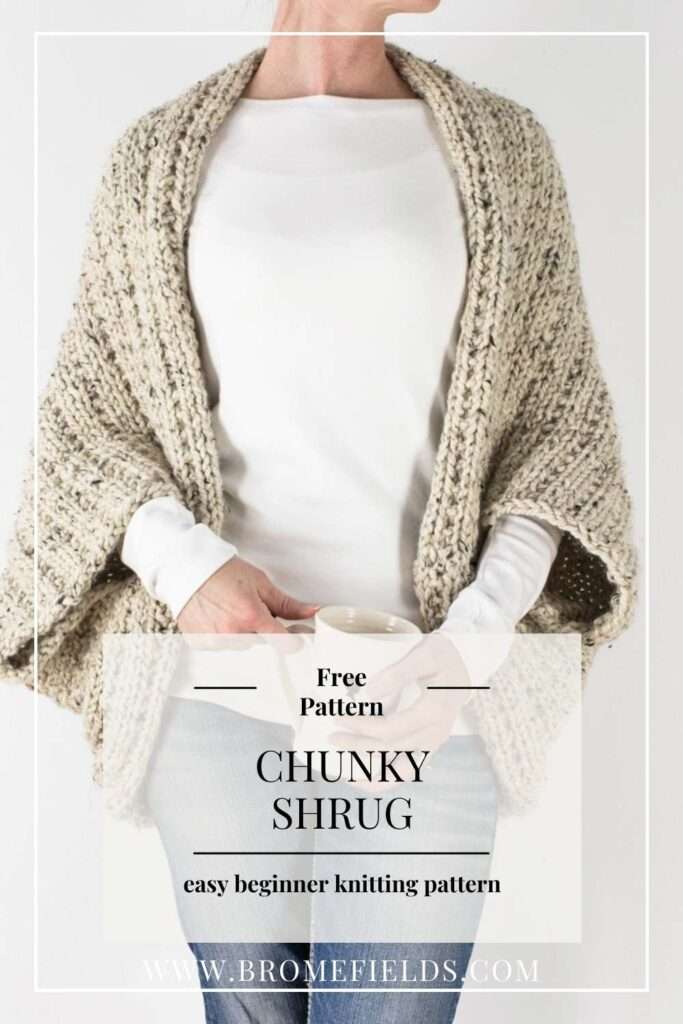
Free & easy shrug knitting pattern that anyone can knit! The simple texture lays flat, has a beautiful drape and it’s easily modified to fit your body shape and style.
Save this for later!
No spam, ever. Unsubscribe at any time.
How to Knit a Rectangle Shrug
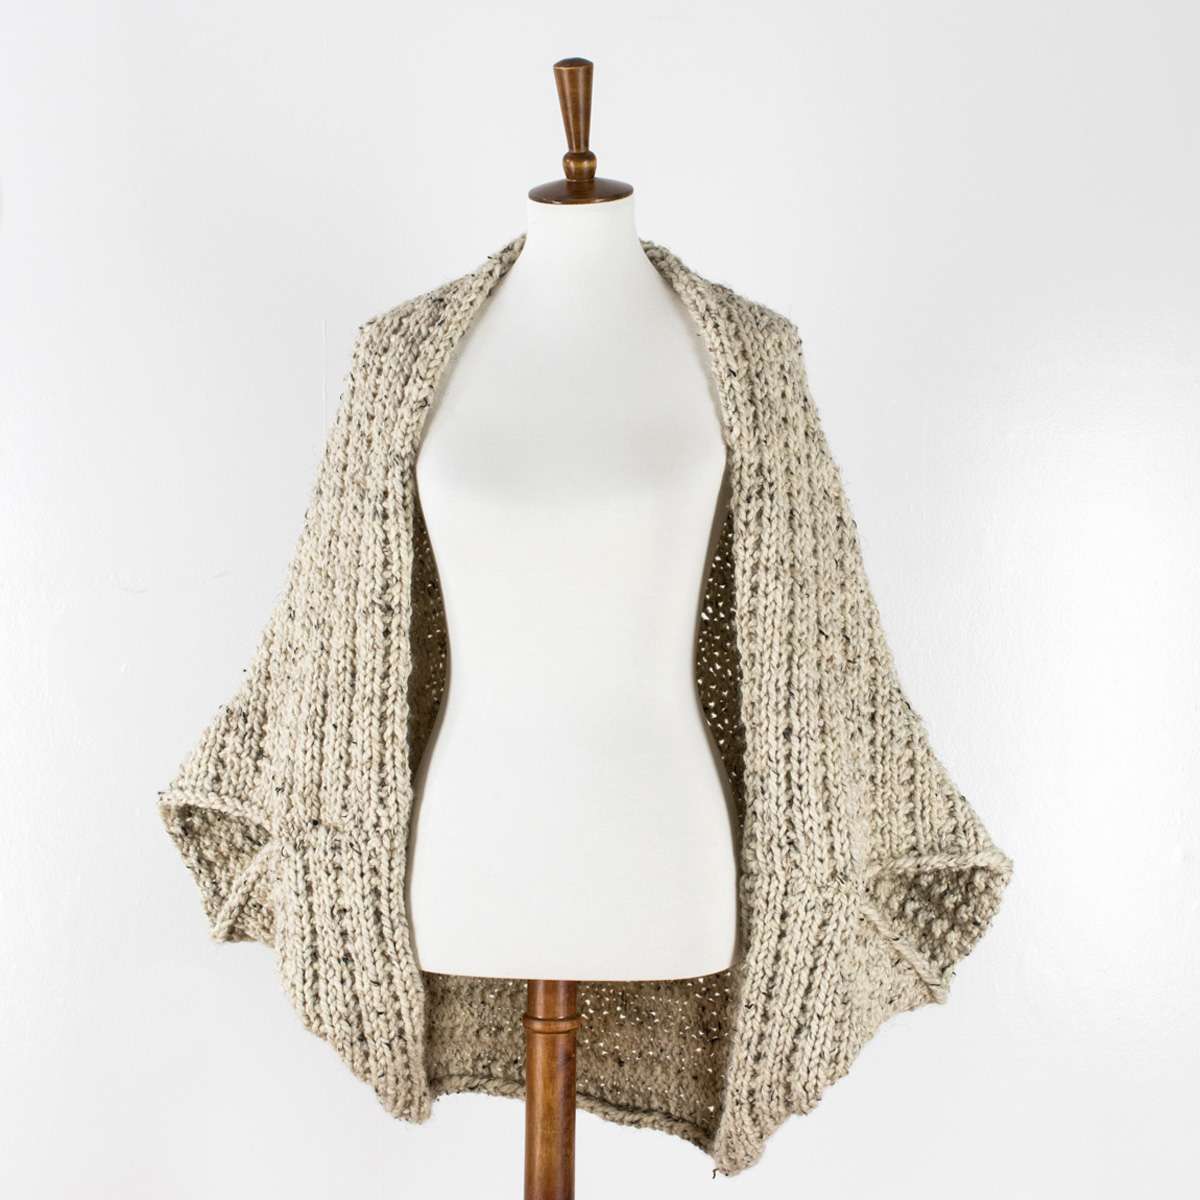
First of all, you will not believe how quick & easy this chunky shrug is! It’s knit flat, in a rectangle, like a blanket. No shaping, no increases & no decreases, just a rectangle, with 2 short seams. (This chunky knitting pattern makes for a quick knit too!)
You’re going to knit a rectangle. Yes, it’s that simple! In this pattern the cast-on edge is the length, measuring from shoulder to bum. Cast-on enough stitches to make sure it’s long enough to give you a little “scoop.” Expert tip: Seam one side before you’re finished knitting, so you can try it on as you go.
To keep it simple, this pattern does not include a border. It’s a simple 2-row repeat of knits & purls on the wrong side and all knit stitches on the right side. Making it easy to pick up and put down and know exactly where you left off (3 months later).
More Free Shrug Patterns You Might Like
Are you looking for something even easier to knit?! Check out this beginner friendly garter stitch easy shrug knitting pattern (free) or this simple shrug pattern (free) in stockinette stitch.
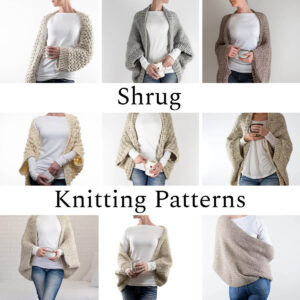
Browse all my shrug knitting patterns here.
WHAT YOU’LL LOVE!
- Stress-free & simple 2-row repeat rectangle that’s knit flat
- Beginner friendly & great 1st garment pattern
- Perfect drape loosely knit with knit & purl stitches only
About the Pattern
Available Sizes: Six, S – 3XL
Pattern Format: Written Pattern, No Chart
Pattern Language: English
Skill Level: Beginner & Advanced Beginner
PDF Format: Printer Friendly
Pattern Name: Wrapped in Warmth
Techniques & Skills You Need to Know
In this easy shrug knitting pattern, you’ll need to know how to:
Knit flat, back & forth, row-by-row, using cable needles to accommodate the large number of stitches.
Easily recognize knit & purl stitches.
Create a clean edge, for the advanced version only.
For the beginner version of this knit shrug pattern, you need to be familiar with the difference between knit and purl stitches.
For the advanced beginner version, you need to be confident in the beginner version. Plus, know how to slip stitches & knit through the back loop.
Yarn
Yarn Weight: Super Bulky
Yardage: 318 – 742 yards {291 – 678 meters}
Suggested Yarn: Lion Brand Wool Ease Thick & Quick
Alternative Yarn Substitute Options:
- Lion Brand Hometown Yarn (acrylic option)
- Lion Brand Re-Spun Thick & Quick
- Cascade Yarns Pacific Chunky
- Hobbii Umami
- Rico Designs Creative Twist
- Rowan Big Wool (100% wool)
- Yarn Bee Dream Supreme
- Paint Box Yarns Wool Blend Super Chunky
Check out Yarnsub’s for more yarn substitutions.
Needles & Notions
Needle Size: US 15 {10mm} Circular Needles with a 32″ {80cm} Cable, or longer
Tapestry or Darning Needle
Gauge
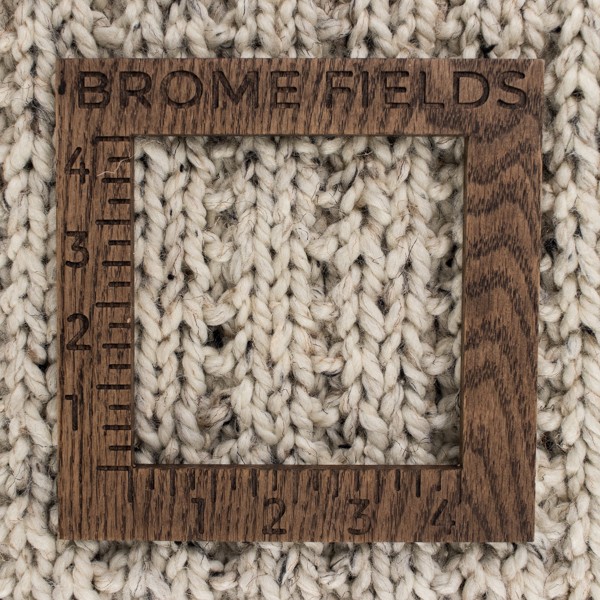
Gauge: 6 STS & 12 rows per 4” {10cm} square, knit in the pattern below
Measurements
Height of model: 5’9″ {175cm}
Weight of model: 130lbs {59kg}
Bust of model: 35″ {88cm}
Waist of model: 27″ {68cm}
Measurements, before blocking: 46″ wide x 30″ {117cm x 46cm}
Weight: 1lb 10oz {740g}
Sizes
S: 24 x 40” {61-101cm}, CO 55 STS, 3-4 skeins
M: 26 x 42” {66-107cm}, CO 58 STS, 4-5 skeins
L: 28 x 44” {71-112cm}, CO 61 STS, 4-5 skeins
XL: 30 x 46” {76-117cm}, CO 64 STS, 5-6 skeins
2XL: 32 x 48” {81-123cm}, CO 67 STS, 5-6 skeins
3XL: 34 x 50” {86-127cm}, CO 70 STS, 6-7 skeins
Download & Print this Pattern
Do you enjoy working from a paper copy? Get the downloadable, printer-friendly PDF completely ad-free.
That way you can have lifetime access to it and download it to any device and view it from anywhere, without ads (and the pattern might not be around forever).
Notes
Not reversible.
CO edge is the length.
Length is measured from shoulder to bum.
Width is measured from shoulder to shoulder.
Knit using a variation of the broken rib knit stitch.
Knit flat, back & forth, using circular needles.
A circular needle is used to accommodate the large number of CO stitches.
Expert Tips
You can knit this shrug in any size, just cast-on in increments of 3+4
Knit the stitches to a 60″ cable, so you can try it on as you go, or you can slide your stitches onto a scrap piece of yarn. I know it takes extra time to do this step, but in the long run, it saves time {I have to remind myself of this too!}. So that you don’t have to bind-off and then frog it if it’s not the right size. Which is the lesser of 2 evils? Scrap yarn or frogging? Both & neither.
Beginner Pattern, Knit Flat
CO the number of STS from the “Size” section above.
Row 1 {WS}: P1 *P2, K1* P3
Row 2 {RS}: *K* {knit the whole row}
Repeat rows 1-2 until it’s the width you’d like.
BO in the Row 1 pattern, creating a stretchier BO than if you used all knit STS.
Block before seaming sleeves, if desired.
How to Create the Sleeves for Your Shrug
Lay it flat, with the wrong side up.
On a short side, bring the CO and BO corners together.
Sew the CO & BO edges together starting from the outside corner working your way in to create the sleeves.
How far up you sew depends on the size you’re making. I sewed mine up about 6” {15cm}.
Repeat on the other side.
Weave in the ends.
Advanced Beginner Pattern, Knit Flat
CO the number of STS from the “Size” section above.
Row 1 {WS}: WYIF S1PW *P2, K1* P2, WYIF S1PW
Row 2 {RS}: K1TBL *K* K1TBL
Repeat rows 1-2 until it’s the size you’d like.
BO in the Row 1 pattern, creating a stretchier BO than if you used all knit STS.
Block before seaming sleeves, if desired.
See above for the “Size Modifications” & “How to Create the Sleeves” instructions.
Modification Options
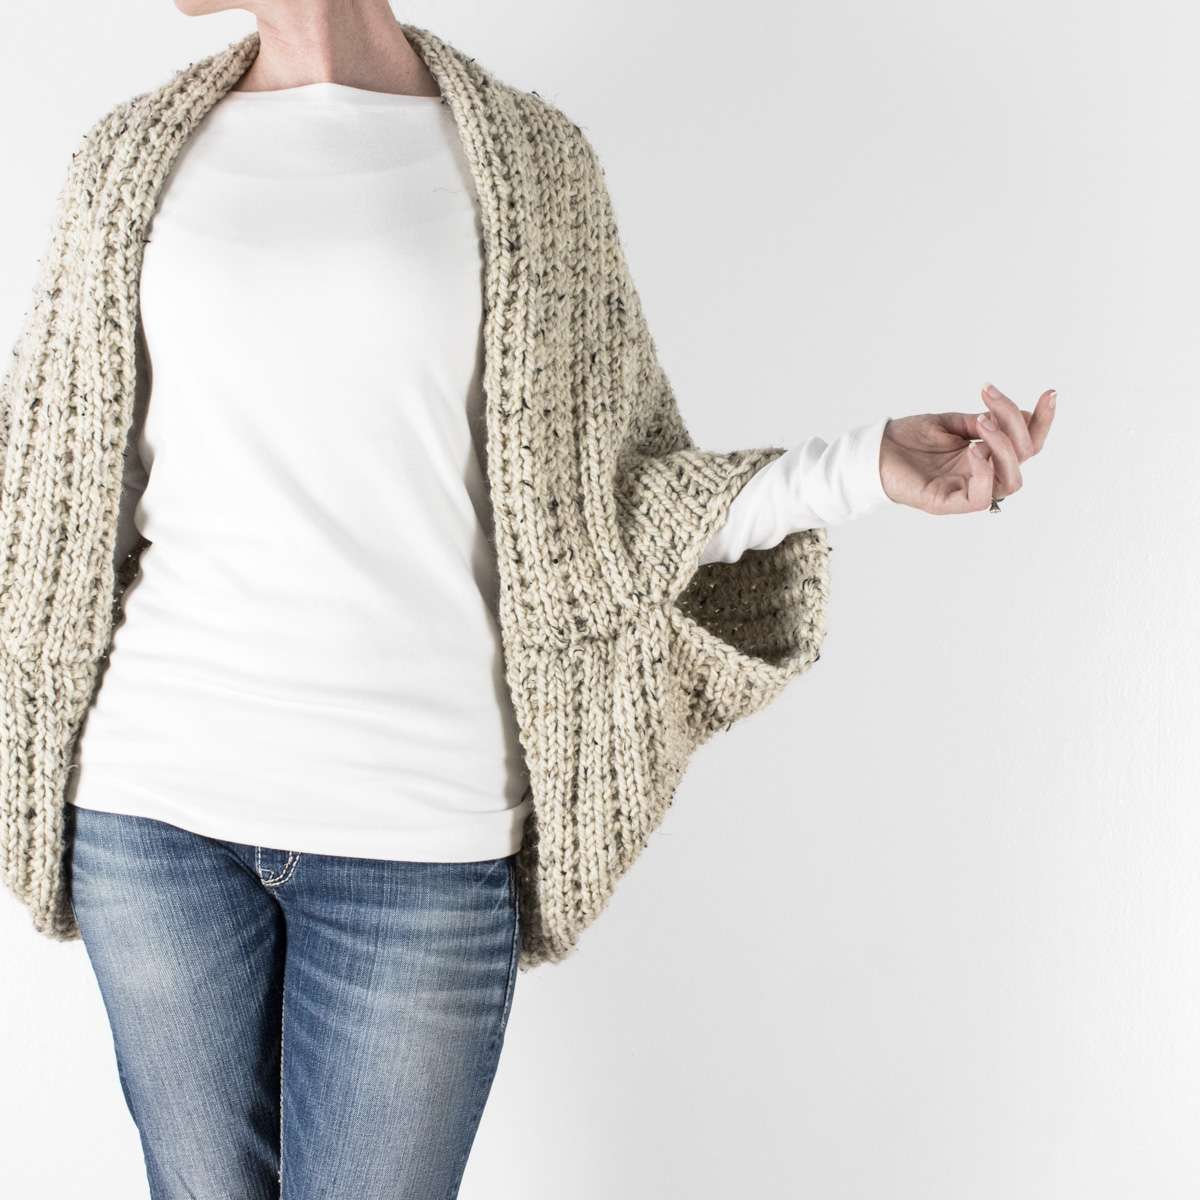
For the “sleeve” length:
Knit fewer rows to make it narrower, so it falls closer to your elbow.
Knit more rows if you’d like to make it wider, so it falls closer to your wrist.
If a crop top is your style, cast-on fewer stitches to make it shorter.
Size Modifications:
CO in multiples of 3 +4 {the 3 stitches are inside the *-*, 4 stitches are outside}.
To make it larger or smaller: measure from your shoulder to the bottom of your bum, this is your CO length. If you want more “scoop” add a few inches to your CO length. CO enough stitches to get your desired length, knit until it’s your desired width, sew seams and then it’s ready to wear.
For the width, I knit mine from mid-forearm to mid-forearm.
To be as accurate as possible, it’s best to knit a swatch. That way you know your gauge and then you can do the math to figure out how many stitches you need to cast-on. Or, if you’re like me, you can wing it. :)
If you’d like more of an oversized scoop, cast-on more stitches.
Knitting Abbreviations
*– * – repeat between *
BO – bind-off in pattern
CO – cast-on {long-tail cast-on method}
K – knit stitches {K1 means to knit 1 stitch}
K1TBL – knit 1 stitch through the back loop
P – purl stitches {P2 means to purl 2 stitches}
RS – right side
S1PW – slip one stitch purl-wise
STS – stitches
WS – wrong side
WYIF – with yarn in front
I hope you loved this easy shrug knitting pattern!
Here are some other knitted shrug patterns you might like:

