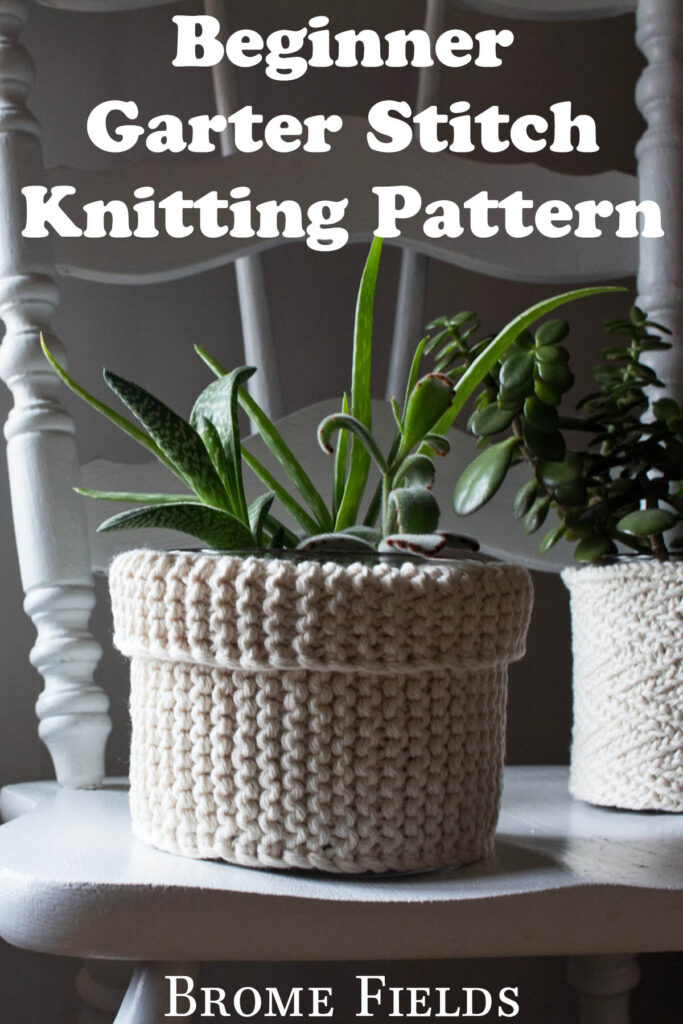
Beginner Garter Stitch Plant Pot Cozy Pattern, Free
This post may contain affiliate links. Please read my disclosure policy.
When you want something simple, useful, and doable, this plant cozy a lovely first choice.
This beginner garter stitch plant pot cozy pattern is knit flat using simple knit stitches and makes a quick, cozy piece of home décor.
*Updated February 2026: I gave this pattern a little refresh with clearer details, extra tips, and a few new ideas to help you make it your own.
I’ll be honest — I avoided garter stitch for almost a year. It felt too simple, like it didn’t have anything to offer. I was wrong. It’s now one of my favorite stitches. It’s soft, it’s squishy, and that repetitive rhythm means you can think, chat, and just be while your needles keep moving.
This plant cozy is knit flat in worsted weight cotton — the kind you probably already have or can grab at any big box store. I designed it because I wanted something cozy to wrap around my plant pots, to give them a little warmth and make them feel loved. It’s technically knit like a dishcloth — but it’s absolutely not a dishcloth. I may be a tiny bit rebellious like that. Quick, satisfying, and genuinely pretty. Your plants deserve it.
About the Pattern
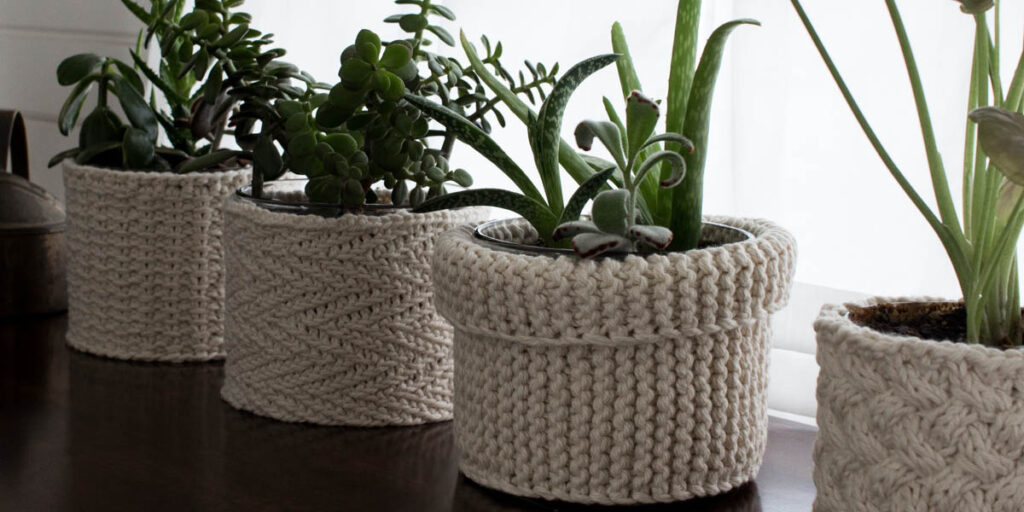
This plant cozy is knit flat using garter stitch, meaning you’ll knit every row to create a soft, textured fabric. It’s worked holding two strands of worsted weight yarn together for a sturdy feel, then sewn along the cast-on and bind-off edges to form the shape. Once slipped over a small planter, the top edge is folded down for a simple, finished look.
Available Sizes: One
Size: Fits a 5” (13cm) Diameter Container
Pattern Format: Written Pattern, No Chart
Skill Level: Beginner & Advanced Beginner
PDF Format: Printer Friendly
Bonus: Videos
Techniques
It’s super quick and easy knit! Just knit a rectangle and sew a seam. Plus, they’re so much easier than baskets (there’s no bottom🎉).
Here are some of the knitting skills you need to know before getting started:
Knit Flat (no circular needles)
Knit Stitches
Clean Edge (advanced version only)
Yarn & Substitutions
Yarn Weight: Worsted
Yardage: 120 – 130 yards (110 – 119 meters)
Suggested Yarn: Knit Picks, Simply Cotton Organic Worsted Yarn
This is a great project if you have leftover cotton yarn, want a quick handmade gift, or are looking for something small and useful to knit between larger projects.
It’s also a lovely way to use cotton yarn as an alternative to dishcloths while making something decorative and practical.
Needles & Notions
US 9 (5.5mm) Knitting Needles
Stitch Marker (optional)
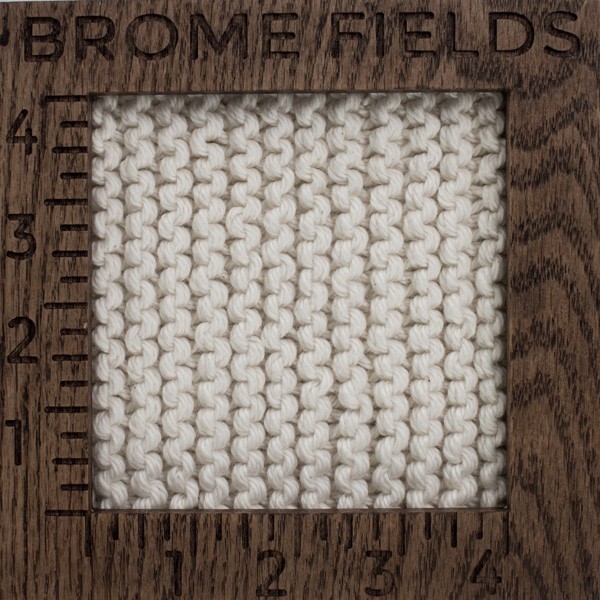
Gauge
15 STS & 21 rows per 4” (10cm) square, knit in the garter stitch pattern below
Details
Measurements: 8” wide x 5 1/2” (20cm x 14cm)
Weight: 2.8oz (80g)
Notes
Reversible.
Knit using the garter stitch.
CO edge is the height, not the circumference.
Knit holding 2 strands of yarn together throughout.
This cozy is knit flat in garter stitch, meaning you’ll knit all the rows, however I’m tweaking it a little bit to create a nice clean edge.
I knit this a bit on the tight side, so it stands up on it’s own.
Don’t tug on it as you knit, leave it dense, it helps it stand up on it’s own.
If you make the edge stitch too tight on the odd rows, the edges won’t have as much stretch as the center, if it’s too loose the stitches will look like extra loops on the end of your row. So, like Goldilocks, you want it somewhere in the middle. :)
Knitting Abbreviations
*– * – repeat between * to end of round
BO – bind-off in pattern
CO – cast-on (long-tail cast-on method)
K – knit stitches (K1 means to knit 1 stitch)
K1TBL – knit 1 stitch through the back loop
P – purl stitches (P2 means to purl 2 stitches)
S1PW – slip one stitch purl-wise
STS – stitches
WYIF – with yarn in front
Tips Before You Begin
Before you start, it helps to remember that this is a very forgiving project. Small differences in how tightly or loosely you knit are completely normal and part of what makes handmade pieces unique. Even if your stitches don’t look exactly the same as someone else’s, your cozy will still come together beautifully.
Gauge doesn’t have to be exact here, and that takes a lot of the pressure off. If your tension is a little tighter, the cozy may feel more structured. If it’s a bit looser, it may have a softer drape. Both can work well, especially since it’s meant to fit snugly over a small planter.
Yarn weight can also affect the final look and size. Using cotton yarn held together with a smaller needle size, creates a sturdy fabric that helps the cozy stand up on its own. If your yarn is slightly different, that’s okay. Small variations in size and texture are part of the charm of handmade projects and make each piece feel a little more special.
Save it for Later
- Buy the ad-free, printer-friendly pattern in The Shop.
- Save it to your Ravelry Library!
- Pin-it to Pinterest for later!
Download & Print this Pattern
Do you enjoy working from a paper copy? Get the downloadable, printer-friendly PDF completely ad-free.
That way you can have lifetime access to it and download it to any device and view it from anywhere, without ads (and the pattern might not be around forever).
Save this pattern for later!
Beginner Pattern Instructions
Holding 2 strands of yarn
CO 21 STS (CO loosely otherwise it’ll be a tighter stitch at the seam and it’ll look cinched)
Knit every row until it’s about 16 1/2″ (42cm) long for a 5″ (13cm) diameter pot/container. Make it a little small so it fits over your pot nice and snugly.
BO in all knit STS on an ODD row.
Sew the CO & BO edges together to create the circumference.
Put on your planter and fold the top edge down.
Size Alteration Options:
To make it larger or smaller CO in any number of STS, Hold it up to the height of your container and estimate the number of CO STS for your container and style. You’ll want to have enough to touch the bottom, where it meets the bottom and enough for it to fold over to your desired length.
Advanced Beginner Pattern Instructions
Holding 2 strands of yarn
CO 21 STS (CO loosely otherwise it’ll be a tighter stitch at the seam and it’ll look cinched)
All EVEN Rows: K1TBL *K* K1TBL
All ODD Rows: WYIF S1PW *K* WYIF S1PW
Tip: Place a stitch marker on the Odd side, so you know which side to slip sts and which side to knit. :) (It doesn’t matter which side you put the stitch marker on as long as you’re consistent with which side you knit and which side you slip the first stitches.)
Knit until it’s about 16 1/2″ (42cm) long for a 5″ (13cm) diameter pot/container. Make it a little small so it fits over your pot nice and snugly.
BO in all knit STS on an ODD row.
Sew the CO & BO edges together to create the circumference.
Put on your planter and fold the top edge down.
Size Alteration Options:
To make it larger or smaller CO in any number of STS, Hold it up to the height of your container and estimate the number of CO STS for your container and style. You’ll want to have enough to touch the bottom, where it meets the bottom and enough for it to fold over to your desired length.
FAQ Questions You Might Have
Is this pattern good for beginners?
Yes, it’s designed with beginners in mind. You’ll knit it flat using garter stitch, which makes it a gentle, approachable first project to work through step by step.
How long does it take to make?
Because it’s a small project, many knitters can finish it fairly quickly. It’s a nice option when you want something satisfying without a big time commitment.
Do I need circular needles, or is it knit flat?
It’s knit flat and then seamed to create the circle, so straight needles work just fine.
What yarn works best for this pattern?
The pattern uses worsted weight cotton yarn and is worked holding two strands together, which helps create a dense, sturdy fabric that holds its shape.
Can I use leftover yarn from my stash?
Yes. Since it doesn’t require a large amount of yarn, it’s a great way to use yarn you already have on hand.
What can I knit with cotton yarn besides dishcloths?
Cotton yarn is great for all kinds of small, useful projects beyond dishcloths. You can use it to make plant cozies, potholders, coasters, mug rugs, and other simple home décor pieces. This plant pot cozy is a nice place to start since it’s small, practical, and lets you try something a little different while still using the cotton yarn you already have.
Is this something I could make as a gift?
Definitely. A plant cozy makes a thoughtful handmade gift and pairs nicely with a small plant for something extra special.
Will this help me feel more comfortable with knitting?
It’s a great project for getting used to the rhythm of knitting and seeing a full piece come together. Finishing something small and useful often makes the next project feel much more approachable.
This pattern is part of the Your First Quick Knits collection — if you’d like all seven patterns plus four printable guides in one place, the full bundle is waiting for you.
A Small Project That Feels Like a Win
There’s something really special about finishing a project you can hold in your hands, especially when you’re just getting started. This plant cozy is simple, useful, and a lovely way to add a soft, handmade touch to your space.
Once you make one, you might find yourself wanting to knit another for a different planter or as a gift. When you’re ready, the printable PDF version makes it easy to follow along at your own pace and keep the pattern handy. From here, it’s a natural next step into hats, scarves, and other beginner-friendly projects that build on the same skills.
More Plant Cozy Knitting Patterns you’ll love…
And if you’re in the mood for another small, cozy project after this one, there are plenty more quick and easy patterns waiting for you to try next.
 |