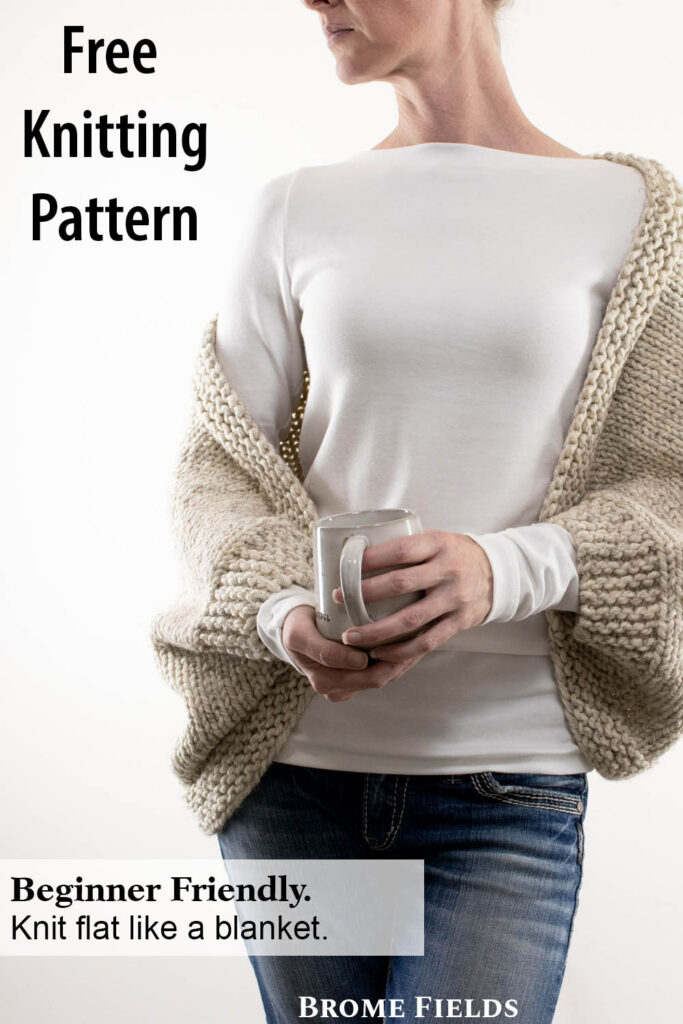
Knit Cropped Shrug Sweater
This post may contain affiliate links. Please read my disclosure policy.
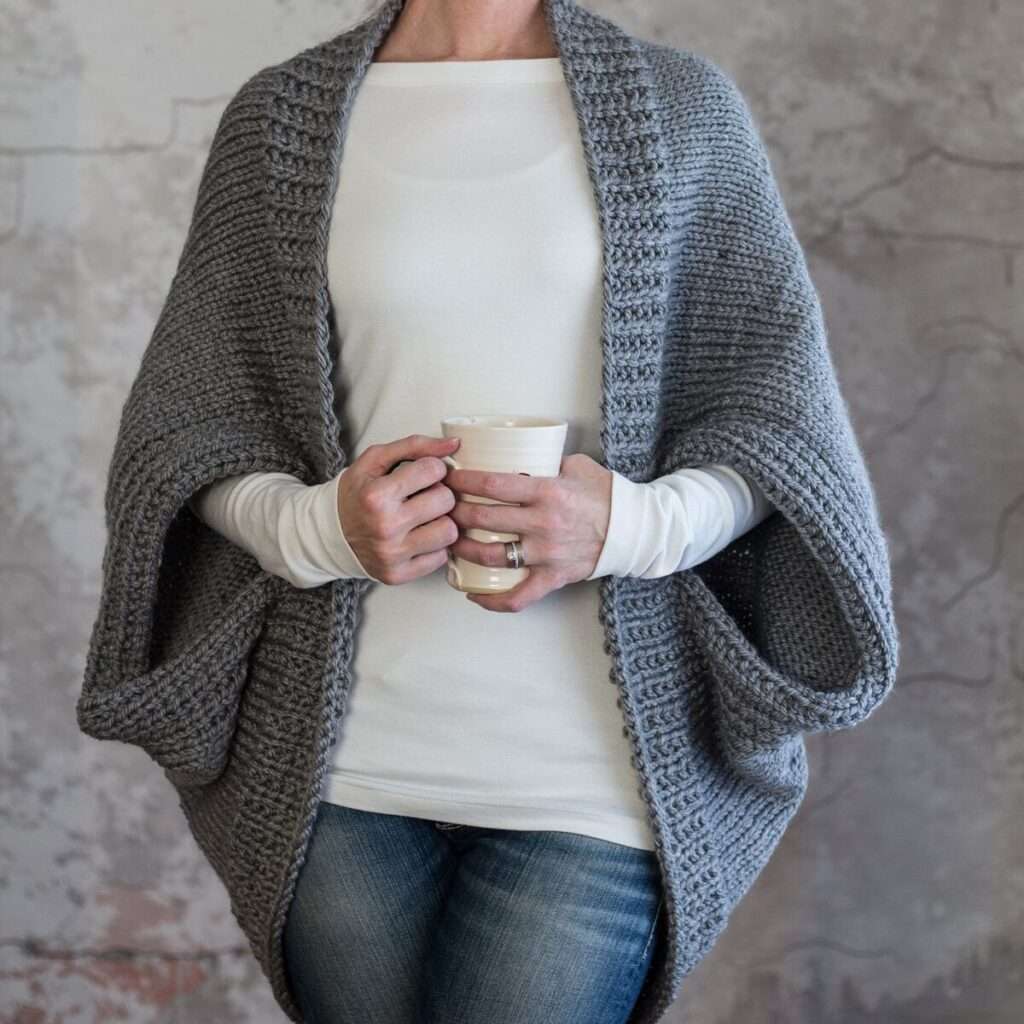
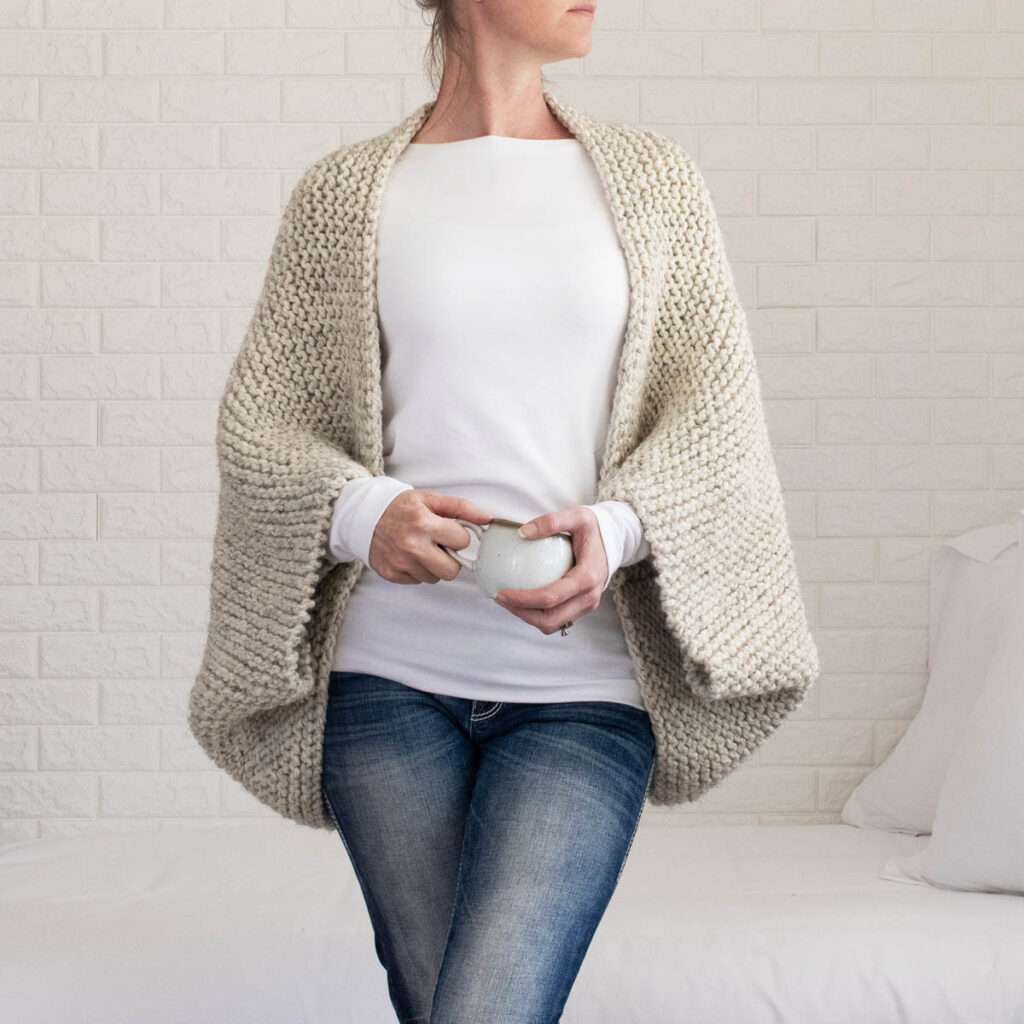
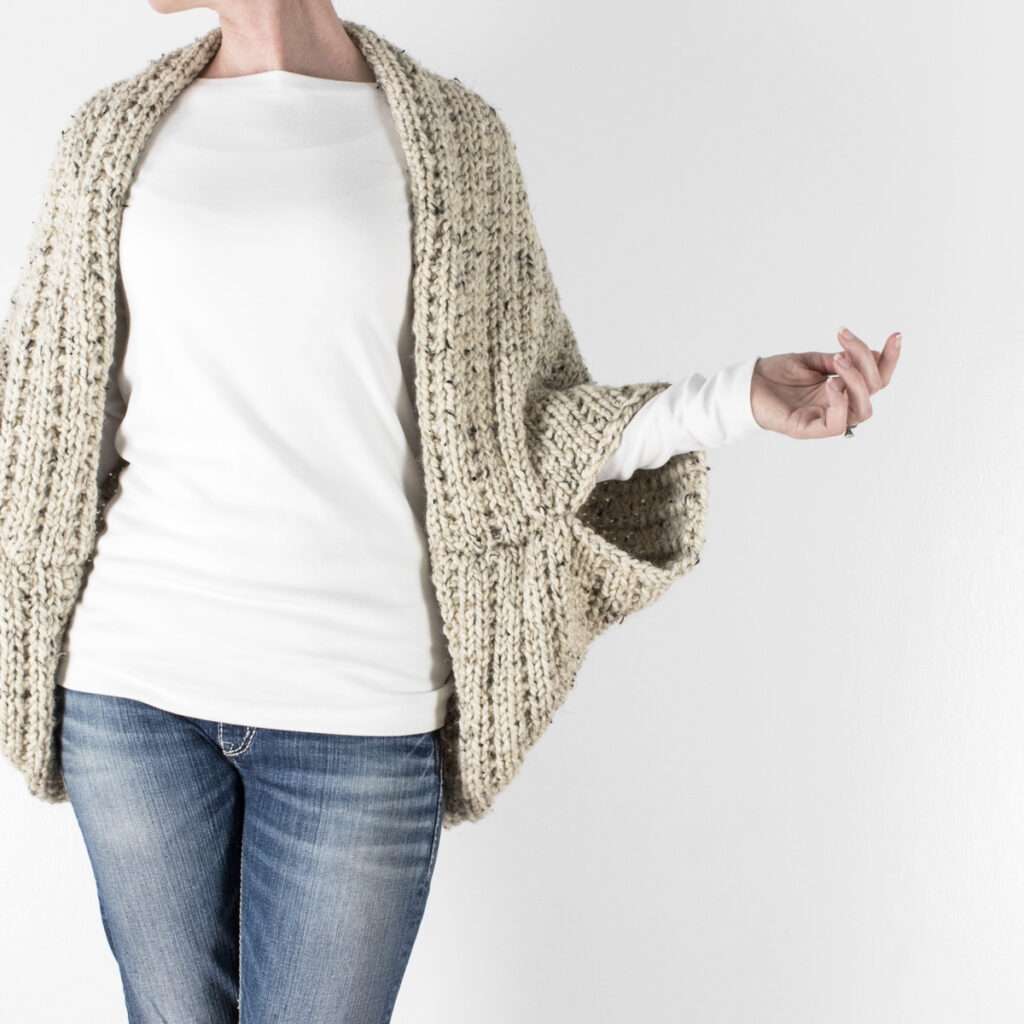
A knitted cropped shrug that’s not too short or too long, but just right where it meets the top of your jeans!
Wanna feel cozy & warm but still look cute?! This blanket shrug pattern is for you. 😘 Shrugs are a cute addition to any outfit. Style it with your favorite pajamas or jeans & a t-shirt and you’re all set!
Pin-it to Pinterest for later!
About the Pattern
Available Sizes: Six
Pattern Format: Written Pattern, No Chart
Pattern Language: English
Skill Level: Beginner Friendly
PDF Format: Printer Friendly
Pattern Name: Wanderlust
This cropped shrug pattern is super chunky & cozy! Don’t tell anyone, but this quick & easy shrug is knit in a rectangle, like a blanket. Just sew 2 seams for the sleeves and you have a cozy shrug. Yeah, you got this! 😉
Techniques
Here are some helpful knitting skills you need to know before getting started:
Knit Flat (Back & Forth)
Knit & Purl Stitches
Sew Seam
Yarn & Substitutions
Yarn Weight: Super Bulky
Yardage: 300 – 530 yards (280 – 485 meters)
Suggested Yarn: Lion Brand Wool Ease Thick & Quick
I like using LBT&Q because it’s affordable, squishy & durable. Plus, using super bulky yarn makes for a quick knitting project. Which is great for my short attention span! ;) Also, it’s a wool & acrylic fiber blend, which I think is what makes it warmer and more durable than other options.
Alternative Yarn Substitute Options:
- Lion Brand Hometown Yarn (acrylic option)
- Lion Brand Re-Spun Thick & Quick
- Cascade Yarns Pacific Chunky
- Hobbii Umami
- Rico Designs Creative Twist
- Rowan Big Wool (100% wool)
- Yarn Bee Dream Supreme
- Paint Box Yarns Wool Blend Super Chunky
Check out Yarnsub’s for more yarn substitutions.
Needles & Notions
Needle Size: US 15 (10mm) Circular Needles with a 32” (80cm) Cable, or longer
Note: This shrug is knit flat, back & forth on circular needles, which are used to accommodate the large number of CO stitches, do not join in the round.
Gauge
8 STS & 13.5 rows per 4” (10cm) square, knit in the stockinette stitch
Photo Measurements
Model height: 5’ 9″ (175cm)
Model weight: 130lbs (59kg)
Model bust: 35″ (88cm)
Model waist: 25″ (63cm)
# of CO stitches: 96
Measurements: 47″ wide x 21″ (119cm x 53cm)
Weight: 1lb 2.7oz (530g)
Notes
Not reversible.
Knit top down.
Knit using the garter stitch & stockinette stitch.
Knit flat, back & forth on circular needles, which are used to accommodate the large number of CO stitches, do not join in the round.
Sizing
Using a cloth tape measure, or cotton yarn, measure your arm length to determine the number of CO STS you’re going to need. With your arms at your side, measure from mid-forearm to mid-forearm going up and over your shoulders. Measure it from wherever you’d like it to fall when you wear it.
I’m 5’9” tall and made mine 45”, measuring from mid-forearm to mid-forearm. I made mine a couple of inches shorter, because of the weight of the super bulky yarn it’ll stretch a little bit over time.
What I did was tape one end of the yarn to where I wanted the shrug to fall about mid-forearm, taking the yarn up and over my shoulders and then taped the other end on my other arm. I took the yarn off my arms, leaving the tape on the yarn, so I could measure the length between the pieces of tape.
Save this pattern for later!
I found that whether my arms were at my side or straight out the measurement was about the same.
Go ahead and take your measurement so you can get started! :)
Sizes
Size S: 39” (99cm) wide, CO 84 STS, 3 skeins
Size M: 41” (104cm) wide, CO 88 STS, 3 skeins
Size L: 43” (109cm) wide, CO 92 STS, 4 skeins
Size XL: 45” (114cm) wide, CO 96 STS, 4 skeins
Size XXL: 47” (119cm) wide, CO 100 STS, 4 skeins
Size XXXL: 49” (125cm) wide, CO 104 STS, 5 skeins
Knitting Abbreviations
*– * – repeat between * to end of round
BO – bind-off in pattern
CO – cast-on (long-tail cast-on method)
K – knit stitches (K1 means to knit 1 stitch)
P – purl stitches (P2 means to purl 2 stitches)
RS – right side
STS – stitches
WS – wrong side
Download & Print this Pattern
Do you enjoy working from a paper copy? Get the downloadable, printer-friendly PDF completely ad-free.
That way you can have lifetime access to it and download it to any device and view it from anywhere, without ads (and the pattern might not be around forever).

Pattern Instructions
 |
 |
 |
CO the number of STS from the chart above
Garter Stitch Collar Ribbing, about 2 1/2” (6cm):
Rows 1 – 7: *K*
Stockinette Stitch Body:
Row 8 (RS): *K*
Row 9 (WS): K6, *P* last 6 sts: K6
Repeat rows 8-9 for, 21″ (53cm), or desired length.
Garter Stitch Bottom Ribbing, about 2 1/2” (6cm):
Rows 1 – 6: *K*
Row 7 (RS): BO in all knit STS
Steam-block lightly to even out the stitches, if desired.
Create the Sleeves:
Lay it flat, with the right side up.
On one side, bring the CO and BO corners together, with the edge stitch together. Sew about 6” (15cm) from the corner up to the side edge to create the sleeves.
Repeat on the other side.
Weave in all your ends.
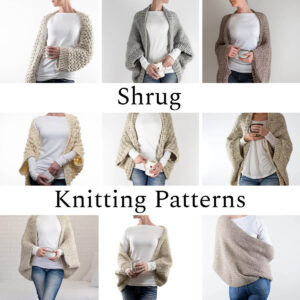
More Cozy Knitting Patterns You’ll Love…
|
|
|
|