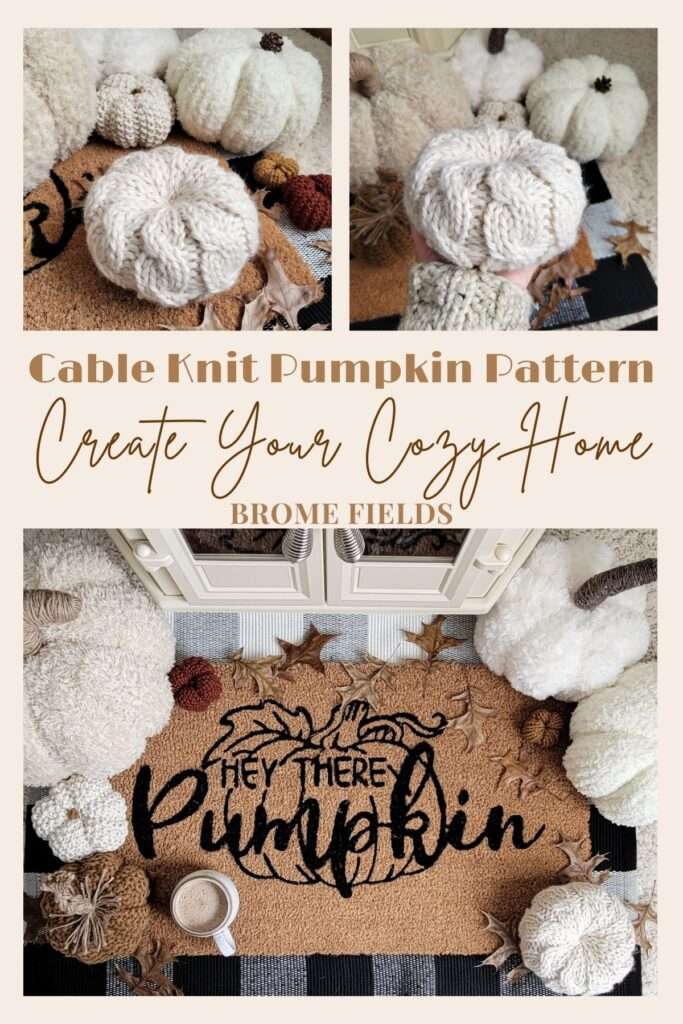
Cable Knit Pumpkin
This post may contain affiliate links. Please read my disclosure policy.
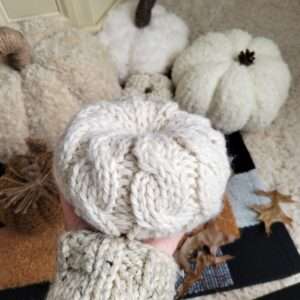
Cable lovers beware! This cable knit pumpkin will make your heart jump for joy.
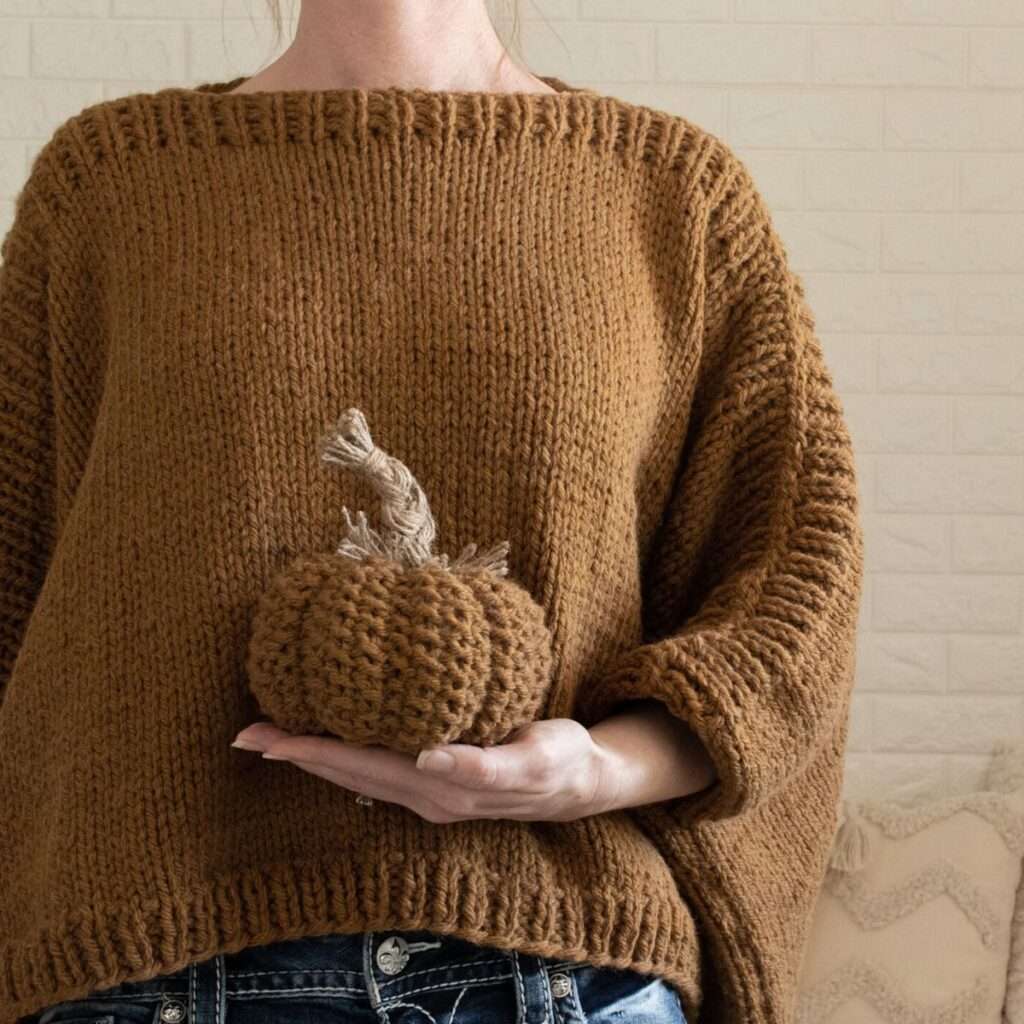
It’s September, aka… fall is right around the corner! It’s time to start knitting some pumpkins for your cozy home fall decor. :)
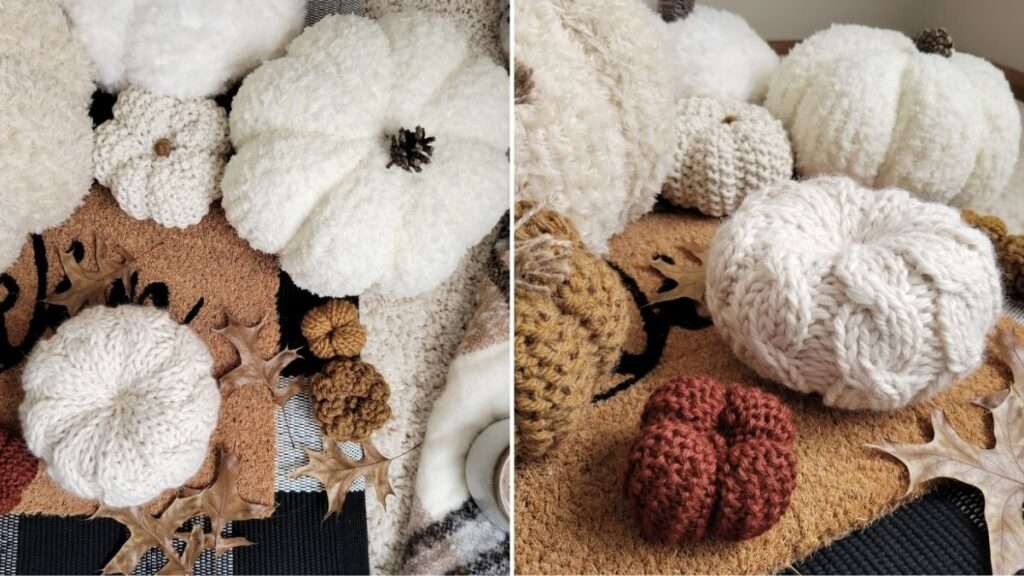
Cable knit pumpkins are the perfect addition to your knitted pumpkin patch! A small pumpkin is ready to stuff in 2 hours, or less.
Bonus: This cable knit design means there are no ribs to create!
Other patterns for pumpkins that you might like:
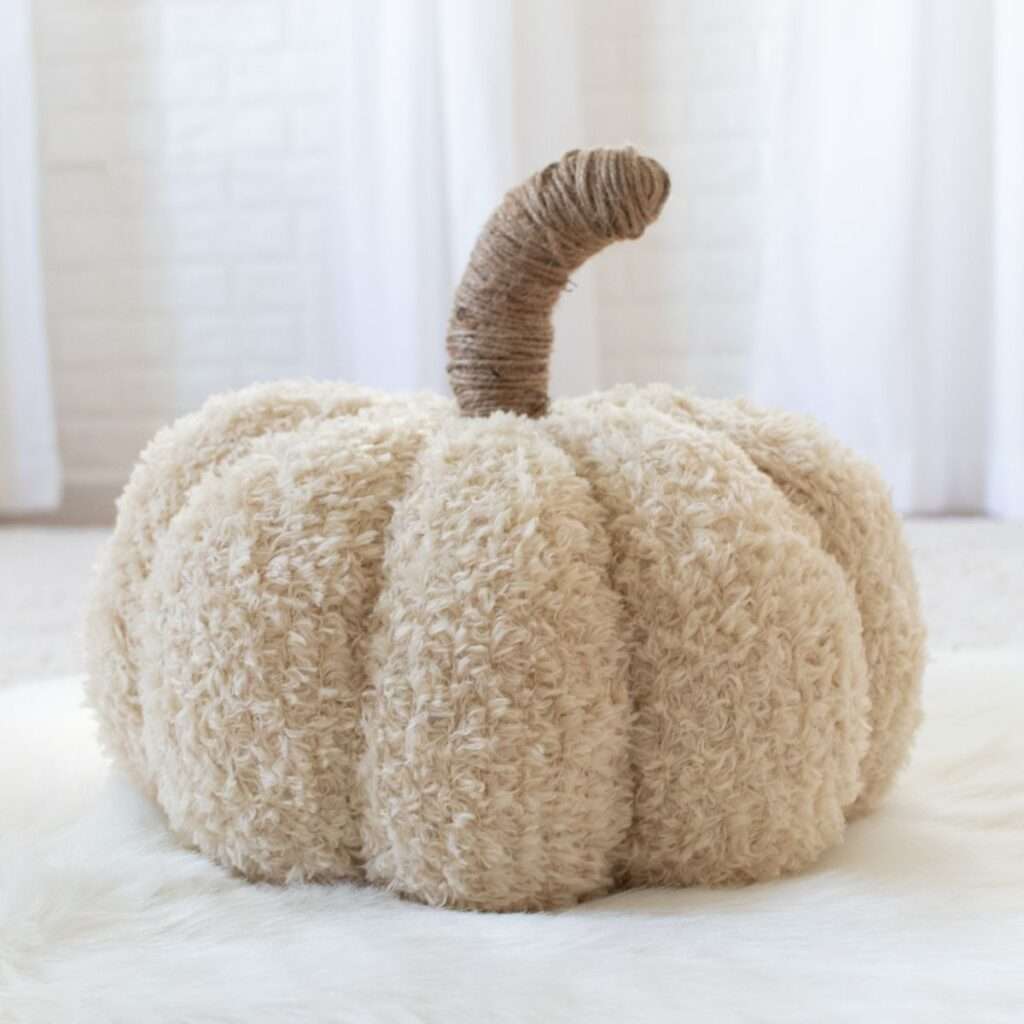
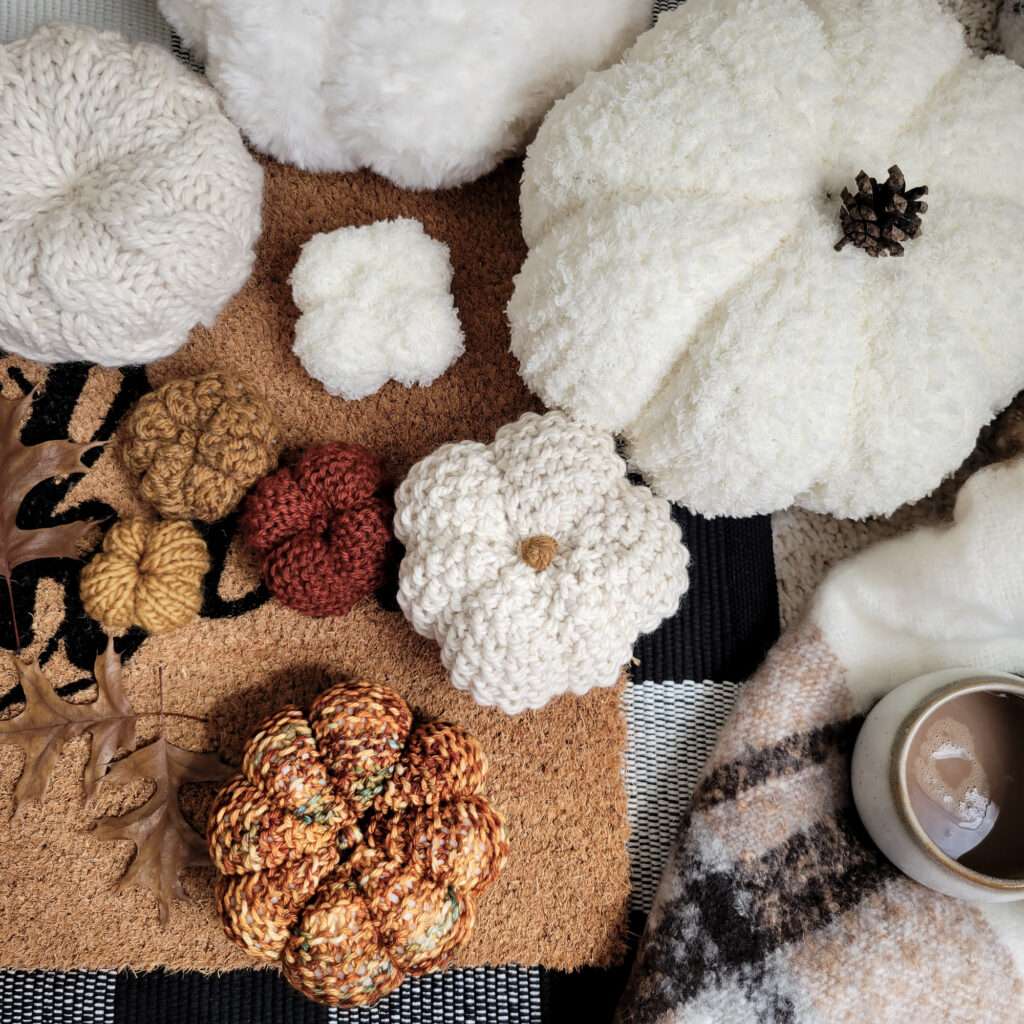
Knitted pumpkins are the perfect cozy fall aesthetic! Are you looking for a vintage chenille easy knit pumpkin, a soft faux fur knit pumpkin to squeeze or a rustic seed stitch pumpkin pattern?
About the Pattern
This is an advanced beginner pattern. So, it’s helpful if you confidently know the difference between a knit stitch and purl stitch.
Available Sizes: Three
Pattern Format: Written Pattern, No Chart
Pattern Language: English
Skill Level: Advanced Beginner
Techniques
Here are some of the knitting skills you need to know before getting started:
Everyone needs to learn how to knit cables at some point, because they’re absolutely gorgeous AND they’re so much easier to knit than you think. :)
There’s a video below to show you how to C4F, the only knitted cable stitch used in this pattern.
- Knit in the Round
- Knit & Purl Stitches
- 1 Cable Knit Stitch
- Decrease Stitches
WHAT’S TO LOVE!?
- Quick knitting project
- Stash busting scrap yarn project
- No seams – just knit, stuff, cinch & you’re done.
Yarn & Substitutions
Yarn Weight: Super Bulky
Yardage: 80 – 380 yards {73 – 347 meters}
Suggested Yarn: Lion Brand Re-Spun Thick & Quick
Alternative Yarn Suggestions:
Lion Brand Wool Ease Thick & Quick
HomeTown Yarn
I used super bulky yarn because it makes it a quick knitting project, which is great for my short attention span. However, if you love bulky or worsted weight yarn, you can easily substitute any yarn. {I give some details in the FAQ section.}
Needles & Notions
Needle Size: US 11 {8mm} Circular Needles with a 16” {40cm} Cable
Extras: Stitch Marker, Cable Needle
Stuffing {polyfill}
Gauge
Exact gauge is not required for this project.
Sizes
Small: 6″ W x 3″ (15cm x 8cm) 80-90 yards (73-82m)
Medium: 9″ W x 5″ (23cm x 13cm) 180-190 yards (165-174m)
Large: 12″ W x 7″ (30cm x 19cm) 370-380 yards (338-347m)
Notes
Not reversible.
Knit bottom up.
Knit using the cable knit stitch.
Knit in the round with a circular needle.
When knitting in the round you’re always knitting the right side of your work.
Save this pattern for later!
Video Tutorial
Knitting Abbreviations
*– * – repeat between * to end of round
BO – bind-off in pattern
C4F – cable4front – transfer 2 stitches to a cable needle and hold it in the front of your work, knit the next 2 stitches and then knit the 2 stitches off the cable needle
CO – cast-on – long-tail cast-on method
K – knit stitches – K1 means to knit 1 stitch
K2TOG – knit 2 stitches together
P – purl stitches – P2 means to purl 2 stitches
PM – place marker
STS – stitches
Save it for Later
- Buy the ad-free, printer-friendly pattern in The Shop.
- Save it to your Ravelry Library!
- Pin-it to Pinterest for later.
Download & Print this Pattern
Do you enjoy working from a paper copy? Get the downloadable, printer-friendly PDF completely ad-free.
That way you can have lifetime access to it and download it to any device and view it from anywhere, without ads (and the pattern might not be around forever)
Modification Options
Hmmm… what are your thoughts on decorating your knitted pumpkin, like a Jack O’ Lantern? Maybe with button or googly eyes, or black yarn for the eyes and mouth… oh my, you can get super creative here!
How fun would it be to knit some pumpkins for the kids or grand kids to decorate each year!?
At the end of the holiday season you can store them and display them every year and watch your knitted pumpkin patch grow each year and their creativity. Aw, I wish I would’ve thought to do this with my kids when they were little!
FAQ
Definitely! If you cast-on using the same number of stitches with a thinner yarn & smaller needles, you’ll have a smaller pumpkin.
If you cast-on using the same number of stitches with a thicker yarn & smaller needles, you’ll have a larger pumpkin.
Cast-on more stitches in increments of 5.
Cast-on fewer stitches in increments of 5.
Yes, just cast-on more than the recommended amount of stitches, in increments of 5 and you’ll have more stripes.
If you’d like fewer stripes, but a larger pumpkin, you can add more purl stitches in between the stripes. Instead of *K4, P1* you can use *K4, P3*, in that case, you’ll cast-on in increments of 7.
Thank you so much for your support and joining me on this wonderful knitting journey!

Pattern, Knit in the Round
 |
 |
 |
CO 45{S}, 70{M}, 90{L} STS, PM and then join in the round
Rounds 1-5: *K4, P1*
Round 6: *C4F, P1*
Repeat rows 1-6 for about 8″ {S}, 11″ {M}, 14″ {L}
Decrease for the Top:
Round 1: *K4, P1*
Round 2: *K2, K2TOG, P1*
Round 3: *K3, P1*
Round 4: *K1, K2TOG, P1*
Round 5: *K2, P1*
Round 6: *K2TOG, P1*
Without binding-off, cut the yarn leaving a long tails, about 10” {25cm} or so, pull it through the remaining STS, cinch it tight, thread your tail through the stitches a second time to reinforce it and then push the tail through the hole to the inside and then tie it off. There’s no need to weave in the ends, just stuff them inside the pumpkin.
Stuff your pumpkin:
Start by adding the stuffing to the outside edge and then fill in the center to your desired density.
Cinch the bottom closed:
Thread your darning needle and pick-up every outside stitch of the cast-on edge. Cinch it as you go. Thread your tail through the stitches a second time to reinforce it. Push the tail into the center, tie a knot and leave the tail inside, you don’t have to weave in the ends.
Weave in the ends, or push them into the center of your pumpkin.
No blocking necessary. :)
If you like this pattern, here are more pumpkin knitting patterns for FREE that you’ll love:
|
|
|
|