Amazing Faux Fur Poncho Knitting Pattern
Looking for the softest… coziest… faux fur poncho ever! Ah, look no further.
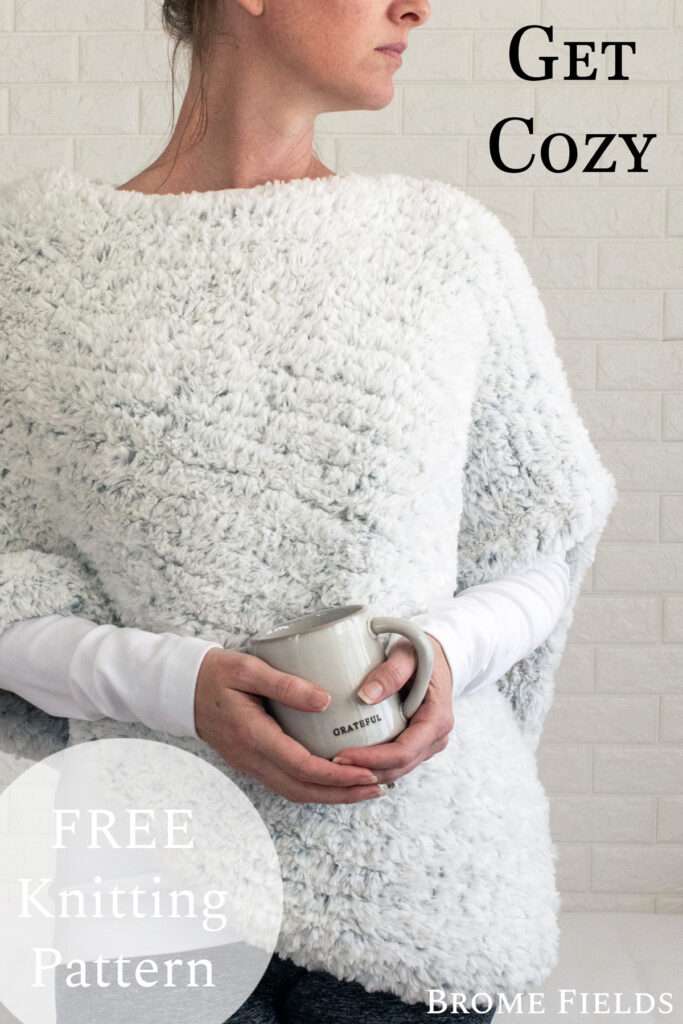
Modern chunky rectangle poncho knitting pattern is free & easy. It includes 8 sizes from child to adult 2XL.
The softest… coziest… poncho ever!
Imagine being wrapped up in this all winter long!
About the Pattern
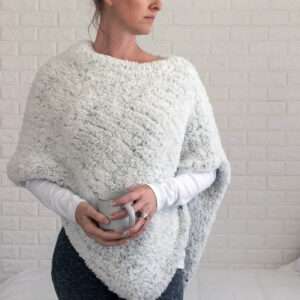
It doesn’t get any easier than this poncho! Just knit one rectangle, in stockinette stitch, knit flat (back & forth) and then sew 1 simple seam.
Available Sizes: Eight
Pattern Format: Written Pattern, No Chart
Skill Level: Beginner
PDF Format: Printer Friendly
Pattern Name: Winter Wonder
Techniques
Here are some of the knitting skills you need to know before getting started:
You need to be familiar with the knit stitch and purl stitch. The faux fur makes it a little difficult to tell which stitch you’re working.
Knit Flat (Back & Forth)
Knit & Purl Stitches
Clean Edge (optional)
WHAT’S TO LOVE!?
- Quick knit with super bulky yarn
- Stress-free pattern
- Beautiful drape
- Easy level knitting pattern
- Perfect poncho to cozy up in! 😍
Yarn & Substitutions
I’ve used several faux fur yarns and Go For Faux is the chunkiest. Different colors are a little different too. I feel like Chinchilla is a little thicker than Baked Alaska, but maybe that was the particular batches that I received.
Yarn Weight: Super Bulky
Yardage: 260 – 780 yards (235 – 715 meters)
Suggested Yarn: Lion Brand Go For Faux, Chinchilla
Needles & Notions
Needle Size: US 19 (15 mm) Circular Needles with a 24″ (60cm) Cable, or longer
The large needles are perfect for this yarn, giving the fabric a beautiful drape. Perfect for a winter wedding!
This ponchos is knit flat, back & forth on circular needles. The long cable is used to accommodate the large number of super bulky cast-on stitches. However, if you’re knitting a child size, you could probably use straight needles.
Gauge
4 STS & 4 rows per 4” (10cm) square, knit flat in stockinette stitch
Sizes
Child S 13″ x 29″ (33cm x 73cm) (CO 13 STS) (4-5 skeins)
Child M 15″ x 34″ (38cm x 86cm) (CO 15 STS) (5-6 skeins)
Child L 17″ x 38″ (43cm x 96cm) (CO 17 STS) (6-7 skeins)
Adult S 19″ x 43″ (48cm x 109cm) (CO 19 STS) (7-8 skeins)
Adult M 21″ x 47″ (53cm x 119cm) (CO 21 STS) (8-9 skeins)
Adult L 23″ x 52″ (58cm x 132cm) (CO 23 STS) (9-10 skeins)
Adult XL 25″ x 56″ (63cm x 142cm) (CO 25 STS) (10-11 skeins)
Adult XXL 27″ x 61″ (68cm x 155cm) (CO 27 STS) (11-12 skeins)
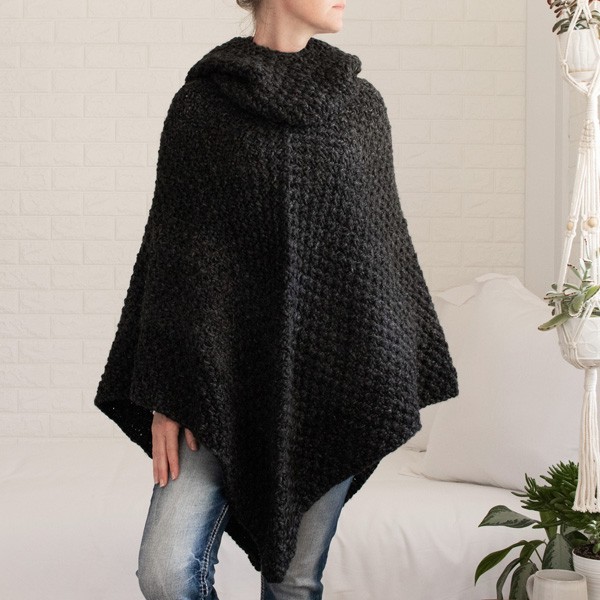
Picture Details:
Measurements: 23″ height x 52″ (48cm x 132cm)
Poncho Weight: 38 oz (1075g)
Model is 5’9″ (175 cm) 130lbs with a 33″ (84cm) chest, 27″ (68cm) waist wearing a 23″ x 52″ (48cm x 132cm) width poncho.
Notes
Reversible because of the faux fur yarn, the fur hides the stitches, if you’re using any other yarn, it’s not reversible.
Save this pattern for later!
The CO edge is the height, height measures from the shoulder to the waist.
Knit using the stockinette stitch.
Knit flat, back & forth on circular needles, which are used to accommodate the large number of CO stitches.
Knit flat, like a blanket, then fold in half and seamed to create poncho.
The poncho you didn’t even know you needed.
Knitting Abbreviations
*– * – repeat between * to end of round
BO – bind-off in pattern
CO – cast-on (long-tail cast-on method)
K – knit stitches (K1 means to knit 1 stitch)
K1TBL – knit 1 stitch through the back loop
P – purl stitches (P2 means to purl 2 stitches)
RS – right side
S1PW – slip one stitch purl-wise
STS – stitches
WS – wrong side
WYIF – with yarn in front
Save it for Later
- Buy the ad-free, printer-friendly pattern in the shop.
- Pin-it to Pinterest for later here.
Download & Print this Pattern
Do you enjoy working from a paper copy? Get the downloadable, printer-friendly PDF completely ad-free.
That way you can have lifetime access to it and download it to any device and view it from anywhere, without ads (and the pattern might not be around forever).
Beginner Pattern Instructions
 |
 |
 |
CO the number of STS from the “Size” section above.
Row 1 (WS): *P* (purl all stitches)
Row 2 (RS): *K* (knit all stitches)
Repeat rows 1-2 until recommended or desired length.
BO loosely.
Weave in the ends.
No blocking necessary.
Sew Seam to Create Poncho:
Fold it in half bringing the CO & BO edges together (do not sew this edge). Starting at the top outside edge, whip stitch the front and back together, leaving enough of a gap for your head to fit through. You can leave the opening a little larger if you’d like to show a little shoulder. ;)
Advanced Beginner Pattern Instructions
CO the number of STS from the “Size” section above.
Row 1 (WS): WYIF S1PW, *P*, WYIF S1PW
Row 2 (RS): K1TBL, *K*, K1TBL
Repeat rows 1-2 until recommended or desired length.
BO loosely.
Weave in the ends.
No blocking necessary.
Sew Seam to Create Poncho:
Fold it in half bringing the CO & BO edges together (do not sew this edge). Starting at the top outside edge, whip stitch the front and back together, leaving enough of a gap for your head to fit through. You can leave the opening a little larger if you’d like to show a little shoulder. ;)
Modification Options
If you find yourself frustrated with the stockinette stitches, you can try using the garter stitch pattern and knit all the rows. However, if you do this, you’ll want to get about 1/3rd more yarn than the size recommends. For example, if your size recommends 6 skeins, get 8 and if you’re me, you’ll get 9, just to be safe. :)
You can add some buttons instead of seaming it or you can add faux buttons to the edge after you seamed it.
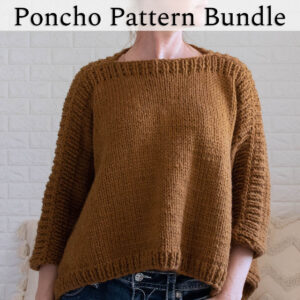
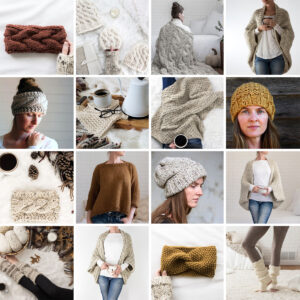
More poncho patterns you’ll love
|
|
|
|