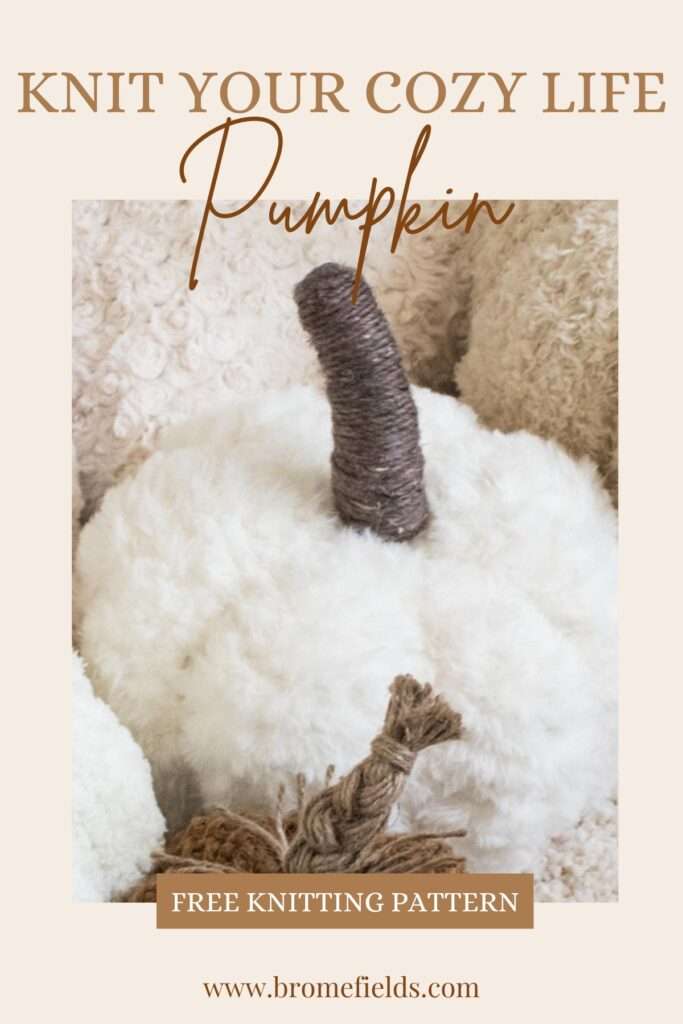
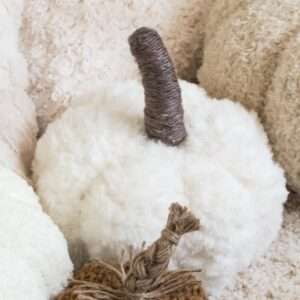
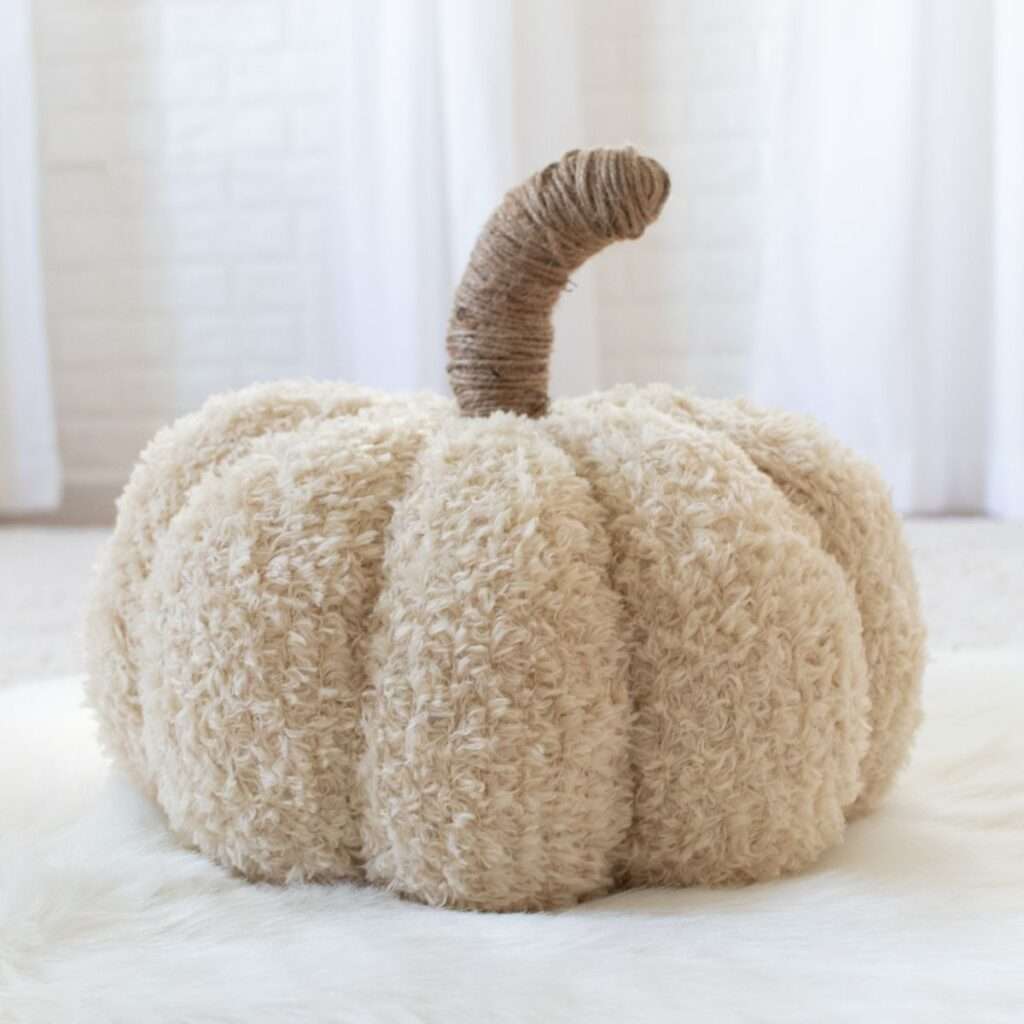
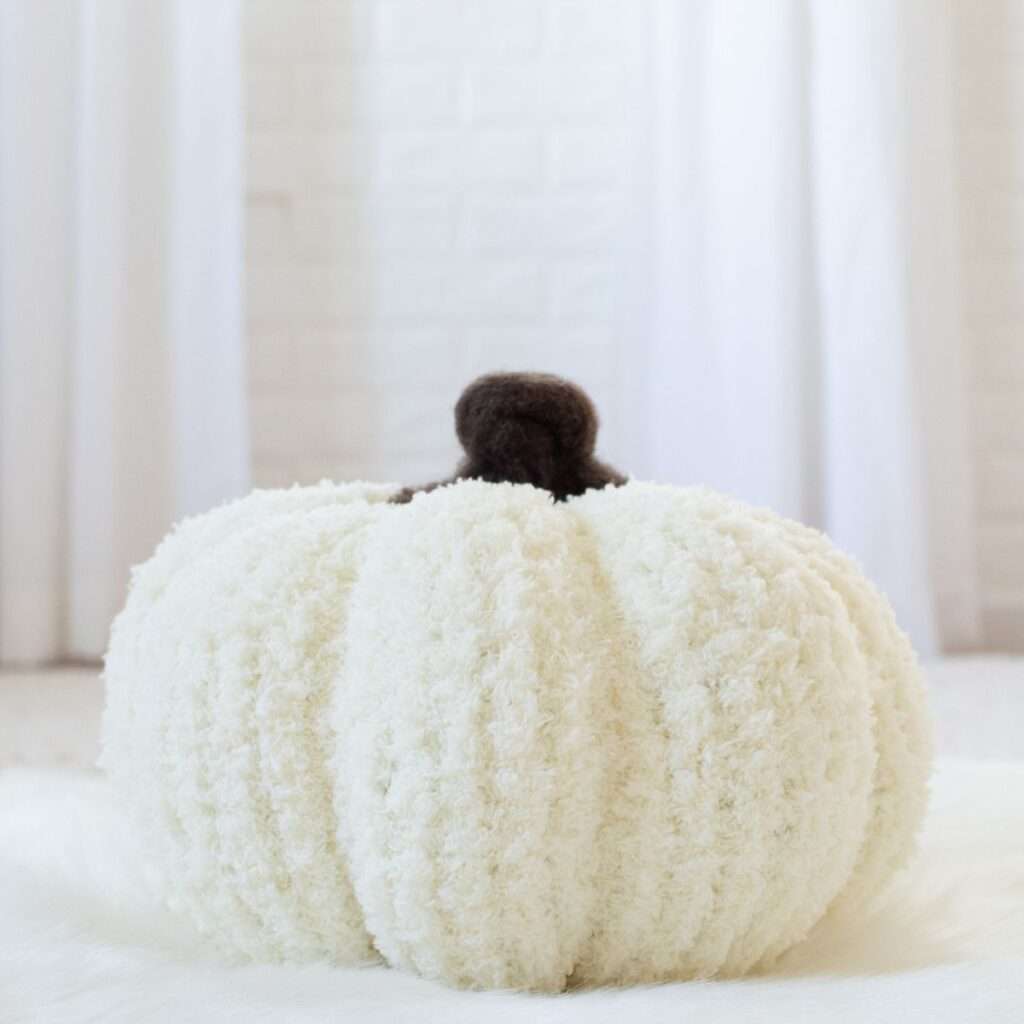
Faux Fur Pumpkin Knitting Pattern
This post may contain affiliate links. Please read my disclosure policy.
This free pumpkin knitting pattern is knit flat using straight needles. It’s a super quick & easy knitting pattern!
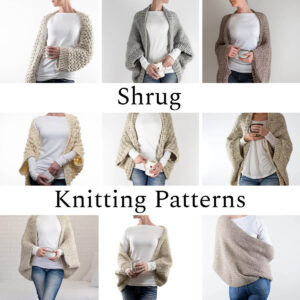
Other pumpkin patterns you might like:
Are you looking for a vintage chenille, easy knit pumpkin, a large pumpkin pattern to squeeze or a rustic farmhouse pumpkin pattern?
About the Pattern
This is a beginner friendly knitting pattern, however the faux fur makes it a little challenging to tell the difference between the knit stitch and purl stitch.
This pumpkin knits up super quick.
It uses less than 1 skein of Lion Brand Faux Fur yarn.
It’s so soft, you’ll want to pet it. :)
Available Sizes: Three
Pattern Format: Written Pattern, No Chart
Pattern Language: English
Skill Level: Beginner
PDF Format: Printer Friendly
Bonus: Videos
Techniques
Here are some of the knitting skills you need to know before getting started:
Knit Flat
Knit & Purl Stitches
No Increases or Decreases
Stem Making
WHAT’S TO LOVE!?
- It’s so fluffy I’m gonna die! {Despicable Me quote}
- It doesn’t look knitted. {pro or con? I haven’t decided.}
- On trend this season.
Yarn & Substitutions
Yarn Weight: Super Bulky
Yardage: 9 – 40 yards {8 – 36 meters}
Suggested Yarn: Lion Brand Go For Faux
Yarn Substitutes: Sirdar Alpine, Yarn Bee Fur the Moment, Hobbii Fur Lux
Needles & Notions
Needle Size: US 17 {12mm} Needles
Darning / Tapestry Needle
Scissors
Details
Gauge: Exact gauge is not required for this project.
Sizes & Measurements
Small: 6″ W x 3 3/4″ {15cm x 9cm} 9-13 yards {8-12m}
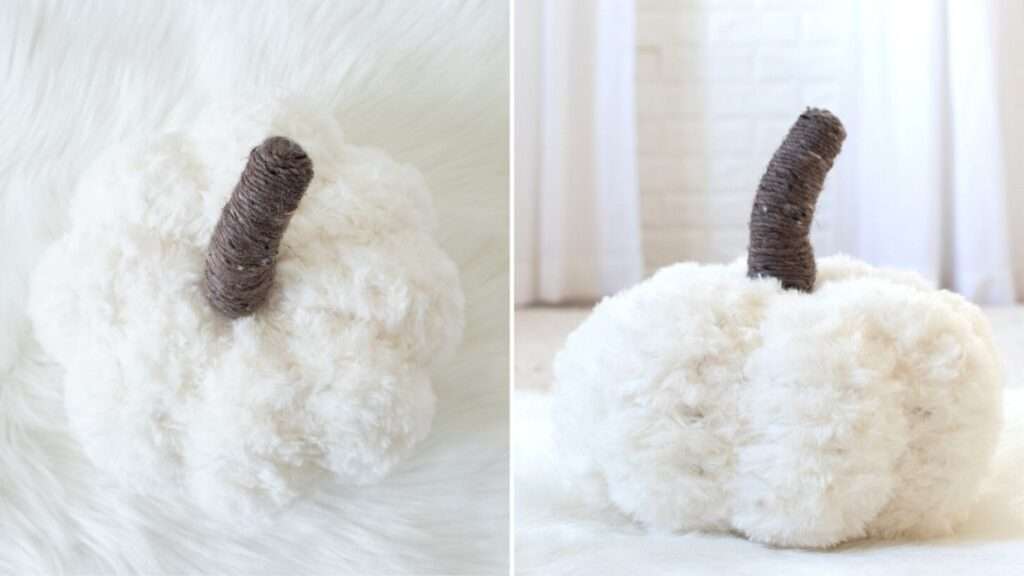
Medium: 9″ W x 5 1/2″ {23cm x 14cm} 18-22 yards {16-20m} 3.2oz {90g} unstuffed {pictured}
Large: 12″ W x 7 1/2″ {30cm x 19cm} 36-40 yards {32-36m}
Notes
Not reversible.
Knit bottom up.
Knit using the stockinette stitch.
Knit in the round with a circular needle.
Expert Tips
This yarn is not beginner friendly. It’s hard to tell the difference between a knit & purl stitch, even when you’re familiar with them. :)
The faux fur yarn is not ideal for beginner knitters because it’s hard to see the stitches, but you can substitute any yarn you want or have on hand. I’m using the stockinette stitch to keep it super simple.
Save it for Later
- Buy the ad-free, printer-friendly pattern in The Shop.
- Save it to your Ravelry Library!
- Pin-it to Pinterest for later.
Download & Print this Pattern
Do you enjoy working from a paper copy? Get the downloadable, printer-friendly PDF completely ad-free.
Save this pattern for later!
That way you can have lifetime access to it and download it to any device and view it from anywhere, without ads (and the pattern might not be around forever)
Pattern, Knit Flat
 |
 |
 |
CO 15{S}, 30{M}, 45{L} STS
Row 1 {WS}: *P*
Row 2 {RS}: *K*
Repeat rows 1-2 for about 6″ {S}, 9″ {M}, 12″ {L}
Don’t bind-off just yet, seam the sides closed.
How to Finish
Cinch the Bottom Closed: With a long tail, thread your darning needle and pick-up every outside stitch of the cast-on edge. Cinch it as you go. Whip stitch it across the hole to reinforce it {optional}. Push the tail into the center, tie a knot and leave the tail inside, you don’t have to weave in the ends.
Cinch the Top Closed {Part 1}: Without binding-off, cut/break your tail. Leaving a long tail, thread your darning needle and slip all the stitches off your working needles onto the thread. Stuff it before you cinch it closed.
How to Stuff Your Knitted Pumpkin: Start by adding the stuffing to the outside edge and then fill in the center to your desired density. I don’t have a local craft store, but I do have a Dollar General. I found their cheapest pillow, which was their brand and measures about 26″ x 19″ and I used the whole thing to stuff my large sized pumpkin. :)
Cinch the Top Closed {Part 2}: Now you’re ready to cinch the top closed. If you have a delicate yarn that might break, you’ll want to take extra care with this step and cinch a little at a time working your way around all the stitches. I recommend going around a second time to reinforce it. Keeping it cinched tightly, tie a knot and push the end into the inside of the pumpkin. If you have a long enough tail, use it to make a rib or 2.
Make the Ribs for Your Knitted Pumpkin: Starting at the top center, if you’re starting with a new thread wrap it around the top edge and tie a knot in it, thread it through a column of seed stitches to the bottom, cinch it and tie a knot to anchor it.
Weave in the ends, or push them into the center of your pumpkin.
No blocking necessary. :)
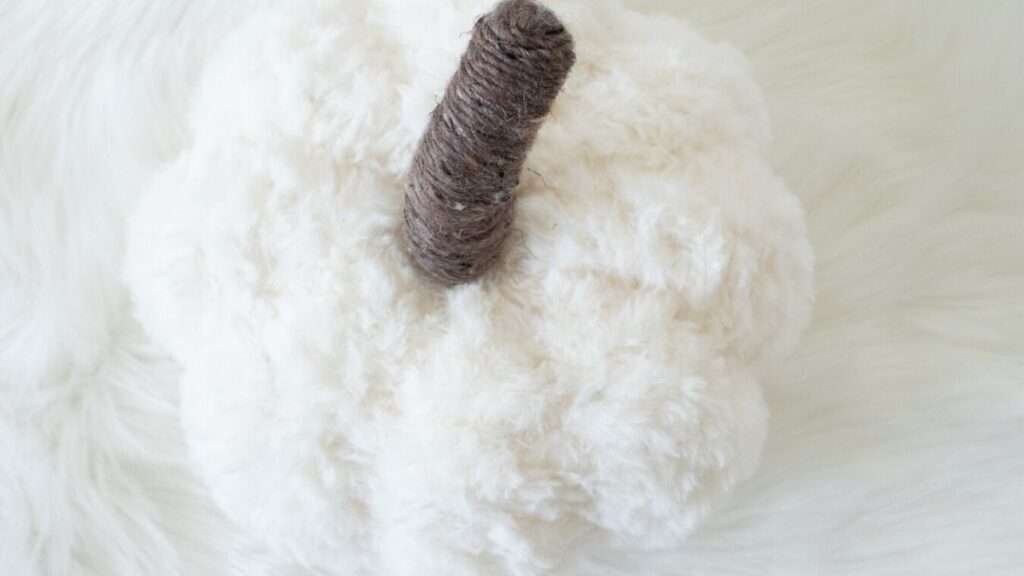
How to Make the Stem
Stem Materials
Twine or Yarn
Stuffing
Heavy Wire
Finished Stem Measurements
1 1/4″ wide x 4″ {3cm x 10cm} {as pictured}
Stem Instructions
Using some polyfill, make it a little smaller than the final size you’d like. It doesn’t need to be super dense. I found it to be quite easy to work with, a lot easier than I thought it would be. :)
Wrap the twine around, from the top to the bottom, the full length of the stem about 10 times, or until the top and bottom are mostly covered. The “corners” are a little trickier, you could try wrapping it a couple of extra times so you have a little more twine to play with and move around when it’s finished.
Switch from wrapping from top to bottom to wrapping it around the girth of the stem working from one end to the other. I over lapped it a little so the polyfill didn’t show through. When you’re happy with it, cut a tail and tuck it under itself. Snip the extra off, if you have any.
Using the heavy wire, push one end into the stem and one end into the pumpkin and bend it as desired.
Knitting Abbreviations
* – * – repeat between *
CO – cast-on {long-tail cast-on method}
K – knit stitches {K1 means to knit 1 stitch}
P – purl stitches {P2 means to purl 2 stitches}
STS – stitches
FAQ
Yes, however it’ll look completely different, but it’ll be just as easy.
Definitely! If you cast-on using the same number of stitches with a thinner yarn & smaller needles, you’ll have a smaller pumpkin.
If you cast-on using the same number of stitches with a thicker yarn & smaller needles, you’ll have a larger pumpkin.
Cast-on more stitches in any increment.
Cast-on fewer stitches in any increment.
Yes, just cast-on more than the recommended amount of stitches, in any increment. If you CO 60 STS, using the same yarn, your pumpkin should be about 15″. ;)
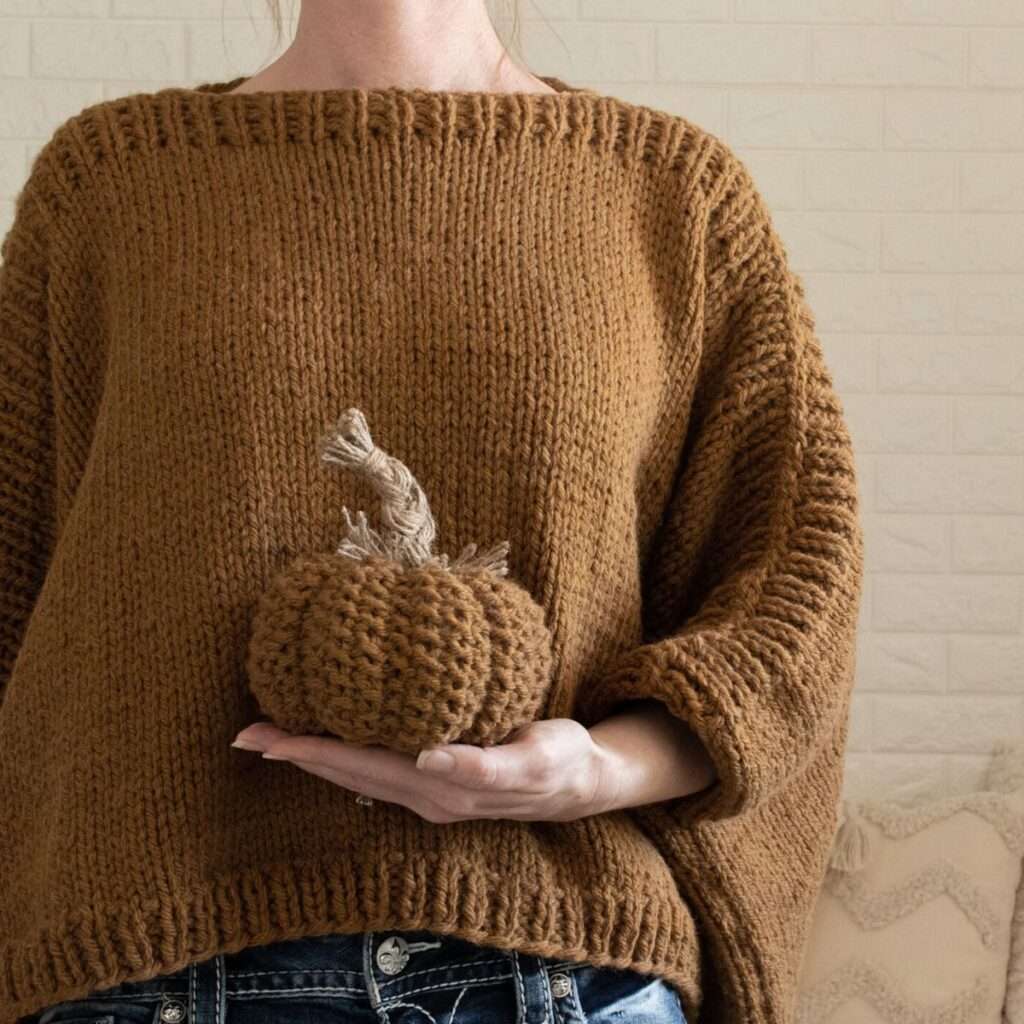
If you like this Pumpkin Knitting Pattern, here are more patterns you’ll love:
|
|
|
|