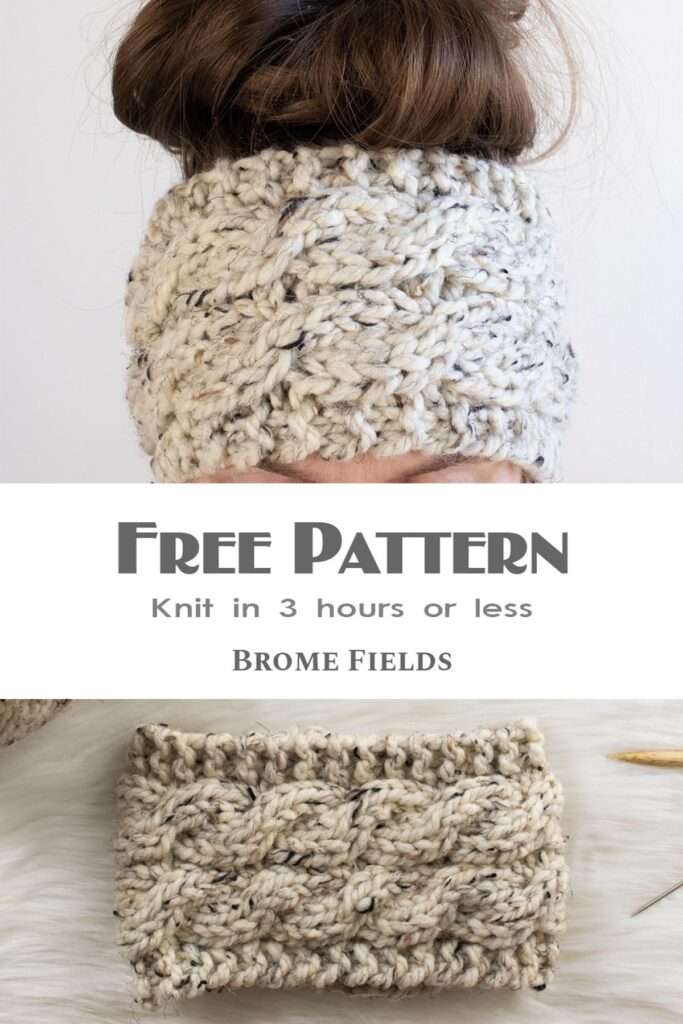
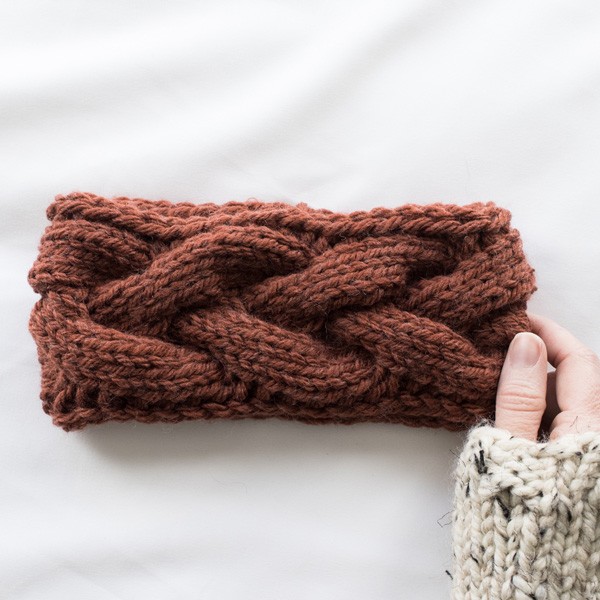
3-Hour Double Cable Knit Headband
This post may contain affiliate links. Please read my disclosure policy.
Are you looking for quick & trendy knitting gift ideas? Then this double cable knit headband is for you! Knit it in 3 hours, or less.
About the Pattern
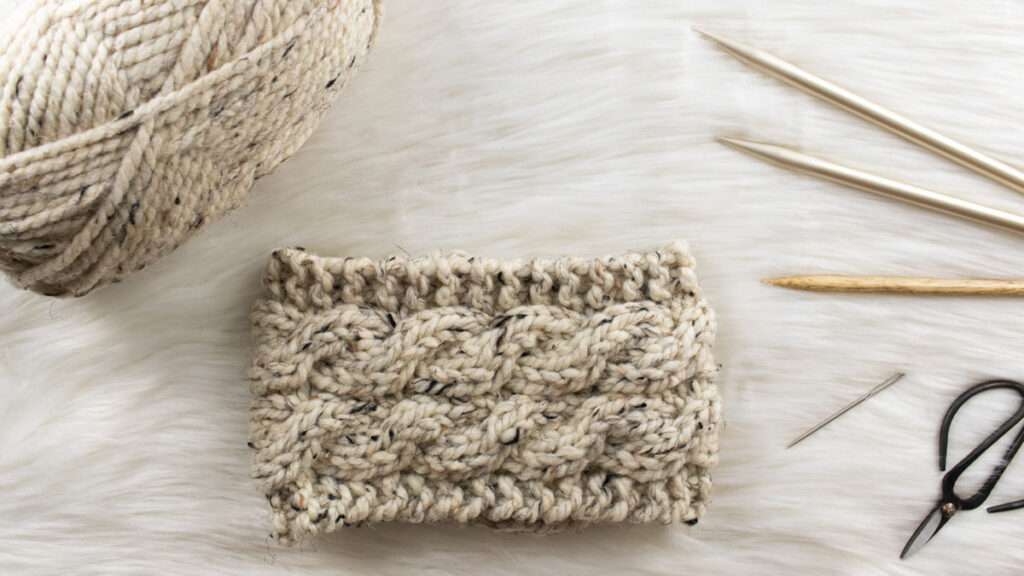
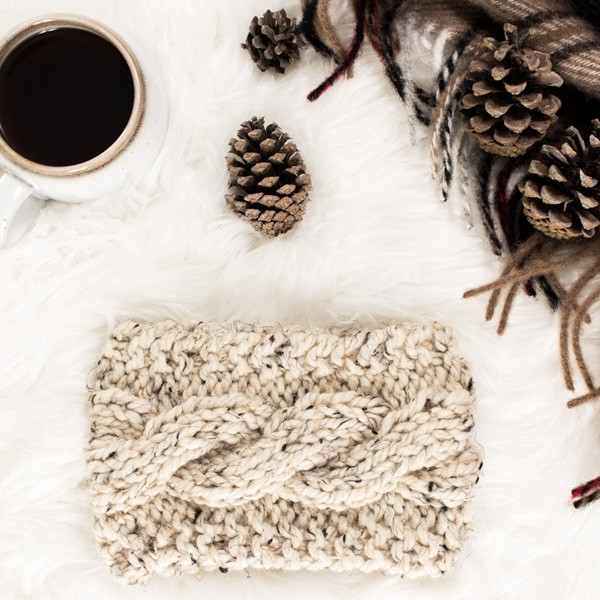
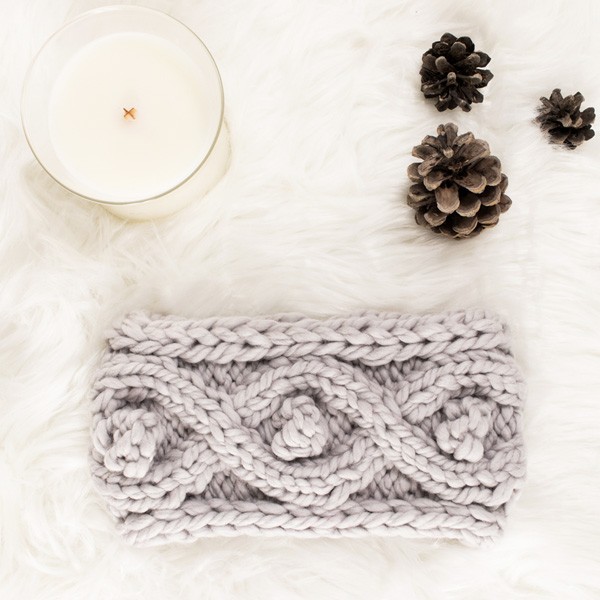
This cable knit headband has 2 cable knit braids side by side giving it more cable squishiness.
This headband is knit flat using straight knitting needles. There’s a cable row every 6 rows, so most of the rows are just knit and purl stitches (easy peasy). Plus, there’s only 1 type of cable stitch, so the pattern is easier to memorize.
Because there’s so few stitches, you can use 2 DPN’s to knit this headband. They’re shorter than knitting needles, making them lighter, which is easier on your hands and wrists, meaning you can knit longer. ;) You’re welcome!
- Available Sizes: One
- Pattern Format: Written Instructions, No Chart
- Pattern Language: English
- Skill Level: Advanced Beginner
- PDF Format: Printer Friendly
Techniques
Here are some of the knitting skills you need to know before getting started:
- Knit Flat (Back & Forth)
- Knit & Purl Stitches
- Cable Stitch
No increase, decrease or slip stitches.
WHAT’S TO LOVE!?
- Quick & easy project
- Stash buster project
- Beautiful cable texture
- Great gift for teens
Yarn & Substitutions
- Yarn Weight: Super Bulky Yarn
- Yardage: 40 – 45 yds (37 – 41 meters)
- Suggested Yarn: Lion Brand Wool Ease Thick & Quick
Alternative Yarn Substitute Options:
- Lion Brand Hometown Yarn (acrylic option)
- Lion Brand Re-Spun Thick & Quick
- Cascade Yarns Pacific Chunky
- Hobbii Umami
- Rico Designs Creative Twist
- Rowan Big Wool (100% wool)
- Yarn Bee Dream Supreme
- Paint Box Yarns Wool Blend Super Chunky
Check out Yarnsub’s for more yarn substitution
I love knitting with super bulky yarn, it makes for a quick & easy project. It makes for a warmer headband too! It’s so much fun watching it grow so quickly. It takes about 3 hours to knit from start to finish, that’s about 4 episodes of Gilmore Girls (just sayin’!). Keep in mind that the first one takes longer, but you get faster with each headband you knit.
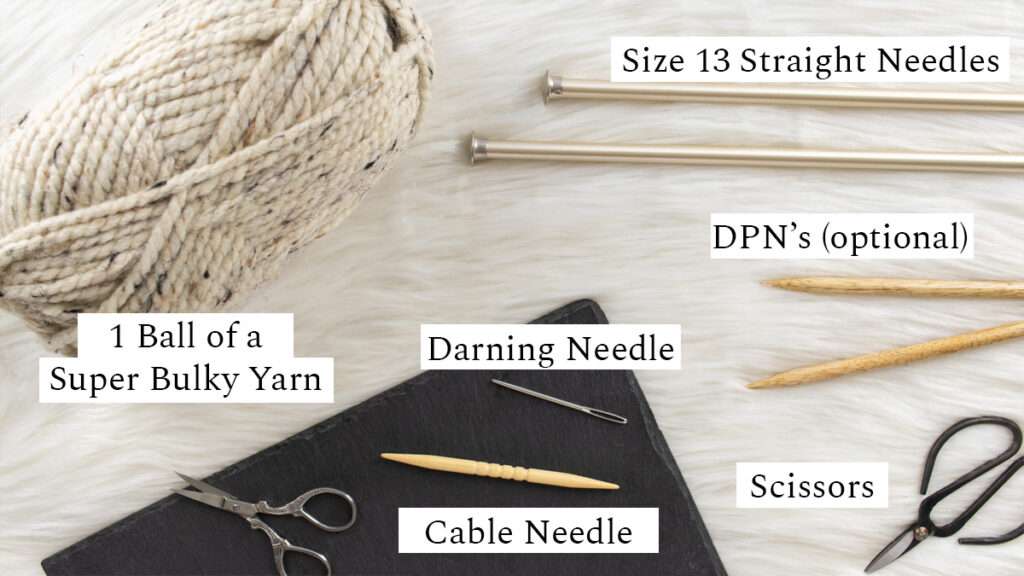
Needles & Notions
- Needle Size: US 13 (9 mm) Straight Knitting Needles
- Cable Needle
- Removable Stitch Markers (Optional)
- Darning Needle
- Scissors
Gauge
12 STS & 16 rows per 4” (10 cm) square, knit in the cable pattern below
Measurements
Model Head Circumference: 21 1/2″ (55cm)
Measurements, after seaming: 5″ wide x 8 1/2″ (13cm x 22cm)
Weight: 2.5 oz (70 g)
Notes
- Not reversible.
- CO edge is the width.
- Knit using the cable knit stitch.
- This headband is knit flat, when you’re finished knitting you’ll sew the CO & BO edges together.
Expert Tip
Knit slower, more mindfully, and the project will go faster. Huh? As my grandpa would say “Measure twice, cut once.” Meaning, read the pattern carefully multiple times as you’re knitting and read your work to match it to the pattern, so you know you’re on the right track. This seems counterintuitive, but carefully reading the instructions and knitting it right the first time saves so much time.
Modification Options
You can use a bulky weight yarn, just keep in mind that it’ll make a narrower headband and you’ll need to knit a couple of more repeats to get the desired length. This is a great option to knit this same headband in a child size.
Video Tutorials
Knitting Abbreviations
*– * – repeat between * to end of round
BO – bind-off in pattern
CO – cast-on (long-tail cast-on method)
C4F – cable4front – transfer 2 stitches to a cable needle and hold it in the front of your work, knit the next 2 stitches and then knit the 2 stitches off the cable needle
K – knit stitches (K1 means to knit 1 stitch)
P – purl stitches (P2 means to purl 2 stitches)
RS – right side
STS – stitches
WS – wrong side
Save it for Later
- Buy the ad-free, printer-friendly pattern in the shop.
- Save it to your Ravelry Library!
- Pin-it to Pinterest for later.
Save this pattern for later!
Download & Print this Pattern
Do you enjoy working from a paper copy? Get the downloadable, printer-friendly PDF completely ad-free.
That way you can have lifetime access to it and download it to any device and view it from anywhere, without ads (and the pattern might not be around forever).
Pattern Instructions
 |
 |
 |
In this pattern you’re going to knit the headband flat, row by row, back & forth.
CO 15 STS using the long-tail cast-on method.
Advanced Knitters: Cast-on using the provisional cast-on method and use a three needle bind-off to create an invisible seam.
Row 1, 3, 5 (WS): P2, K1, P4, K1, P4, K1, P2
Detailed Instructions:
Purl the first 2 stitches, knit 1 stitch, purl 4 stitches, knit 1 stitch, purl 4 stitches, knit 1 stitch, purl the last 2 stitches.
Row 2, 4 (RS): P3, K4, P1, K4, P3
Detailed Instructions:
Purl the first 3 stitches, knit 4 stitches, purl 1 stitch, knit 4 stitches, purl the last 3 stitches.
Row 6 (RS): P3, C4F, P1, C4F, P3
Detailed Instructions:
Purl the first 3 stitches, transfer 2 stitches to a cable needle and hold it in the front of your work, knit the next 2 stitches and then knit the 2 stitches off the cable needle, purl 1 stitch, transfer 2 stitches to a cable needle and hold it in the front of your work, knit the next 2 stitches and then knit the 2 stitches off the cable needle, purl the last 3 stitches.
Repeat rows 1-6, 8 more times for a total of 9 cables, or until desired length.
Optional: Place a removable stitch marker on your cable row, so you can easily count your rows to know when you need to do the next cable row. I use 3 and move the first one up as I go, but you can easily just use 1 or 2, whatever works best for you.
To End:
Row 1, 3, 5 (WS): P2, K1, P4, K1, P4, K1, P2
Detailed Instructions:
Purl the first 2 stitches, knit 1 stitch, purl 4 stitches, knit 1 stitch, purl 4 stitches, knit 1 stitch, purl the last 2 stitches.
Row 2, 4 (RS): P3, K4, P1, K4, P3
Detailed Instructions:
Purl the first 3 stitches, knit 4 stitches, purl 1 stitch, knit 4 stitches, purl the last 3 stitches.
Row 6 (RS): BO in all knit stitches.
Note: I like to BO a little tightly to help keep the seam narrower, it tends to flare out when it’s seamed.
Cut the yarn leaving a long yarn tail, sew the CO & BO edges together. The kitchener stitch gives you a nice seamless look, however it creates a bit of bulk, so I like to use the whip stitch. Pick whichever one works best for you. :)
Weave in the ends.
No blocking necessary.
Expert Tip: If you find that your headband is a little tight, you can steam block it using a hand held steamer. I like to pin mine on a plastic hanger using clothes pins, being very careful not to burn myself while I’m steaming. When you’re finished steaming it’ll be a little damp, so lay it flat to dry for a few hours and then it’s ready to wear. (If you’re using Lion Brand Thick & Quick, it’s dryer safe, so if you’re in a hurry you can pop it in the dryer for a few minutes.)
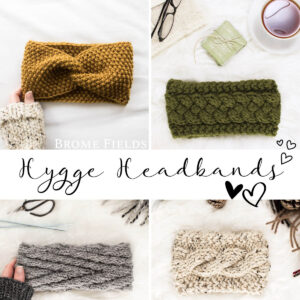
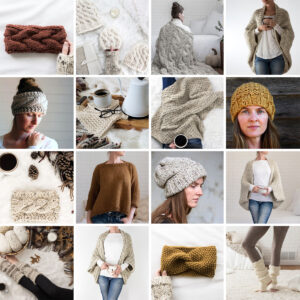
More cable knit headband patterns you’ll love
|
|
|
|